Want to turn precious photos into lasting gifts but the options are confusing? A poorly made magnet will just fade or fall apart, wasting a great memory and your money.
To make a die cut photo magnet, you print your photo onto adhesive vinyl, apply a protective laminate, stick it to a magnetic sheet, and carefully cut out the shape. For a perfect finish, use a professional printing service.
In my sticker and label business, I see how a tangible item can create a strong emotional connection. Photo magnets do exactly that. They take a digital memory and turn it into something you can hold and see every day. The process involves a few key choices, from how you prepare your photo to the materials you use. Whether you decide to make them yourself as a fun project or order them professionally for a flawless result, let's walk through the steps to get it right.
How do you prepare your photo for a magnet?
A blurry or poorly cropped photo will ruin your magnet. Don't waste materials on a photo that looks bad when printed, creating a disappointing final product.
To prepare your photo, choose a high-resolution image (at least 300 DPI). Crop it to highlight the main subject and adjust the brightness and contrast to make sure the colors look vibrant when printed.
The quality of your magnet starts with the quality of your digital file. As a printer, I can tell you that we can’t add detail that isn't there. So, starting with a good photo is the most important step.
Why Resolution Matters
Resolution is measured in DPI, or "dots per inch." A photo for printing should be 300 DPI. A photo taken from Facebook or a website is usually only 72 DPI and will look blurry and pixelated when printed. Always use the original, high-resolution photo from your phone or camera for the best results.
Cropping and Editing
Think about the final shape of your magnet. You need to crop the photo to focus on the most important part. If you’re making a magnet of your dog, crop in close on its face. You can use free tools like Canva or your phone's built-in photo editor to make simple but powerful adjustments. I always tell my clients to slightly increase the brightness and saturation. Printed images tend to look a little darker than they do on a bright screen, so this helps make the final product pop. I once had to help a client who wanted a group photo magnet where the chosen shape cut off two people's heads. We had to go back and adjust the crop to make sure everyone was included.
What is a bleed and why do you need one for magnets?
Worried about ugly white edges on your finished magnet? A slight shift during cutting can ruin your design, leaving an unprofessional-looking border on your custom product.
A bleed is an extra margin of your photo's background that extends beyond the final cut line. It ensures that if the cut is slightly off, your design still covers the entire magnet with no unprinted white edges.
Even the most advanced cutting machines have a tiny margin of error, maybe less than a millimeter. A bleed is your safety net. It's a fundamental concept in professional printing that guarantees a high-quality, edge-to-edge finish.
How a Bleed Works
Imagine your magnet design is a 3-inch circle. The "cut line" is the 3-inch circle that the blade will follow. To create a bleed, you would extend the background of your photo out to about 3.25 inches. This extra 1/8th of an inch all the way around is the bleed area. The machine aims for the 3-inch line, but if it shifts a tiny bit, it cuts into the extra background color instead of a blank white area. This ensures your color goes right to the very edge of the magnet.
Is a Bleed Always Necessary?
For professional printing, yes. It's non-negotiable. Early in my business, I printed an order for a client who supplied a file with no bleed. The cut was perfect on 95% of them, but a few had a tiny, hairline white edge. It looked unprofessional. I had to reprint the entire batch at my own cost, and I learned a valuable lesson. For DIY projects, it's still a good habit. It gives you some wiggle room when you are cutting by hand.
What material is best for photo magnets?
Your photo magnet fades or falls apart after a few months. Choosing the wrong material leads to a cheap-looking product that doesn't last, and your memory fades with it.
The best material is a combination of waterproof vinyl for the photo print, a UV-resistant laminate for protection, and a flexible magnetic sheet that is at least 20-30 mil thick for a strong hold.
A magnet is made of three distinct layers, and the quality of each one is important for the final product's look and longevity. Skimping on any of these can lead to disappointment.
The Printed Layer: Vinyl is King
You might be tempted to print your photo on regular sticker paper, but I strongly advise against it. Kitchens can be humid environments. A single splash of water can ruin a paper print. I always use waterproof vinyl. It's durable, the colors look fantastic on it, and it's built to last.
The Protective Layer: Lamination
Lamination is a clear protective film applied over your printed vinyl. It does two critical jobs. First, it protects the print from scratches and being wiped down. Second, and more importantly, it provides UV protection. A magnet on a fridge near a sunny window will fade over time. A good UV laminate significantly slows down this process, keeping your photo vibrant for years. You can choose a glossy finish to make colors pop or a matte finish for a modern, glare-free look.
The Magnetic Base: Thickness Matters
Not all magnetic sheets are created equal. The thickness, measured in "mil," determines its strength.
- 15 mil: Very thin. This is "promotional grade" and might not hold a piece of paper.
- 20-30 mil: The sweet spot for fridge magnets. It's strong enough to hold up photos or kids' artwork. This is what I use for most of my clients.
- 60 mil: This is vehicle-grade. It's very strong and designed to stay on a car at high speeds.
What is the best shape for a photo magnet?
Your photo looks great, but the shape you chose cuts off important details. A bad shape choice can ruin the entire composition, making your magnet look awkward and poorly planned.
The best shape complements your photo's subject. Circles and squares are classic and safe. A custom die-cut shape that outlines your subject creates the highest impact but needs careful planning.
The shape of your magnet is a key part of the design. It's the frame for your memory. You can play it safe with a standard shape or get creative with a custom one.
Standard Shapes
Circles, squares, ovals, and rectangles are timeless. They are easy to design for and straightforward to cut, whether you are doing it yourself or ordering professionally. They provide a predictable, clean border around your photo, which works well for almost any image. If you're not sure what to choose, a simple square or circle is a great place to start.
Custom Die-Cut Shapes
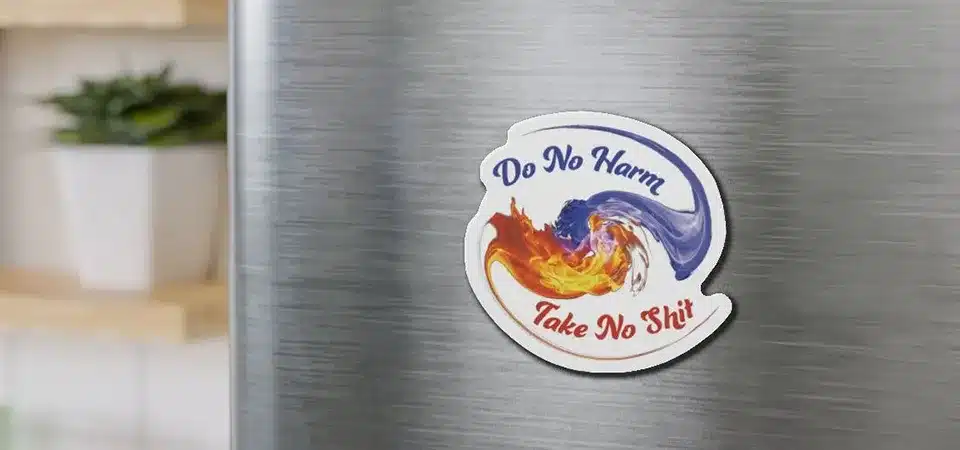
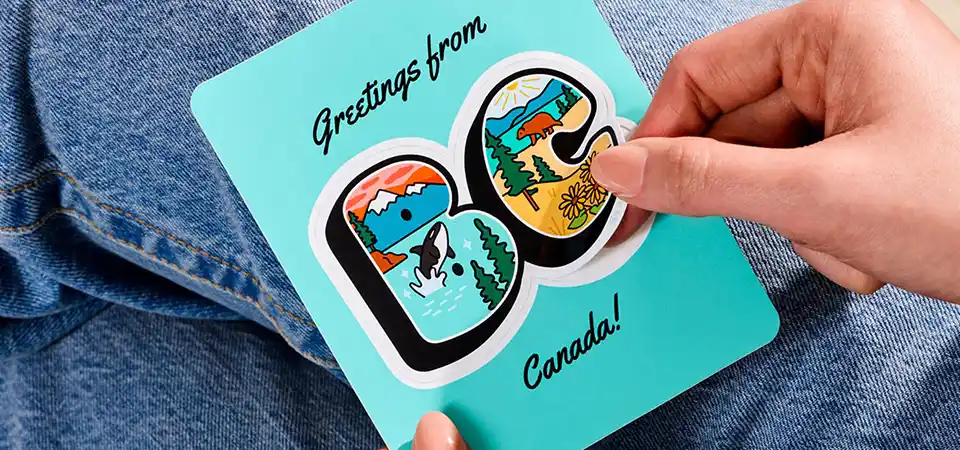
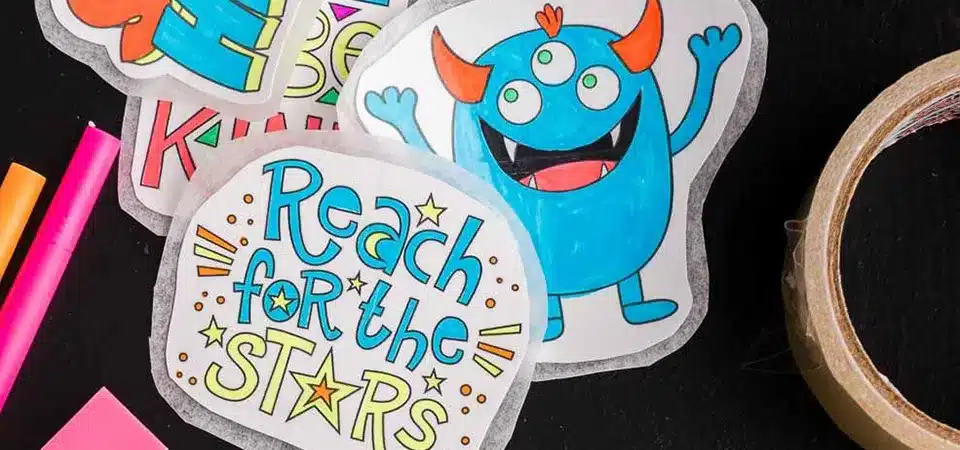
This is where photo magnets become truly special. A custom shape follows the outline of the subject in your photo—like the silhouette of a person, a pet, or even a wedding cake. This style has a huge "wow" factor. It removes distracting backgrounds and makes the subject the star. For businesses, this is a powerful branding tool. I once worked with a real estate agent to create magnets shaped like a house, with her photo visible in a window. It was so much more memorable than a standard business card magnet because the shape itself told a story.
What size should a photo magnet be?
Ordered magnets that turned out tiny and unreadable, or huge and impractical? Guessing the right size is a common mistake that leads to a product that doesn't fit its purpose.
A good size for a photo magnet is between 2 to 4 inches. This is large enough to see the photo's details on a fridge without being so big that it looks out of place.
Size is all about context and purpose. A tiny magnet can get lost, while a massive one can be overwhelming. Finding the right balance is key.
Common Fridge Magnet Sizes
Over the years, I’ve found that most clients are happiest with sizes in a specific range.
| Size | Best For | My Advice |
|---|---|---|
| 2" x 2" | Close-up headshots, small logos, pet faces. | Keep the design simple. Details can get lost at this size. |
| 3" x 3" | The perfect all-rounder. Great for portraits, family photos, and gifts. | This is my most recommended size. It offers the best balance of visibility and space. |
| 4" x 4" | Landscapes, group photos, or when you want to make a real statement. | A great size to show off a high-quality photo. |
A simple trick I tell my clients is to cut a piece of paper to the dimensions they are considering. Stick it to your fridge with tape for a day. This gives you a real-world feel for how big it is and helps you decide with confidence before you place an order.
How can you take the DIY approach to making magnets?
You love crafting but fear your homemade magnets will look unprofessional. Without the right technique, your project can end up with rough edges and look cheap, not charming.
For a DIY approach, print your photo on waterproof vinyl and cover it with a laminate sheet. Stick this to a magnetic base, then use sharp scissors or a craft knife for the most precise cut.
Making your own magnets is a really rewarding project. You get to control every step and the result is immediate. It's a great option if you only need one or two magnets as a personal gift.
Your DIY Toolkit
To get the best results at home, you'll need the right supplies:
- An inkjet printer
- Printable waterproof vinyl sheets
- Self-adhesive laminate sheets
- A 20-30 mil magnetic sheet with an adhesive back
- Sharp scissors and/or a craft knife
- A self-healing cutting mat and a ruler
The Biggest Challenge: The Cut
This is where DIY differs most from professional results. Cutting a perfectly smooth circle or a complex custom shape by hand is very difficult. My advice is to go slowly and use the sharpest blade you have. For straight lines, a craft knife and ruler are best. For curves, sharp scissors can work well if you take your time. The final edge might not be factory-perfect, but the magnet will be uniquely yours, and there's a certain charm to that. It’s perfect for a personal touch.
Why should you choose a professional approach?
Need a large number of magnets for an event but don't have the time or skill? A botched DIY job will reflect poorly on your brand or special occasion.
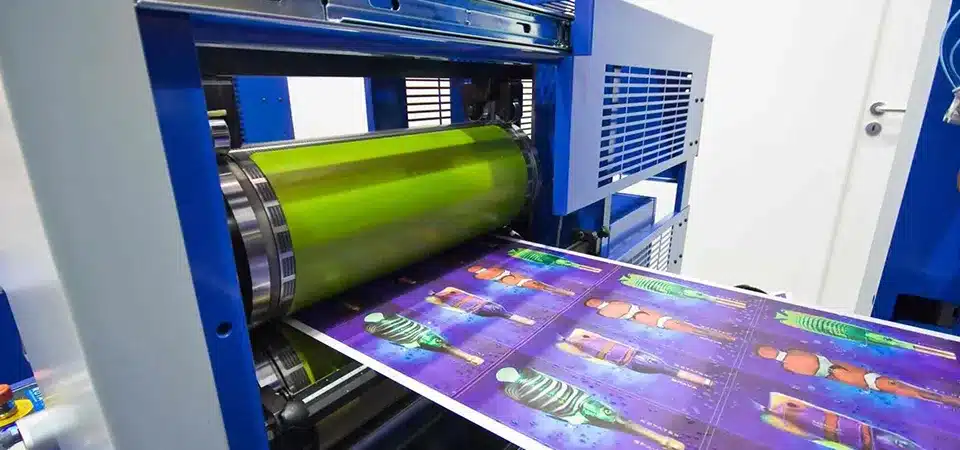
A professional approach uses commercial printers and digital die-cutting machines for vibrant colors, perfect cuts, and consistent quality. It's ideal for bulk orders, complex shapes, or a retail-ready product.
When quality, consistency, and volume are important, professional printing is the way to go. This is especially true for businesses, weddings, or any event where you want every single magnet to look flawless.
The Magic of Die-Cutting Machines
In my shop, we use digital cutters. I program your exact custom shape into a computer, and a super-fine blade cuts it perfectly, every single time. It can handle incredibly intricate details that would be impossible to cut by hand. This process creates that smooth, clean, professional edge that makes a product look high-end.
Superior Quality and Efficiency
Beyond the cut, we use color-calibrated printers that ensure your photo's colors are accurate and vibrant. We also have access to the highest-quality materials that have been tested for durability. If you need 100 magnets for wedding favors or 1,000 for a business promotion, ordering them is far more efficient and often more cost-effective than buying all the DIY materials and spending hours cutting them out yourself. For projects that matter, going pro ensures a result you can be proud of.
Conclusion
Photo magnets are a wonderful keepsake. DIY is a fun option for personal projects, but for the best quality, durability, and consistency, a professional service is the superior choice.

