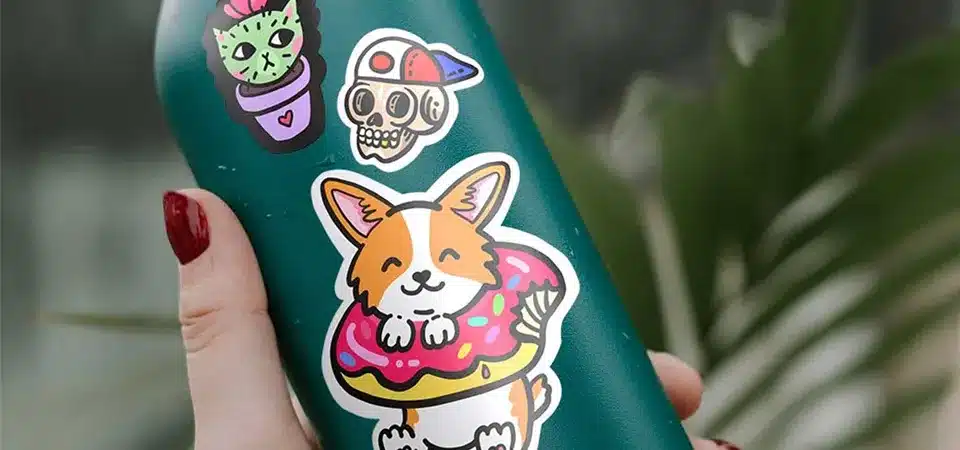
Your water bottle is perfectly decorated with stickers that show off your personality. But you live in constant fear that one trip through the dishwasher will leave them faded, peeling, and ruined.
To protect stickers on a water bottle, first use high-quality waterproof vinyl stickers. Then, add a protective layer like a self-adhesive laminating sheet or a brush-on sealant. Most importantly, always hand wash your bottle to avoid the harsh heat and water pressure of a dishwasher.
As someone who prints thousands of custom stickers, I know that a great sticker is a little piece of art. When you put that art on something you carry every day, like a water bottle, you want it to last. The good news is that with the right materials and a little bit of care, you can armor-plate your stickers against their greatest enemies. Let's break down exactly what you need to do to keep your collection looking brand new.
What damages water bottle stickers?
You put your favorite stickers on your bottle, and they looked great. But after a few washes, they look faded, the corners are lifting, and you have no idea what you did wrong.
Stickers are damaged by three main things: water saturation from soaking, high heat from dishwashers which softens adhesive, and physical friction from scrubbing or bumping. This combination is what causes them to peel, fade, and crack.
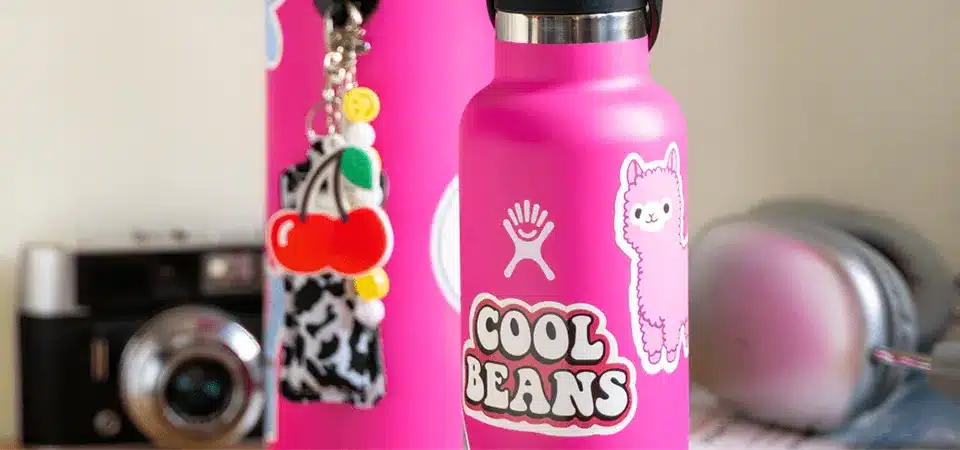
In my line of work, durability is everything. I've learned that a sticker on a water bottle faces a brutal environment. It’s a trifecta of doom: water, heat, and friction. Water is the obvious enemy. If it gets under the sticker's edge, it will attack the adhesive and cause it to fail. Heat, especially the high temperatures inside a dishwasher, softens both the vinyl and the adhesive, making them vulnerable and prone to peeling. Finally, there's friction. This can be the abrasive detergents in a dishwasher, scrubbing with a rough sponge, or just the bottle rattling around in a bag. These forces work together to break down a sticker over time. A paper sticker stands no chance, but even a standard vinyl one will struggle without the right protection. Understanding these enemies is the first step to defeating them.
Should you choose high-quality stickers for your water bottle?
You want to decorate your bottle but are overwhelmed by the options. You're afraid of buying a cheap sticker that will turn into a pulpy mess after one wash.
Yes, you must start with a high-quality sticker. Choose one made from waterproof vinyl with a strong adhesive. Paper stickers will disintegrate immediately when wet. For maximum durability, select a vinyl sticker that also has a protective laminate layer.
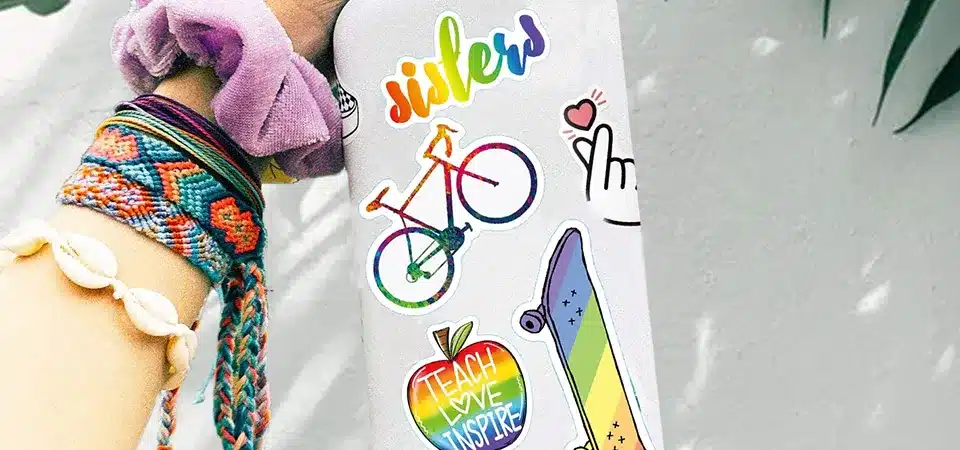
This is the most important step, and it's where everything starts. All the protection in the world can't save a bad sticker. When clients ask me for stickers for water bottles, I tell them that "vinyl" is the only option. Vinyl is a type of plastic (PVC), which means it's inherently waterproof. Paper, on the other hand, is made of wood pulp and acts like a sponge.
But not all vinyl stickers are created equal. The best ones, which we produce for outdoor gear and tough applications, have a superpower: a clear overlaminate. After we print the design on the vinyl, we apply a thin, transparent layer of vinyl over the top. This laminate acts like a shield. It protects the printed ink from UV rays (which cause fading), from scratches, and from moisture. It makes the sticker thicker and much more durable. Starting with a laminated vinyl sticker is like building your house on a stone foundation instead of sand. It's the critical first choice for a long-lasting design.
| Sticker Type | Water Resistance | Durability | Best For |
|---|---|---|---|
| Paper Sticker | None | Very Low | Journals, Planners |
| Vinyl Sticker | Good | Medium | Laptops, Indoor Use |
| Laminated Vinyl | Excellent | Very High | Water Bottles, Cars, Outdoor Gear |
Method 1: Use self-adhesive laminating sheets
You have some awesome paper stickers you want to use. You know they aren't waterproof, but you want to put them on your bottle without them getting ruined.
Self-adhesive laminating sheets are a great DIY solution. You simply apply this clear, protective film over your existing stickers, creating a waterproof barrier that shields them from water, friction, and scuffs.
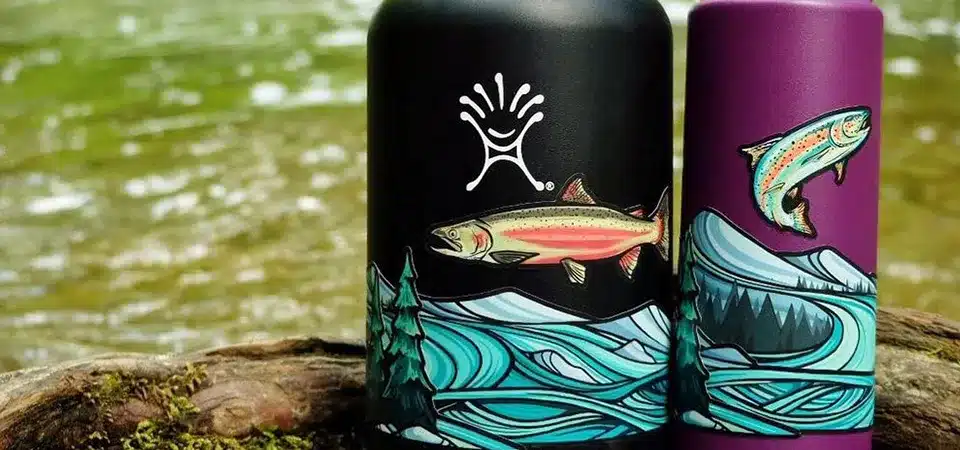
This is a fantastic hack for turning any sticker into a protected one. Think of it as giving your sticker a DIY raincoat. These sheets are available at most office supply or craft stores and are essentially a single-sided sheet of clear, sticky plastic. The process is straightforward. First, arrange your stickers on the bottle exactly how you want them. Then, cut a piece of the laminating sheet that is slightly larger than the sticker or sticker group. Peel the backing off and carefully apply it over the top. My best tip for a bubble-free finish is to use a credit card. Start from the center and press outwards, smoothing the sheet down firmly. This squeegees out any air bubbles as you go. This method is great because it's cheap, easy, and lets you use any sticker you love, even if it's not vinyl. The only downside is that you might see the edge of the sheet, but it's a small price to pay for powerful protection.
Method 2: Seal stickers with clear sealants
Your stickers are all placed on the bottle, but you want an extra-tough, seamless layer of protection. You've heard about sealants, but you're not sure which to use or if they're safe.
Yes, using a brush-on or spray sealant is an excellent way to create a durable, waterproof shield. A product like Mod Podge Dishwasher Safe is specifically designed for this, forming a hard, clear coat over your stickers.
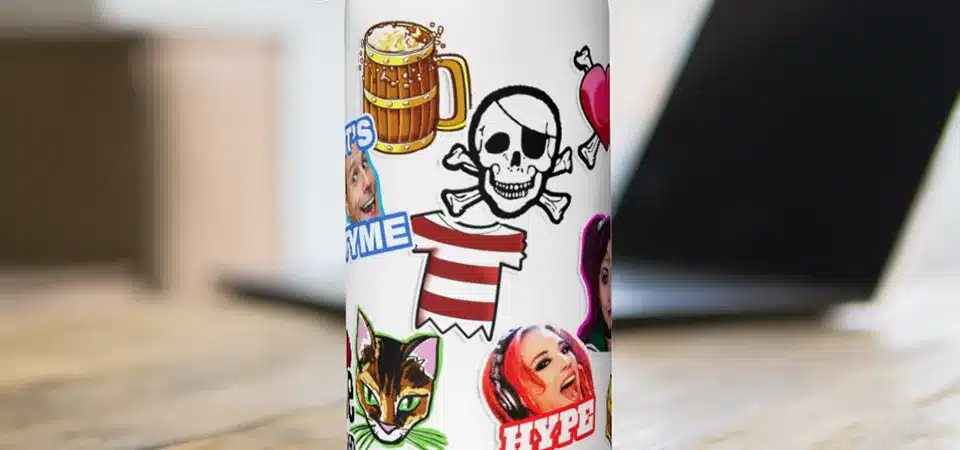
This method provides what is probably the most durable finish you can create at home. I recommend this to crafty clients who want a truly integrated, permanent look. The most popular product for this is Mod Podge Dishwasher Safe formula. It’s a non-toxic, water-based sealant that you brush on. The process requires a bit of patience. You apply a thin, even coat over your stickers and the surrounding area. You let it dry for an hour or two, then apply a second or even third coat for maximum toughness. The key to this method is curing time. Although it feels dry in a few hours, the sealant needs to fully harden, or "cure," to achieve its maximum water and heat resistance. The official instructions say to let it cure for 28 days before exposing it to the harsh dishwasher environment. While it offers amazing protection, the trade-off is that it can show brush strokes if applied too thickly, and it requires significant drying and curing time.
Method 3: Use thermal laminating machines
You’re a perfectionist and saw a thermal laminating machine at the store. You wonder if this is the ultimate way to protect your stickers before they even go on the bottle.
A thermal laminator is not practical for protecting stickers on a water bottle. These machines use heat and pressure to seal flat items, so you cannot use them on an already-applied sticker or a curved bottle.
I want to address this one because people ask me about it. Thermal laminators are fantastic for making things like ID cards or flat paper documents durable. They work by feeding a flat item in a special plastic pouch through heated rollers. This process is impossible to replicate on a round object like a water bottle. You could theoretically laminate a sticker before you cut it out, but it would be very stiff and would not conform well to the bottle's curved surface, leading to sharp edges that would snag and peel off. While it seems like a professional-grade solution, it's the wrong tool for this specific job. Self-adhesive sheets or brush-on sealants, which can conform to any shape, are much better choices for a water bottle.
Method 4: Try edge sealing (optional)
You've applied a high-quality sticker, but you're still worried about that one weak point: the edges. You want to take one extra step to make sure water can never get underneath.
Edge sealing is a meticulous but effective technique. It involves using a tiny brush to apply a thin bead of clear sealant, like clear nail polish, just around the border of your sticker, sealing the edge to the bottle.
This is a trick for the truly dedicated. Peeling almost always starts at the edge of a sticker. Edge sealing is a micro-protection method that reinforces this vulnerable area directly. After your sticker is applied, you take a very fine brush (an artist's detail brush or even a toothpick works) and dip it in a clear sealant. Clear nail polish is a popular and effective choice. You then carefully "paint" a very thin line right where the edge of the sticker meets the bottle surface. This creates a tiny, clear seal that locks the edge down and makes it much harder for water or friction to lift it up. The main drawback is that it's very time-consuming, especially if you have many stickers. It can also leave a slightly shiny border around your stickers. It's not a full protective coat, but it can be a great final step to add extra security to your favorite designs.
Why is hand washing your water bottles so important?
You’ve protected your stickers with a laminate or sealant and think you're safe. But you still see wear and tear after running it through the dishwasher, and you don't understand why.
Hand washing is critical because it avoids the harsh environment of a dishwasher. The extreme heat softens adhesive, and high-pressure water jets can force their way under a sticker's edge, causing it to peel regardless of other protections.
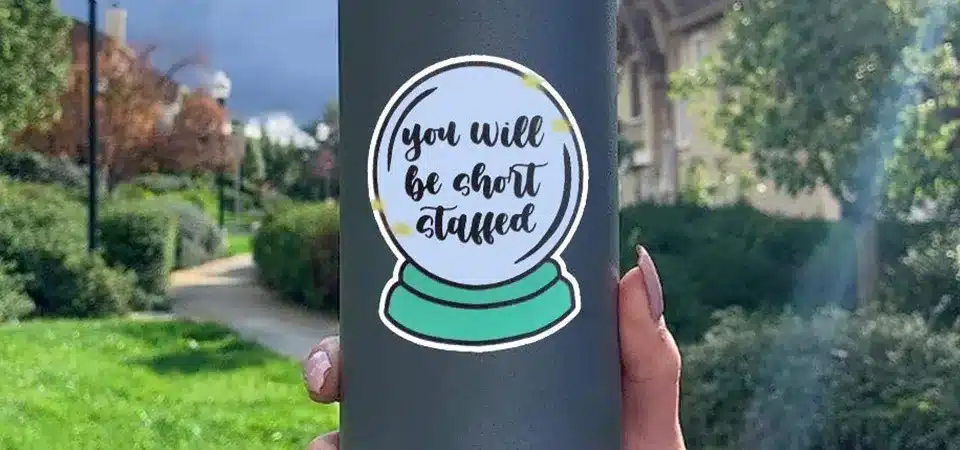
I tell every single one of my clients this: even with the toughest, most expensive laminated sticker in the world, hand washing is the single best thing you can do to make it last for years. A dishwasher is a torture chamber for stickers. Think about it: it blasts your bottle with scalding hot water from every angle for an hour, all while using abrasive detergents. This combination is designed to strip away grime, and it will do the same to your stickers over time. The heat softens the adhesive, the jets pry at the edges, and the detergents can slowly fade the ink. Hand washing, on the other hand, is gentle. You use warm (not scalding) water, a soft cloth or sponge, and you have complete control. You can gently wash over the stickers without trying to peel them off. This simple change in habit will give you years of extra life from your decorated bottle.
Where can you buy long-lasting vinyl stickers that are dishwasher safe?
You want to skip the DIY protection steps entirely. You just want to find stickers that are tough enough to survive right out of the package, but you don't know what to look for.
Look for sellers who specialize in high-quality outdoor or permanent decals. Reputable sticker companies and printers (like my own) will clearly label their products as "laminated vinyl," "waterproof," or "dishwasher-safe" for ultimate durability.
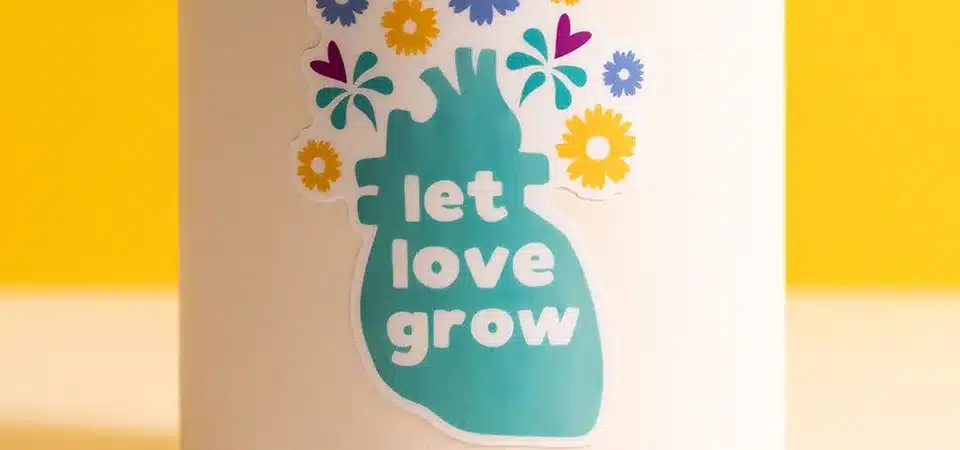
The easiest way to get a durable result is to buy the right product from the start. This means you don't have to spend any time adding your own protective layers. When you're shopping online, look for specific keywords in the product description. The best sellers will be very clear about their materials.
Here’s what to search for:
- Laminated Vinyl Sticker: This is the gold standard. It means the sticker has that clear, protective top layer.
- Waterproof / Weatherproof: This confirms the material is plastic vinyl, not paper.
- UV Resistant: This indicates it has protection against fading from the sun.
- Outdoor Decal: This is another term for a high-durability sticker meant for cars, which works perfectly for water bottles.
- Dishwasher Safe: Some sellers, like us, will have tested their products and will state this explicitly.
Buying from a professional printing business ensures you get a sticker made with industrial-grade materials and inks, giving you a beautiful and long-lasting result without any extra work.
FAQs
Will Mod Podge make my stickers truly dishwasher safe?
The "Dishwasher Safe" Mod Podge formula is highly water-resistant, but the company itself notes that for best results, items should be placed on the top rack of the dishwasher and that the sealant must cure for a full 28 days first. For maximum longevity, hand washing is still the safest bet.
Can I just put clear packing tape over my stickers?
This is a common but bad idea. Packing tape is not waterproof, and its adhesive is not designed for long-term use. It will yellow and crack over time, water will get underneath, and when it fails, it will leave behind a horrible, sticky residue that's very hard to clean.
How do I apply stickers to a curved bottle without getting bubbles?
The trick is to start from the middle. Peel the backing off and place the center of the sticker down first. Then, using your thumb or a credit card, slowly and firmly smooth the sticker outwards toward the edges. This pushes any trapped air out instead of trapping it under the center.
Conclusion
Protecting your stickers is easy. Start with quality vinyl, add a protective layer like a laminate or sealant for extra strength, and always hand wash your bottle. Your bottle will look great for years.

