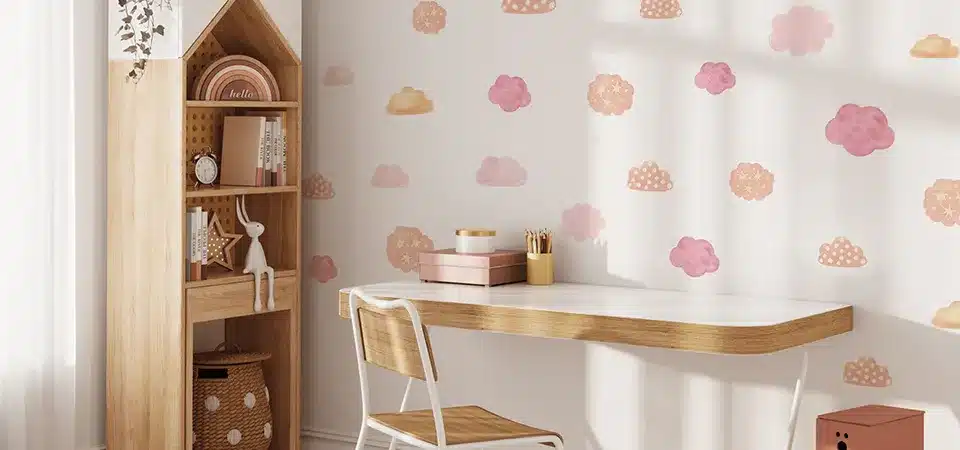
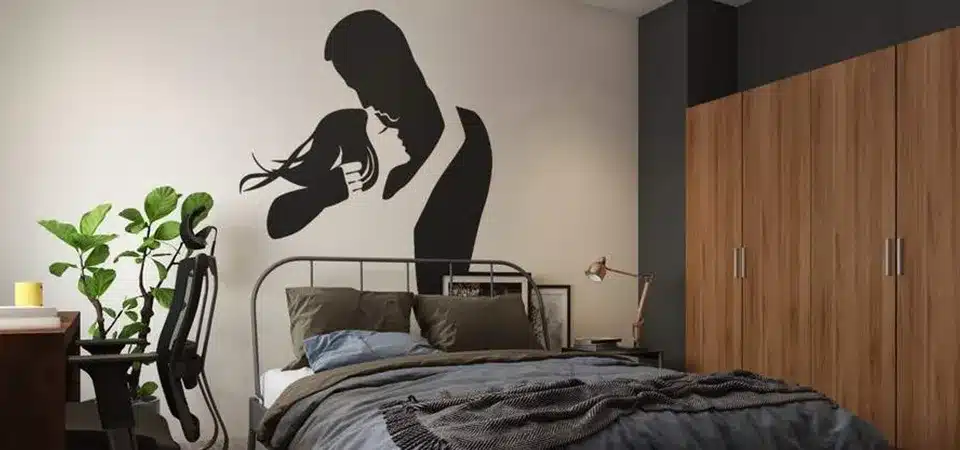
You found the perfect wall sticker to bring a room to life. But you hesitate, fearing that when it's time for a change, it will rip the paint right off the wall, leaving a huge mess.
High-quality wall stickers generally do not damage paint when applied to a properly prepared, fully cured wall and removed carefully. However, issues can arise from low-quality vinyl, old or poorly applied paint, or by peeling the sticker off too quickly.
When I work with clients on custom labels, the fear of "what happens when I take it off?" is a big concern, whether it's on a product or a wall. The good news is that most modern wall decals are designed to be paint-safe. The key isn't just the sticker itself, but the condition of your wall and the method you use for application and removal. Think of it as a partnership between the sticker and the wall; if one isn't ready, the result won't be perfect. Let's break down how to make sure that partnership is a successful one.
Why is cleaning the wall so important before placing a sticker?
You've wiped the wall, it looks clean, so you apply the sticker. A week later, a corner starts to curl up, and you blame the sticker for not being sticky enough.
Cleaning the wall with a mild soap and water solution is critical because it removes invisible layers of dust, grease, and grime. These particles prevent the sticker's adhesive from making direct contact with the wall, causing it to fail and peel off prematurely.
I had a client once who was designing beautiful nursery stickers. She called me, upset, because a large sticker she applied in her own home had started peeling. My first question was, "How did you prep the wall?" She said she'd just wiped it with a dry cloth. That's the classic mistake. A wall that looks clean to the human eye can be covered in a fine layer of dust. The sticker's adhesive will stick perfectly to that dust, but the dust isn't stuck to the wall. The result? The sticker and the dust peel away together.
Another critical factor is paint curing time. Fresh paint releases chemicals and moisture for weeks as it hardens, a process called "outgassing." If you apply a sticker too soon, these gases get trapped underneath and will literally push the sticker off the wall.
Here’s the professional prep process I recommend:
- Wait: Let new paint cure for at least 3-4 weeks. Be patient, it's worth it.
- Wash: Gently wash the area with a sponge using a simple mix of mild dish soap and water.
- Rinse: Wipe the area again with a sponge and clean water to remove any soap residue.
- Dry: Let the wall air dry completely for at least 24 hours. Don't rush this step.
This simple process ensures the adhesive can form the strongest possible bond directly with the paint, giving your sticker the best chance at a long, peel-free life.
How do you remove a wall sticker without damaging the paint?
The time has come to redecorate, but the thought of removing that huge wall sticker fills you with dread. You can already picture the ugly patches of missing paint it might leave behind.
To remove a wall sticker safely, gently heat the entire surface with a hairdryer on a low setting. This softens the adhesive, allowing you to slowly peel the sticker back on itself at a 180-degree angle, which minimizes stress on the paint.
The biggest mistake people make is trying to rip a sticker off like a bandage. This creates a huge amount of focused tension and is the number one cause of paint damage. My friend learned this the hard way. He ripped a decal off his son's wall and took a dinner-plate-sized chunk of paint with it. He had to spackle, sand, and repaint the whole area. The next weekend, I went to his neighbor's house to help them remove a similar decal. We spent about 30 minutes with a hairdryer, working slowly. The result? The decal came off perfectly, and the wall underneath was flawless.
The heat from a hairdryer makes the vinyl pliable and, more importantly, softens the adhesive, making it release its grip. The other part of the secret is the angle. Don't pull the sticker straight out from the wall (a 90-degree angle). Instead, fold it back on itself and pull down slowly, keeping your hand close to the wall. This "slow and steady" 180-degree peel spreads the tension out and is much gentler on the paint surface. If you feel any strong resistance, stop and apply more heat to that specific spot. A little patience here can save you hours of repair work later.
Can you really reuse a wall sticker?
You're moving to a new apartment, and you love the expensive wall mural you bought. You feel terrible just throwing it away, and you hope you can take it with you.
Typically, you cannot reuse wall stickers. Most are made with a single-use adhesive that stretches and loses its tackiness upon removal. Even if it does stick to a new wall, it will likely have dirty edges and peel off quickly.
In my business, we print stickers on many materials. The adhesive used for permanent signs is very different from the one used for paint-safe wall decals. Wall decal adhesive is specially formulated to have a strong enough bond to stay up, but a low enough tack to be removed cleanly. This formulation is not designed for a second life. When you peel the sticker off, the adhesive gets stretched and distorted. It also immediately picks up any microscopic dust particles from the air or the wall.
Some companies sell "repositionable" or "reusable" stickers, which are often made from a fabric-like material instead of vinyl. These have a special ultra-low-tack adhesive and can sometimes be moved once or twice if handled perfectly. But for the vast majority of standard vinyl wall stickers, removal is a one-way trip. Even if you manage to get it off the wall and onto some wax paper, it will never stick as well the second time. My advice is to think of a wall sticker as beautiful, temporary art. Enjoy it for its lifespan in one location, and then look forward to choosing a new design for your next space.
What do you do if the paint chips anyway?
You followed all the steps, but a small flake of paint still came off with the sticker. Now there's an ugly blemish on the wall, and it's all you can see.
Don't panic; small paint chips are an easy fix. The process involves lightly sanding the spot, applying a thin layer of spackling paste, sanding it smooth when dry, and then dabbing on a bit of primer and matching paint.
First, it's important to understand why this happens. More often than not, a paint chip isn't the sticker's fault. It's usually a sign that the wall wasn't prepared properly before it was painted. Maybe the original painter didn't use a good primer, or there was dust on the wall then. The paint never formed a strong bond, so almost anything would have lifted it. The good news is that the repair is a simple DIY task that anyone can do.
Here is a step-by-step guide to making that blemish disappear:
| Step | Action | Pro-Tip |
|---|---|---|
| 1. Sand | Lightly sand the edges of the chip with fine-grit (220) sandpaper. This smooths the transition between the paint and the wallboard. | Just focus on the edges of the chip, not the surrounding paint. |
| 2. Spackle | Use a small putty knife to apply a thin layer of spackling compound over the chip. Scrape it flat so it's level with the rest of the wall. | Less is more. You can always add a second thin coat if needed. |
| 3. Sand Again | Once the spackle is completely dry (check the instructions), lightly sand it until it's perfectly smooth and flush with the wall. | Run your fingers over it. If you can't feel the patch, you're done. |
| 4. Prime | Dab a small amount of primer over the patch. This is a crucial step to ensure the final paint color and sheen will match. | Use a small artist's brush or the tip of a foam brush. |
| 5. Paint | Once the primer is dry, use the same small brush to apply your matching wall paint to the spot. Let it dry and apply a second coat if needed. |
If you don't have the original paint, take the paint chip that came off to a hardware store. They can often do a digital scan and mix up a small, perfectly matching sample pot for you.
Conclusion
Wall stickers are a fantastic way to decorate, and with proper care, they can be applied and removed without damaging your walls. The key is quality products and a little patience.


