Skip to content
You want a clean, professional decal without a chunky background. Printed stickers look cheap and messy. Transfer stickers give you that perfect, painted-on look you’ve always wanted.
A transfer sticker is a decal made from cut vinyl with no background. A top layer of transfer tape lifts the design from its backing paper and applies it to a surface like a car window. Only the individual letters or shapes remain for a clean look.
As a sticker maker, I really admire the elegance of transfer stickers. They just look so clean and professional. Many of my clients love the look but don't know what makes them so special or how much patient work goes into making each one. Let's break it down so you can see why they might be the perfect choice for your project.
How are transfer stickers actually made?
Transfer stickers seem magical, with no background. You might wonder how they are even made. This can make ordering them feel a bit complicated or mysterious.
We start with your vector design and use a plotter machine to cut it into a sheet of colored vinyl. Then, we manually remove all the excess vinyl in a process called weeding. Finally, a layer of transfer tape is applied over the top.

The process is a careful mix of technology and hands-on skill. I've been doing this for over a decade, and I still find the process satisfying. It’s amazing to watch a simple sheet of colored vinyl transform into a sharp, precise piece of branding.
Step 1: The Design Must Be a Vector
Everything starts with the design file. To make a transfer sticker, we must use a vector file, like an AI, SVG, or EPS file. A vector file is not made of pixels like a photo (JPG or PNG). Instead, it's made of mathematical lines and curves. This gives the cutting machine a perfect path to follow. A blurry image file just won't work because the machine needs clean lines to cut. This is the most important step for getting a sharp, professional result.
Step 2: The Cutting Machine
Once we have the vector file, we load a roll of colored vinyl into a machine called a plotter. The plotter has a tiny, very sharp blade. It reads the vector file and precisely cuts the design into the top vinyl layer without cutting through the paper backing underneath. This is sometimes called a "kiss cut." The machine is incredibly accurate, but it can only cut what the vector file tells it to.
Step 3: Weeding—The Art of Patience
This is the most hands-on part of the process. After the design is cut, we have to remove all the unwanted vinyl. This is called "weeding." We use a small, sharp tool that looks a bit like a dental pick to carefully peel away all the negative space around and inside the letters and shapes. For a complex design, this requires a lot of patience and a steady hand. It's a quiet, focused job that can't be rushed.
Step 4: Applying the Transfer Tape
After all the extra vinyl is gone, we are left with just your design on the paper backing. To hold it all together for application, we carefully lay a sheet of transfer tape over the top. This tape is sticky enough to lift your design off the backing but not so sticky that it won't release it onto your final surface. The transfer sticker is now complete and ready to be applied.
What’s so good about using transfer stickers?
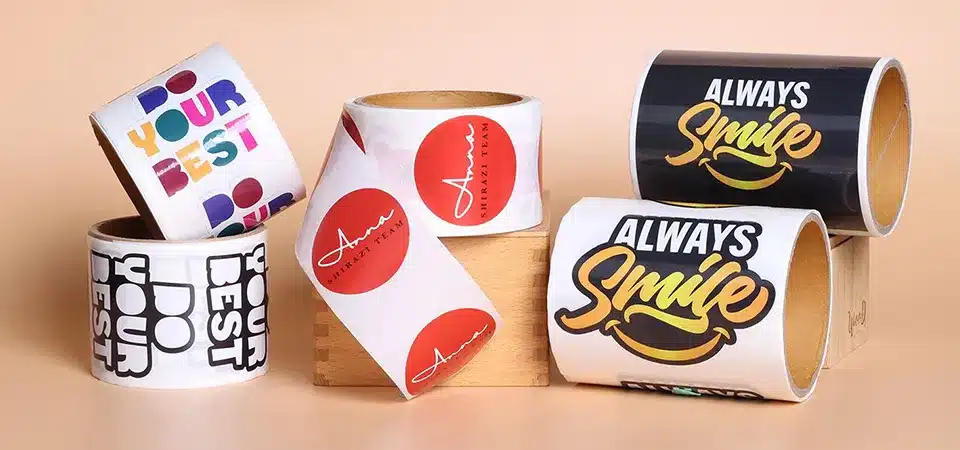
You want your brand or company logo to look high-end. But standard printed stickers with clunky backgrounds just don't cut it. They can look sloppy and cheap.
Transfer stickers are great because they have no background, creating a clean, painted-on appearance. They are also very durable and weather-resistant, making them perfect for outdoor use on cars and windows. This gives your design a premium feel.

The biggest advantage of a transfer sticker is the clean, professional result. When my clients want their business to look established and polished, this is often the product I recommend. They are perfect for anyone who cares about a premium finish.
The Professional "Painted-On" Look
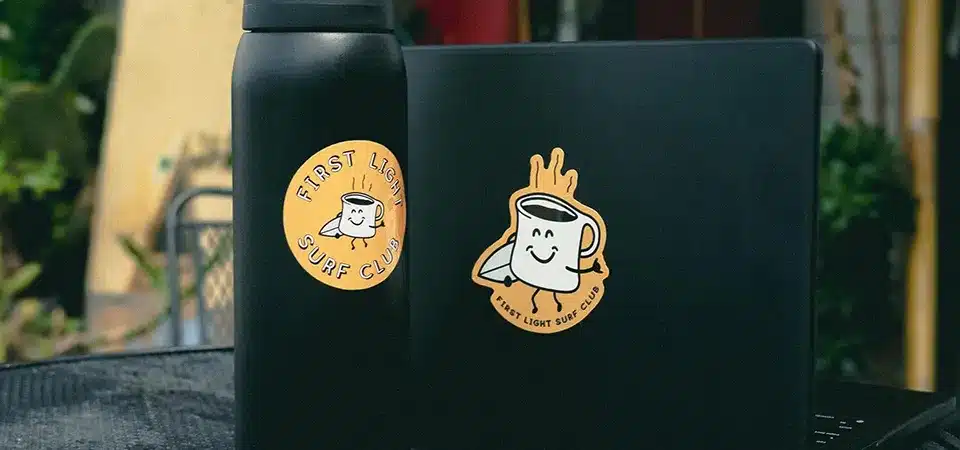
Because there is no background, your design looks like it was painted directly onto the surface. The color of your car window or laptop becomes the background color. This creates a very sharp and minimalist look that is impossible to achieve with a regular printed sticker. It makes your logo look integrated and intentional, not like a cheap afterthought. This is why you see them used for high-end branding on storefronts and company vehicles.
Incredible Durability
Transfer stickers are typically made from high-performance cast or calendared vinyl. This is the same kind of material used for professional vehicle wraps and outdoor signage. It’s engineered to last for years, even outdoors. The vinyl is resistant to fading from UV rays, and it holds up against rain, snow, and car washes. I've seen car window decals that I printed five years ago that still look sharp and clear today. This durability means your investment lasts a long time.
They Work on Many Surfaces
While they work best on smooth surfaces, transfer stickers are very versatile. You can apply them to a wide range of places to get a consistent branding look.
| Common Applications | Why it Works |
|---|---|
| Car/Truck Windows | Extremely durable and weather-resistant. |
| Laptops & Electronics | Gives a custom, high-end look without bulk. |
| Storefront Doors/Windows | Professional signage for business hours or logos. |
| Equipment & Hard Hats | Tough enough to label machinery and gear. |
| Interior Walls | Great for clean-looking office or home decor. |
Are there any limitations to transfer stickers?
You love the clean look of transfer stickers. But you might worry that your design won't work or that applying it will be too difficult. Understanding their limits helps you avoid these problems.
Yes, there are limits. Extremely small or thin text can be fragile and hard to produce. Designs with gradients or photos are not possible, as each part must be a solid color. Application also requires a smooth, clean surface to stick properly.

As much as I love transfer stickers, they are not the right tool for every single job. It's important to know their weaknesses so you can design for success. I always guide my clients on this to make sure they will be happy with the final product.
Design Complexity
Transfer stickers are best for bold, clean graphics and text. There are a few design limitations to keep in mind:
- No Photos or Gradients: The process uses solid-colored vinyl. It cannot reproduce photographic images, color gradients, or subtle shadows. If your logo has these elements, it will need to be simplified into solid shapes for it to work.
- Intricate Details: Extremely thin lines or tiny, floating pieces can be a problem. If a detail is too small, it can get lost during the weeding process or may not stick properly during application. As a rule, I tell my clients that any line in their design should be at least 1.5mm thick to be safe.
Color Limitations
Most transfer stickers are a single color. It is possible to create multi-color designs by hand-layering different colors of vinyl on top of each other. However, this is a manual process that adds a lot of time and cost. It is not practical for more than two or three simple, overlapping colors. For full-color, complex logos, a printed sticker is a better option.
Application Challenges
Applying a transfer sticker requires a bit of care.
- Surface Type: It needs to be applied to a smooth, clean, non-porous surface. It will not stick well to textured surfaces, raw wood, concrete, or fabric.
- Patience is Key: Applying a large decal can be tricky. You have to go slowly to avoid trapping air bubbles or applying the sticker crookedly. But with a little patience, anyone can get a great result.
How can you get the very best transfer stickers?
You're ready to order, but you want to make sure you get a great product. Low-quality stickers will peel, fade, and be difficult to apply, which is just a waste of money.
For the best results, start with a high-quality vector file (AI, SVG). Insist on premium, outdoor-rated vinyl and a good transfer tape. Simplify your design by avoiding tiny details. And always apply your sticker to a clean, smooth surface.

Getting a great result is a partnership between you and your printer. When you provide a great design file and understand the process, you empower us to create the best possible product for you. Here are the rules I share with my clients for guaranteed success.
Rule #1: A Perfect vector File is Everything
This is the single most important part. A clean vector file is the foundation for a clean sticker. If you send a blurry, low-resolution JPG, the final cut will have rough, jagged edges. Your printer can sometimes help you convert a file, but it's always best to start with a proper vector design. This non-negotiable step ensures every line is perfectly sharp.
Rule #2: Simplify Your Design for Impact
Think bold. The most effective transfer stickers use clean lines and easy-to-read text. Before you finalize your design, take a step back and see if you can simplify it. Can you make that thin font a little thicker? Can you remove any tiny, unnecessary elements? A simpler, stronger design will not only look better from a distance, but it will also be more durable and much easier to apply correctly.
Rule #3: Master the Application
A great sticker can be ruined by a bad application. Taking just five extra minutes will ensure a perfect, bubble-free result.
- Clean the surface. Use rubbing alcohol to remove any dirt, oil, or wax. Let it dry completely.
- Press and rub. Place the sticker face down and rub the backing paper firmly with a credit card. This helps the transfer tape grab the design.
- Peel slowly. Carefully peel the transfer tape away from the paper backing. The vinyl design should lift off with the tape.
- Apply and smooth. Position the sticker and carefully smooth it onto the surface with a credit card, working from the center out.
- Remove the tape. Slowly peel the clear transfer tape off at a sharp angle. All that should remain is your beautiful vinyl design.
Conclusion
Transfer stickers offer a professional, background-free look. They are made by cutting vinyl and are perfect for durable branding on cars, windows, and laptops.