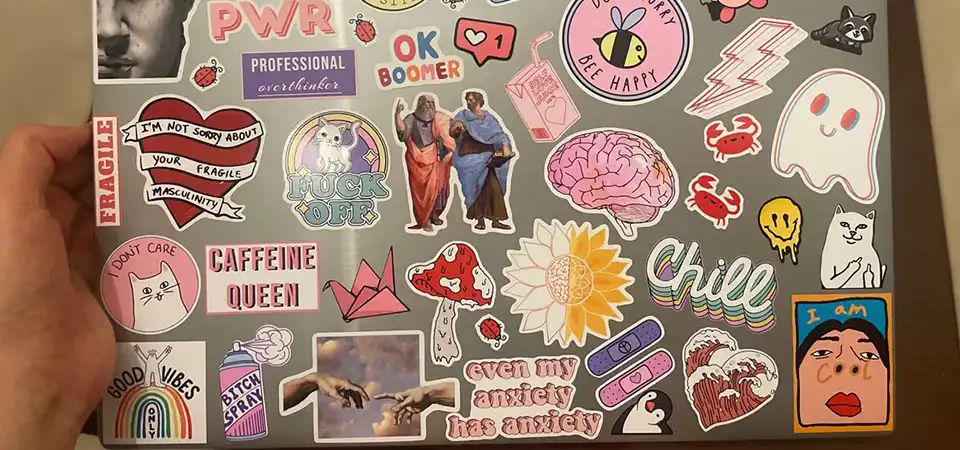
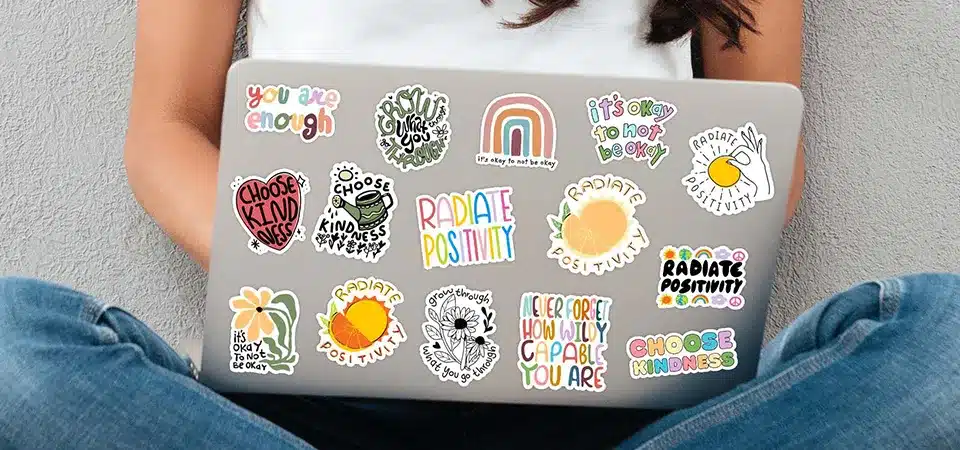
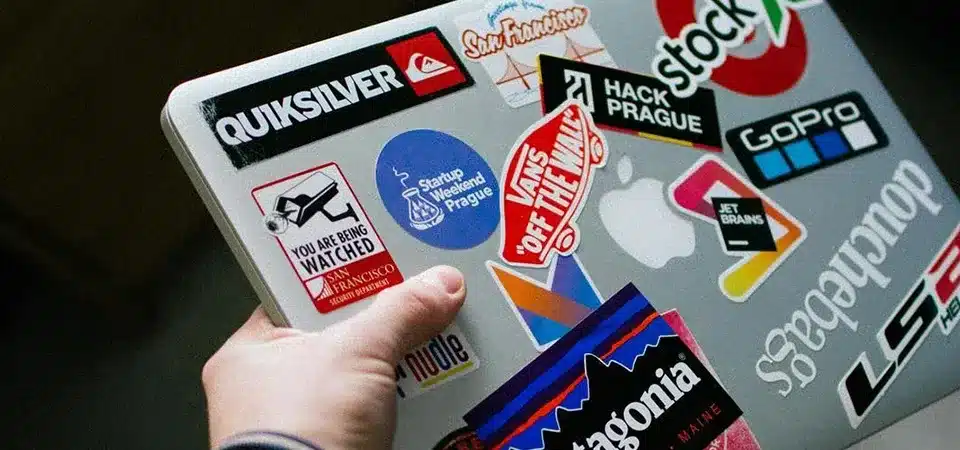
You have a collection of amazing stickers you love, but you're afraid to use them. Once you stick them down, they are stuck there forever.
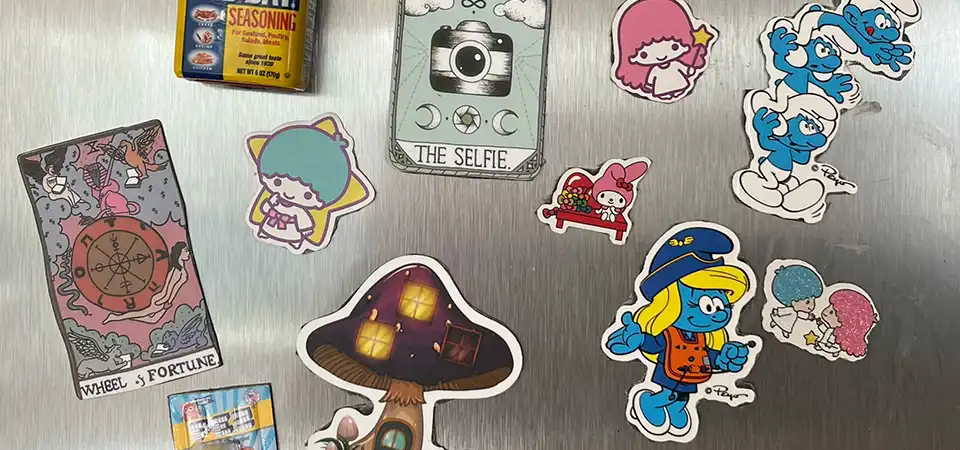
You can easily turn stickers into magnets by applying them to adhesive magnet sheets or buttons. This simple DIY project makes your favorite designs reusable and practical, perfect for decorating your fridge, whiteboard, or locker without any permanent commitment.
As a sticker expert, I often say that turning a sticker into a magnet doubles its value. You're taking a single-use decoration and transforming it into something functional you can move and reuse. It's a fantastic way to enjoy your favorite designs without the stress of finding the one perfect spot for them. This process is very simple, and I want to show you three easy ways to do it. Each method is affordable and opens up a world of creative possibilities, whether you're making them for yourself, as gifts, or even for small-batch products.
What makes magnets made from stickers so special?
You see tons of generic magnets in stores, but they lack personality. They don't reflect your style, and it feels like settling for something boring.
Sticker magnets are special because they mix the unique art of stickers with the practical function of magnets. This makes them endlessly customizable, budget-friendly, and a perfect way to add a personal and visually appealing touch to any magnetic surface.
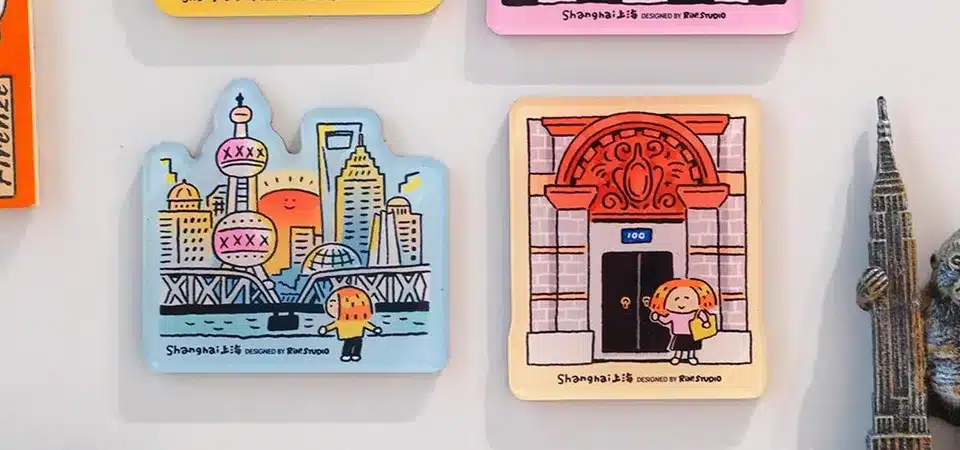
The magic of a sticker magnet is that it combines the best of both worlds. You get the incredible detail, color, and variety of stickers, but with the flexibility of a magnet. In my business, we help people create amazing custom art, and this is one of my favorite ways to see that art come to life in a home. Let's look at what makes these little creations so great.
Visually Appealing and Practical
A sticker magnet keeps all the visual charm of the original sticker. The colors are bright, and the designs are exactly what you chose. But now, it’s also practical. You can use it to hold up shopping lists, photos, or kids' drawings on the fridge. It moves from being just a decoration to a useful tool, letting you enjoy your favorite art while it helps you stay organized.
Easy Customization for Endless Possibilities
This is where the fun really begins. Any sticker can become a magnet. Your favorite band, a cool artist's design, a funny quote, even your own logo—if you can get it as a sticker, you can turn it into a magnet. This means you can create a perfectly themed set for your kitchen, office, or workshop. You are in complete control of the final look, which is something you can never get with mass-produced magnets.
Budget-Friendly
Making your own magnets is very affordable. The materials, like magnet sheets or buttons, are inexpensive, especially when you buy them in packs. It’s a great way to create a lot of custom items without spending much money. This makes it a perfect craft for creating unique party favors, small gifts for friends, or just a fun weekend project. You get a completely custom product for a fraction of the cost of buying pre-made designer magnets.
1.Using Circle Stickers and Magnet Buttons
You want to make magnets, but you're not confident in your crafting skills. You worry about messy cutting and uneven edges, and you want a foolproof method.
This method is the simplest way to get a clean result. You just stick a pre-cut circle sticker onto a matching magnet button. There's no cutting needed, giving you a perfect, professional-looking magnet in seconds.

This is the technique I recommend for anyone who is just starting out or wants to make a lot of magnets quickly. It's almost impossible to get wrong, and the results are fantastic. By using stickers and magnets that are already the same size and shape, you take all the guesswork out of the process. This method is incredibly satisfying because you get a perfect result every single time.
The necessary tools you will need:
- Circle Stickers: Choose stickers that are the same size as your magnet buttons, or slightly smaller.
- Magnet Buttons: These are small, round magnets, often with an adhesive side. You can find them at any craft store. Make sure you get the flat-faced kind.
- A clean, dry cloth.
How to turn stickers into magnets using circle stickers and magnet buttons:
- Prepare your magnet. Take your magnet button and wipe the flat surface with a clean cloth to remove any dust or oils. If your magnet button came with an adhesive side, peel off the paper liner.
- Peel your sticker. Carefully peel your circle sticker from its backing paper. Try to handle it by the edges to avoid getting fingerprints on the adhesive.
- Apply the sticker. Line up the sticker over the magnet button. Carefully center it and then press it down, starting from the middle and smoothing your way to the edges. This helps push out any air bubbles.
- Press firmly. Once the sticker is in place, press down firmly all over its surface to make sure it has a strong bond with the magnet. That's it! Your magnet is ready to use.
2.Using Die Cut stickers and magnet sheets
You have awesome, uniquely shaped die-cut stickers you want to turn into magnets. A standard circle or square magnet just won't work for these amazing designs.
Use an adhesive magnet sheet. You stick your die-cut sticker onto the sheet, then carefully cut around the sticker’s edge. This creates a custom-shaped magnet that perfectly matches your sticker's unique design, preserving every detail.
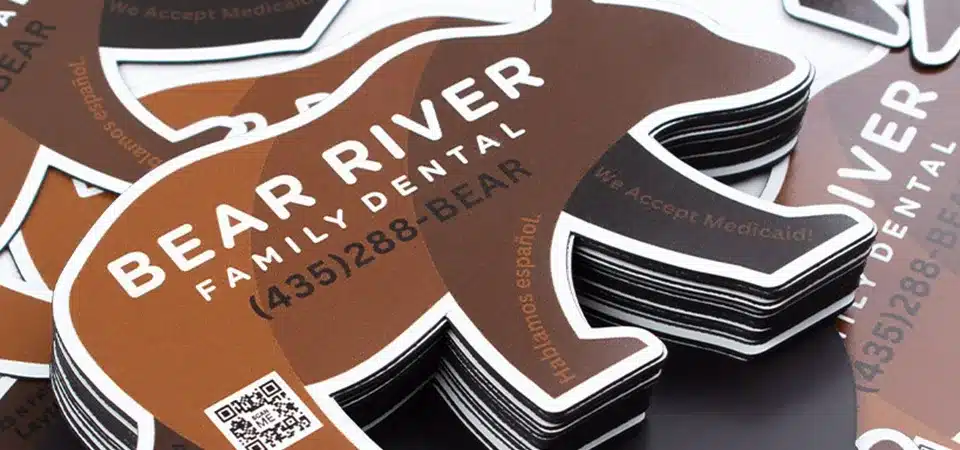
This method is perfect for anyone with a collection of cool die-cut stickers. It takes a little more effort than the button method, but it allows you to keep the awesome custom shape that makes die-cut stickers so special. As someone who makes custom-shaped stickers for a living, this is my favorite way to preserve the unique silhouette of a design. A little bit of patience with your cutting will give you a result that looks incredibly professional.
Necessary Tools:
- Die-Cut Stickers: Any sticker with a custom shape.
- Adhesive Magnet Sheets: These are thin, flexible sheets of magnet with a peel-and-stick adhesive side.
- Sharp Scissors or a Craft Knife: A craft knife (like an X-Acto knife) will give you the cleanest, most precise cut.
- A Cutting Mat (if using a craft knife): To protect your work surface.
How to turn stickers into magnets using die-cut stickers and magnet sheets:
- Prepare your magnet sheet. Cut a piece from the magnet sheet that is slightly larger than your sticker. This saves material and makes it easier to handle.
- Apply the sticker. Peel the backing off your die-cut sticker and carefully place it onto the non-magnetic side of the magnet sheet. Smooth it down firmly with your fingers or a credit card to get rid of any air bubbles.
- Cut it out. This is the most important step. Using a very sharp craft knife or scissors, carefully cut the magnet sheet, following the edge of your sticker. Go slowly and take your time to get a clean, precise cut. If the sticker has sharp corners or intricate details, a craft knife is much better than scissors.
- Smooth the edges. After cutting, you can run your finger along the cut edge of the magnet to smooth out any tiny rough spots. Now your custom-shaped magnet is finished!
3.Using UV DTF transfer stickers and magnet tape or magnet sheet
You want a truly professional, premium-looking magnet. You don't want any white border from the sticker paper, and you want a design that seems printed directly on the magnet.
UV DTF stickers are perfect for this. These transfers apply only the ink and adhesive to a surface. By applying one to a magnet sheet or tape, you get a clean, borderless design that looks like it was professionally printed right onto the magnet.
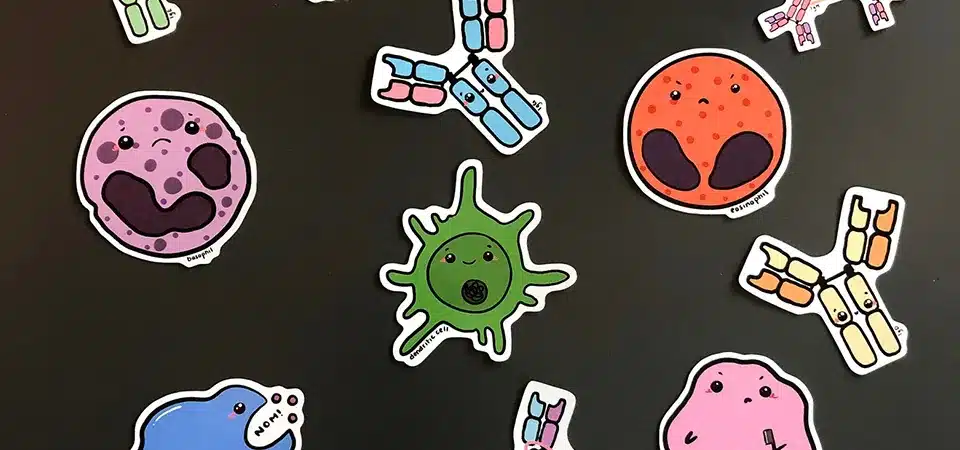
This is a more advanced technique, but it gives an absolutely stunning result. In the printing industry, UV DTF is a game-changer because of the high-quality, durable finish it produces. Using these for magnets creates a product that looks store-bought. It’s perfect for intricate designs where cutting would be impossible.
Advantages:
- No Border: Only the design transfers, so there is no white or clear sticker edge.
- Very Durable: The designs are waterproof, scratch-resistant, and have a slightly raised, glossy texture.
- Professional Finish: It looks like the design was printed directly onto the magnet.
To make magnets using DTF transfer stickers, tools you’ll need are:
- UV DTF Transfer Stickers: These are special stickers where the design peels off a film.
- Magnet Sheet or Magnet Tape: A non-adhesive sheet or tape works best.
- A Squeegee or Credit Card: For rubbing the transfer.
- Scissors or a Craft Knife: To cut out the final magnet.
How to turn stickers into magnets using UV DTF transfer stickers:
- Cut your magnet. Cut a piece of magnet sheet or tape to the size you want your final magnet to be.
- Apply the transfer. Peel the white backing paper off the UV DTF sticker. Carefully place the sticky, clear film onto your magnet piece.
- Rub the design. Using a squeegee or the edge of a credit card, rub firmly over the entire design. You need to apply strong pressure to make sure every part of the design adheres to the magnet.
- Peel the film. Slowly and carefully peel the top clear film away. The design should remain perfectly transferred onto the magnet. If a piece isn't sticking, lay the film back down and rub that area again.
- Let it cure. For the best results, let the magnet sit for a few hours to allow the adhesive to fully cure and harden. Your premium, borderless magnet is now complete.
Conclusion
Turning stickers into magnets is an easy and affordable way to make your favorite designs more versatile. With these three simple methods, you can get creative and make custom decor.

