You love the unique look of your stickered laptop, but it is frustrating to see edges peeling or colors fading after just a few months of use. It feels like a waste of money and effort when your personalized design starts to look trashy.
To preserve laptop stickers, start by selecting high-quality vinyl with UV lamination instead of paper, protect edges by using a tight-fitting laptop sleeve during transport, clean only with damp cloths rather than harsh chemicals, and avoid moving stickers once applied to maintain maximum adhesive strength.
In my experience running a printing business, I have seen thousands of stickers fail not because they were bad products, but because they were mistreated. Stickers are durable, but they are not invincible. Whether you bought a rare design from an artist or printed a batch for your own company, you want them to last as long as the computer does. Here are the four rules I follow to keep my own laptop stickers looking brand new for years.
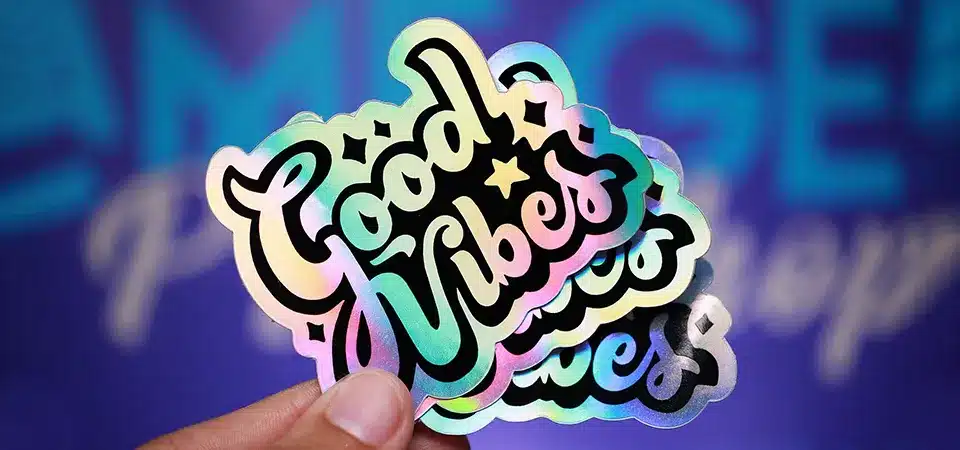
Choose waterproof and scratch-resistant stickers
You might be tempted to buy the cheapest sticker pack online, but saving a few cents now often leads to disappointment when the images fade or disintegrate later.
The most important factor in sticker longevity is material selection; always choose vinyl stickers with a UV-resistant laminate layer. Unlike paper labels that absorb moisture and tear easily, laminated vinyl combats friction, resists fading from sunlight, and remains waterproof against accidental spills.

When clients come to my factory, I always ask them where they plan to put their stickers. If they say "a laptop," I immediately take the paper options off the table. Paper stickers are the enemy of longevity. They are made of wood pulp. When your hands sweat while typing, or if you spill a drop of coffee, paper acts like a sponge. It swells, the ink runs, and the top layer rubs off, leaving a white, sticky mess behind.
You need to look for Vinyl (PVC). Vinyl is plastic. It does not care about water or oil. But vinyl alone is not enough. You must ensure the sticker has a Laminate layer. This is a clear sheet of plastic we press over the printed artwork. Think of it as a screen protector for your sticker.
This laminate does two jobs. First, it stops UV light from bleaching the colors. If you sit near a window, sunlight will kill unlaminated ink in three months. Second, it physically blocks scratches. Your laptop scrapes against things constantly. Without laminate, the ink scratches off. With laminate, the clear plastic takes the hit, and the design stays perfect. Always check the description for "UV Protected" or "Laminated Vinyl" before you buy.
Use a laptop case when it’s in your bag
You slide your laptop into your backpack next to keys, books, and chargers, unaware that every movement acts like sandpaper grating against your favorite stickers.
Physical friction is the primary cause of sticker damage, specifically "edge lift" where the corners catch on fabric and peel back. Using a snug laptop sleeve provides a smooth barrier that prevents items in your bag from rubbing against and ruining your sticker edges.

I have analyzed many "failed" stickers sent back to us, and 90% of the time, the damage starts at the edge. We call this "Dog Earing." This happens when you put your laptop "naked" into a backpack or tote bag. As you walk, the laptop shifts up and down.
Inside your bag, there are loose threads, zippers, books, and charger cables. If a sharp corner of your sticker (like the point of a star shape) catches on a thread, it gets pulled up. Once the adhesive is exposed to the air, it grabs onto dust and lint from your bag. That adhesive is now dead. It will never stick flat again. The peel will keep growing until the sticker falls off.
The solution is simple: Friction Management. You must eliminate the rubbing. A neoprene or soft cloth sleeve is the best investment for sticker preservation. It holds the laptop tight so nothing moves against the surface. If you don't want a sleeve, consider a clear hard-shell snap-on case. You can put the stickers on the laptop body, and then snap the clear case over them. This seals them in a permanent, air-tight museum box where nothing can ever touch them.
Use cleaning methods that are sticker-safe
You want to keep your device clean, but using strong household cleaners to wipe down the lid can dissolve the glue and fade the ink.
Avoid using alcohol-based wipes, bleach, or abrasive scrubbers directly on stickers, as these chemicals break down the laminate and adhesive bond. Instead, use a microfiber cloth slightly dampened with water or mild soapy water to gently wipe away dirt without harming the sticker integrity.

Cleaning is where many people accidentally kill their stickers. You see a smudge on your laptop, so you grab a Clorox wipe or a bottle of window cleaner. Stop.
Most cleaners contain Alcohol (Isopropyl) or Solvents. In the printing industry, we use these exact chemicals to remove stickers. When you wipe your fresh stickers with alcohol, you are attacking the edges. The liquid seeps under the rim and starts eating the glue.
Also, strong chemicals can cloud the laminate. We call this "crazing." The clear shiny layer turns milky white or cracks because the plastic dries out.
Here is the only safe way to clean a stickered laptop:
- Get two cloths: One microfiber (soft), and one dry towel.
- The Mix: Use warm water with a tiny drop of dish soap. Just a drop.
- Application: Do not spray the laptop. Spray the cloth. It should be damp, not wet.
- The Wipe: Wipe gently. Do not scrub hard on the edges of the stickers.
- Dry immediately: Moisture is fine for vinyl, but don't let water sit at the seams for hours.
| Cleaner | Effect on Sticker | Verdict |
|---|---|---|
| Water + Dish Soap | Cleans dirt, spares glue | Best |
| Alcohol / Wipes | Dissolves glue, dries vinyl | Avoid |
| Glass Cleaner | Can cloud the laminate | Risky |
| Paper Towel | Scratches glossy surfaces | No |
Avoid repositioning them too often
You might feel the urge to move a sticker just an inch to the left to get the perfect layout, but every move drastically reduces its holding power.
Stickers utilize pressure-sensitive adhesive that cures over time; lifting and reapplying them allows dust and skin oils to coat the glue, permanently weakening the bond. To ensure they stay flat and stick for years, plan your layout beforehand and commit to the placement on the first try.

The heavy-duty glue we use on high-quality stickers is technically called PSA (Pressure Sensitive Adhesive). It works like a microscopic flow of honey. When you first press it down, it is only 50% stuck. Over the next 24 to 48 hours, it "wets out," flowing into the tiny texture of your laptop lid to create a permanent lock.
If you stick it down, look at it, and say "No, I want it higher," and graze it up, you break that process.
Two bad things happen when you reposition:
- Deformation: Vinyl is stretchy. When you pull it up, you stretch the material. It will never lay perfectly flat again. It will have wrinkles or bubbles.
- Contamination: The air is full of dust, and your fingers are full of oil. The second you lift that sticker, dust hits the glue. Glue cannot stick to your laptop if it is already stuck to dust.
The "One Shot" rule is critical. If you are nervous about placement, do not peel the backing paper off yet. Use a piece of masking tape to hold the sticker in place. Step back and look at it. Move it around with the tape. Only when you are 100% sure should you peel the backing and apply plain pressure. If you absolutely must remove a sticker to save it for later... honestly, you usually can't. It is better to buy a new one than to try and save an old one.
Conclusion
To keep your laptop stickers looking fresh for years, chose laminated vinyl materials, use a protective sleeve to stop friction, clean only with mild soap, and commit to your placement to keep the adhesive strong.