You want to add custom text to your projects, but professional lettering seems too complicated and expensive. This stops you from personalizing gifts, decor, or products with a high-quality finish.
You can make vinyl letter stickers with a cutting machine like a Cricut or entirely by hand. The core steps involve designing your text, cutting the vinyl, weeding away excess material, applying transfer tape for alignment, and then carefully transferring the lettering onto your final surface.
In my years of running a sticker printing business, I have seen how a few simple, well-placed words can completely transform an ordinary object into something special. Vinyl lettering strikes that perfect balance between being affordable, durable, and incredibly creative. While it might look like magic, the process is something anyone can master. With the right tools and a bit of patience, you can achieve a professional finish that rivals anything you could buy in a store. Let's walk through the process together.
What Are Vinyl Letter Stickers?
You see beautiful custom lettering everywhere but don't know what it is. You're missing out on a versatile and affordable way to personalize almost anything.
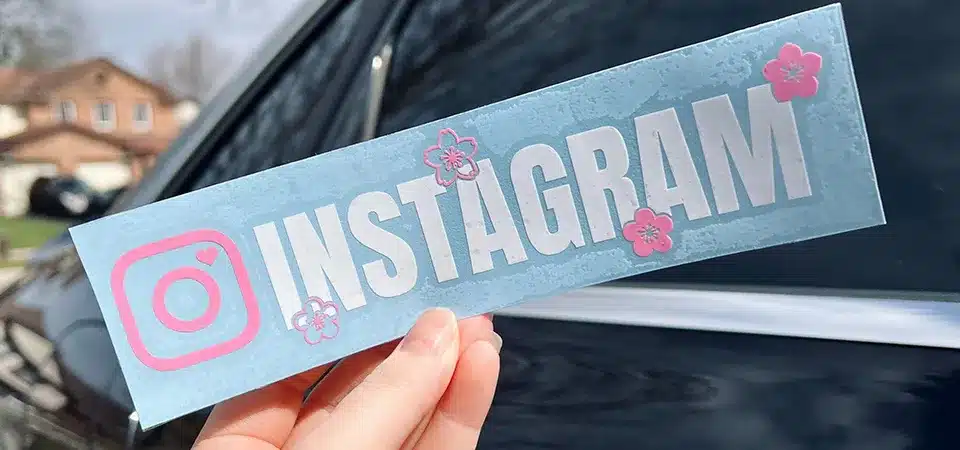
Vinyl letter stickers are precisely cut letters and numbers made from a thin, self-adhesive plastic film called vinyl. They have no background, giving them a clean, painted-on look wherever they are applied, from walls and windows to mugs and cars.
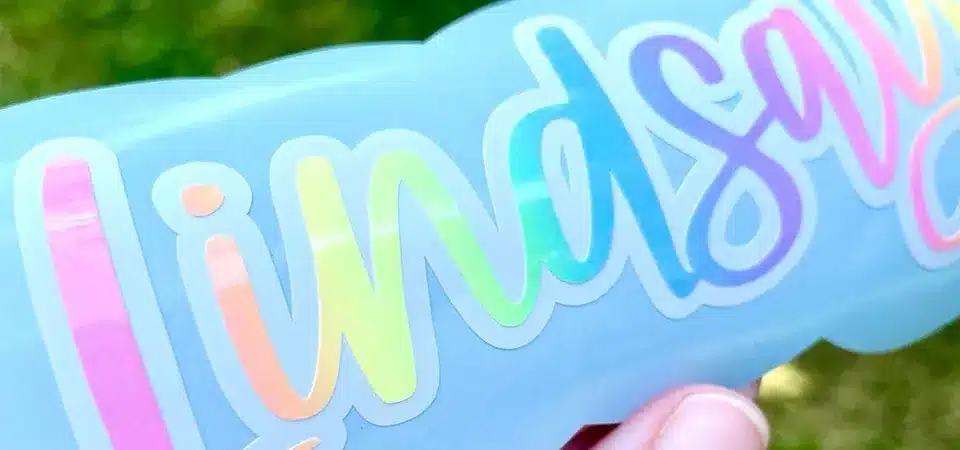
Unlike a traditional sticker that has a solid background, vinyl letter stickers are just the individual letters. This gives them an incredibly professional and clean appearance. The magic is in the material and the application. In my shop, we work with a wide range of vinyl types, and choosing the right one is key to a project's success. The versatility of vinyl is what makes it so popular. You can use it for small craft projects like personalizing a mug, or for large-scale applications like putting your business hours on a storefront window. It's a single product category with a thousand different uses.
Here's a quick look at the most common types and where to use them:
| Vinyl Type | Best For | Key Feature |
|---|---|---|
| Permanent | Mugs, tumblers, car decals, outdoor signs | Strong adhesive designed to last for years. |
| Removable | Wall decor, laptop stickers, temporary decorations | Sticks securely but removes cleanly without damage. |
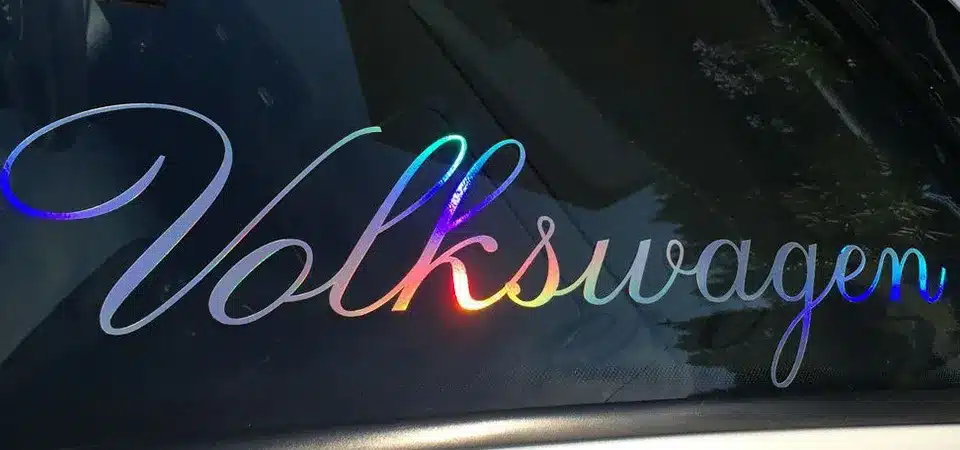
| Specialty | Cricut crafts, unique branding | Includes holographic, glitter, and chalkboard vinyl. |
| Adhesive Foil | High-end looking crafts, invitations, labels | Has a shiny, metallic finish for a touch of class. |
What Tools and Materials Do You Need to Get Started?
You're ready to create, but you're not sure what supplies to buy. This uncertainty can be overwhelming and might stop you from even starting your first project.
You will need adhesive vinyl, a cutting tool (either a machine or a craft knife), a weeding tool, and transfer tape. For machine users, a cutting mat is essential. For the manual method, a printer can help create a template. A scraper tool is useful for everyone.
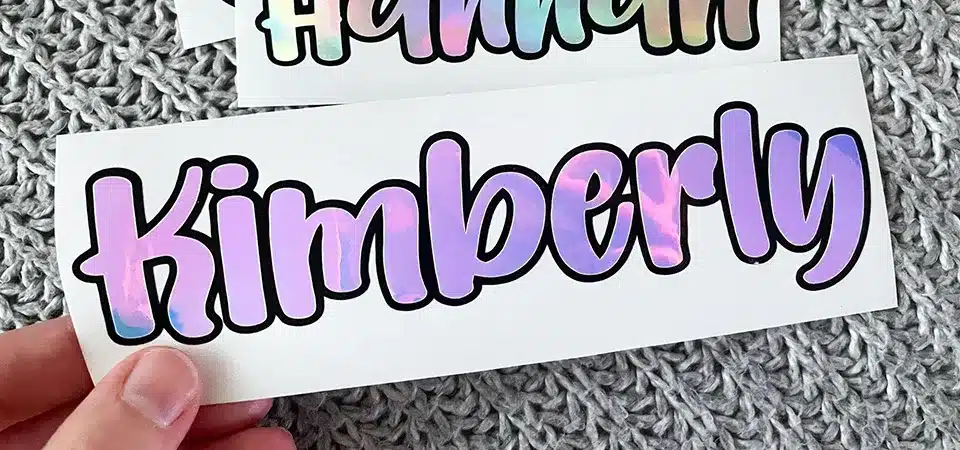
The tools you need depend on which method you choose: using a digital cutting machine or cutting by hand. The machine method is faster and more precise for complex designs, but the no-machine method is a fantastic, low-cost way to get started. In my shop, we use big industrial machines, but the basic principles and tools are exactly the same. Don't be afraid to start simple.
Here’s a breakdown of what you'll need for each method:
| For the Machine Method (Cricut, etc.) | For the "No-Machine" Manual Method |
|---|---|
| Cutting Machine (e.g., Cricut, Silhouette) | Adhesive Vinyl or Contact Paper |
| Standard Grip Cutting Mat | Printer and Computer |
| Vinyl Rolls (Permanent or Removable) | Scissors or Craft Knife |
| Weeding Tools (Picks, Tweezers) | Self-Healing Cutting Mat |
| Transfer Tape | Masking Tape |
| Scraper/Burnishing Tool | Credit Card (as a scraper) |
| Isopropyl Alcohol Wipes | Isopropyl Alcohol Wipes |
No matter which method you choose, a good weeding tool and transfer tape are non-negotiable for getting clean, perfectly aligned lettering. They are the secret weapons for a professional look.
How Do You Design Your Vinyl Letter Stickers?
Your design looks good on the screen, but it cuts poorly. Thin fonts tear and small details get lost, ruining your vinyl and wasting your valuable time.
Choose bold, clear fonts for better legibility and easier cutting. In software like Cricut Design Space, "weld" script fonts so they cut as one piece. For manual cutting, print a mirrored version of your text to use as a guide on the vinyl's paper backing.
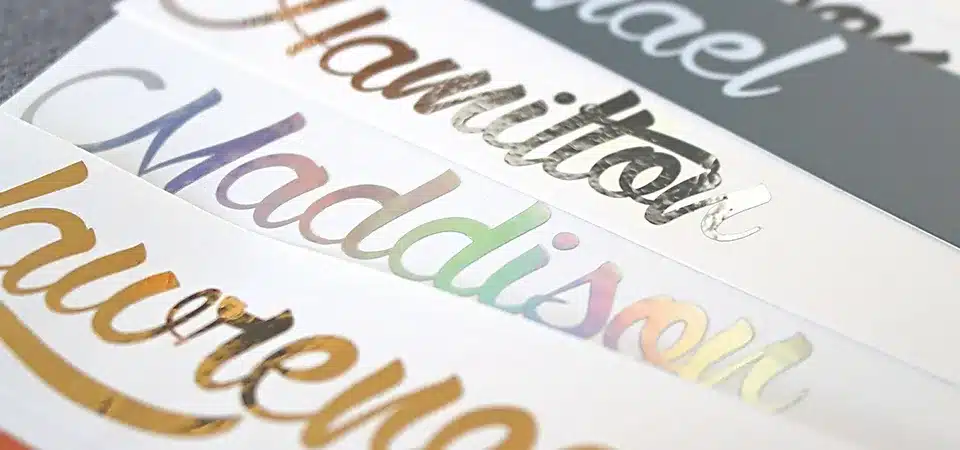
The design phase is where a successful project begins. A few small adjustments here can save you a lot of frustration later. A customer once brought me a beautiful design with a very thin, delicate script font. It kept tearing on the machine. We simply thickened the font slightly in the software, and it cut perfectly. Small changes make a big difference.
Choosing Fonts and Graphics
- Font Selection: Start with simple, bold fonts (sans-serif fonts like Arial or Helvetica are great). They are much easier to cut and weed than very thin or overly decorative fonts.
- Welding and Attaching: If you are using a script font where letters overlap, you must "weld" them together in your design software. This combines them into a single, continuous shape. Use the "attach" function to keep your letters in the correct order and spacing when you send them to be cut.
Preparing Your Design
- Machine Method: In your software (like Cricut Design Space), type out your text, adjust the font and size, and make sure to weld or attach the letters as needed. Size your design to fit your final object, whether it's a mug, a wall, or a notebook.
- Manual Method: Type your text in a word processor. Mirror the image before you print it. Then, print it out and tape it to the paper backing of your vinyl. You will use this as a template to cut through from the back.
What Are the Best Ways to Cut and Weed the Vinyl?
You've finished your design, but now you're facing a sheet of vinyl with tiny, messy pieces. Weeding feels impossible, and you are worried you're going to tear your letters.
For machines, select the correct material setting (e.g., "Premium Vinyl") and use a sharp blade for a clean cut. When weeding, use a pointed tool to lift a corner and slowly pull the negative space away. Always remember to pick out the inner pieces.
Cutting and weeding are the steps where your design really comes to life. "Weeding" is simply the process of removing all the excess vinyl that is not part of your final design. This includes the background and the small inner pieces, like the holes in letters like 'o', 'p', or 'a'. We call these little pieces "counters."
Step 1: Cutting the Vinyl
- Machine Method: Place your vinyl, color-side up, onto your cutting mat and load it into the machine. In your software, make sure you have selected the correct material type. This tells the machine how much pressure to use. Then, send it to cut.
- Manual Method: Tape your mirrored, printed template onto the paper backing of your vinyl. Place it on a self-healing cutting mat. Using a sharp craft knife, carefully trace and cut along the outlines of your letters. A steady hand and a sharp blade are key.
Step 2: Weeding the Vinyl
Once your design is cut, it's time to weed.
- Leave the vinyl on the mat or place it on a flat surface.
- Use a weeding tool (a pick or sharp tweezers) to lift a corner of the negative space around your letters.
- Slowly pull the excess vinyl away from your lettering, preferably at a 45-degree angle.
- After the main background is removed, go back and use your tool to gently pick out all the small inner pieces (the counters). Good lighting helps a lot here!
How Do You Apply Your Vinyl Letter Stickers Perfectly?
You have a perfectly cut and weeded decal, but applying it is a disaster. The letters are crooked, there are bubbles everywhere, and you feel like one wrong move will ruin it.
Apply transfer tape firmly over your weeded design. Clean your target surface with alcohol, then use the "hinge method" to position the decal. Squeegee it down from the center out, and finally, peel the transfer tape off slowly at a sharp angle.
This is the final, most rewarding step. Transfer tape is the key. It's a clear, sticky sheet that lifts your entire design from its paper backing and holds all your letters in perfect alignment while you apply them. I recently helped a local café brand dozens of mugs, and the only way to get consistent placement on every single one was by using transfer tape and the hinge method.
The Application Process Step-by-Step
- Apply Transfer Tape: Cut a piece of transfer tape slightly larger than your design. Peel the backing off and carefully lay it over your weeded letters. Use a scraper (or a credit card) to burnish it firmly. This presses the tape onto the vinyl.
- Prepare the Surface: Your final surface must be clean and dry. Wipe it down with an isopropyl alcohol wipe to remove any oils or dust.
- Position Your Decal (Hinge Method): Place your decal (with the transfer tape on top) onto the surface. Use masking tape to create a "hinge" along the top edge.
- Apply the Decal: Flip the decal up on its hinge. Peel the paper backing away from the vinyl. Now, slowly lay the decal back down onto the surface, using your scraper to press it down from the center outwards.
- Remove the Transfer Tape: Once the decal is burnished down, slowly peel the transfer tape off at a sharp, 180-degree angle, pulling it back on itself. Your vinyl letters will remain perfectly placed on the surface.
What Creative Projects Can You Make Next?
You have finally mastered the technique, but you need some fresh project ideas. You're looking for inspiration to put your new vinyl lettering skills to good use.
Use your new skills to create personalized mugs and tumblers, custom wall art and quotes, fun window decals, or unique seasonal decorations. Vinyl lettering is also perfect for labeling pantry jars, personalizing notebooks, and creating memorable handmade gifts.
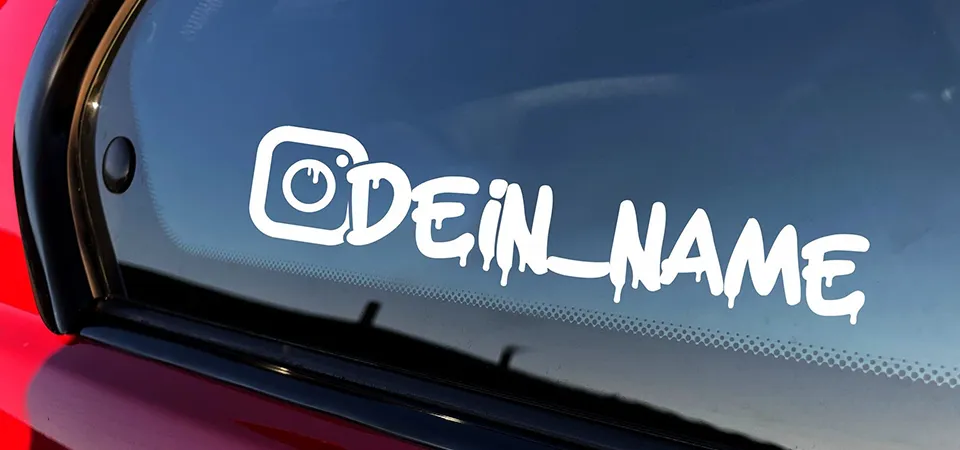
The possibilities for vinyl lettering are truly endless! Once you get the hang of it, you’ll start seeing surfaces everywhere that could use a little personalization. It's a fantastic way to create thoughtful gifts, get organized, or add a custom touch to your home or business. Here are some of the most popular projects I've seen customers create:
- Custom Mugs and Tumblers: Add a name, a funny quote, or an inside joke. Remember to use permanent vinyl and let it cure for 72 hours before hand-washing.
- Wall Art & Decor: Apply large-scale inspirational quotes to a bedroom wall or a clever phrase in your kitchen. Use removable vinyl for this so you can change it later without damaging the paint.
- Organization & Labeling: Create beautiful, uniform labels for all your pantry jars, spice containers, or office storage boxes.
- Personalized Gifts: Add a monogram to a notebook, a wedding date to a picture frame, or a name to a child's toy bin.
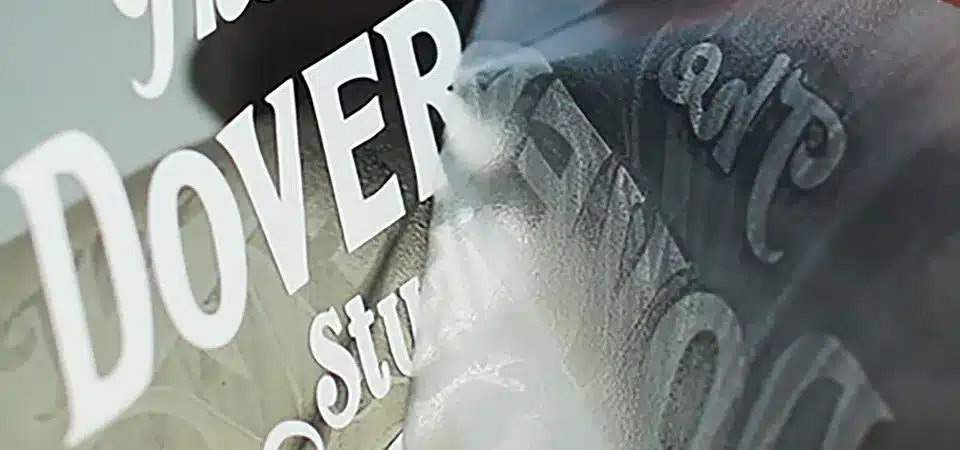
- Business Branding: Use vinyl lettering on your shop window to display your hours, on your car for mobile advertising, or on product packaging for a professional look. I help small businesses with this every single day—it’s an incredibly effective and affordable branding tool.
FAQs
You're close to starting, but a few questions are holding you back. You are unsure about the details of vinyl types, removal techniques, and whether a machine is truly necessary.
No, you must use permanent, outdoor-rated vinyl for projects exposed to weather. You don't need a cutting machine to start, but it helps for precision. To remove vinyl, gently heat it with a hairdryer and peel it away slowly.
Getting clear answers to these common questions can give you the confidence to dive into your first project. Over the years, I have answered these questions hundreds of times for hobbyists and small business owners alike. Let's clear up some of the most frequent points of confusion.
Can I use any vinyl for outdoor projects?
No, absolutely not. You must use a vinyl labeled specifically as "permanent" or "outdoor." This type of vinyl uses a stronger, water-resistant adhesive and is made to withstand UV exposure from the sun, rain, and temperature changes. Using indoor-rated removable vinyl on a car, for example, will lead to it peeling and fading within months.
Do I need a machine to make professional-looking vinyl letter stickers?
No, you don't need one, but it makes things much faster and more precise. You can achieve fantastic results by hand-cutting with a craft knife, especially for simpler fonts and larger lettering. However, for intricate designs or small text, a cutting machine like a Cricut or Silhouette is unbeatable for achieving a clean, professional edge.
How do I remove a vinyl letter sticker if I want to change it?
To remove vinyl, gently warm the surface with a hairdryer on a low setting. This softens the adhesive. Then, use your fingernail or a plastic scraper to lift one edge and slowly peel the lettering off. For any sticky residue left behind, you can use a citrus-based adhesive remover like Goo Gone and a soft cloth.
What’s the difference between vinyl, sticker paper, and contact paper?
Vinyl is a durable, flexible plastic film designed for long-lasting decals. Sticker paper is paper with an adhesive back, best for short-term indoor use; it is not waterproof or durable. Contact paper is a very thin, low-tack vinyl, often used for lining shelves. While you can use it for practice, it is not ideal for quality decals.
Conclusion
Making vinyl letter stickers is a rewarding skill. By following these core steps for design, cutting, and application, you can create a huge range of professional-looking custom projects with confidence.

