Skip to content
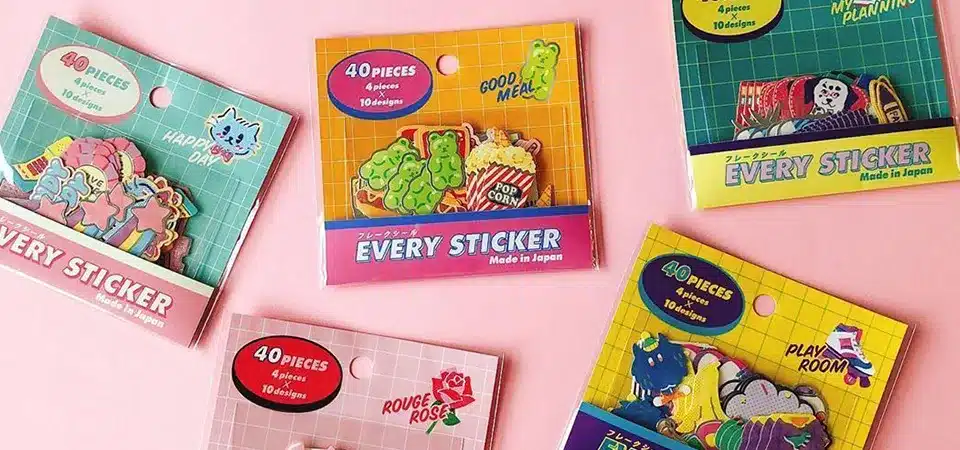
You have amazing digital art and photos you want to turn into real sticker packs. But the process seems complicated and expensive. Where do you even start?
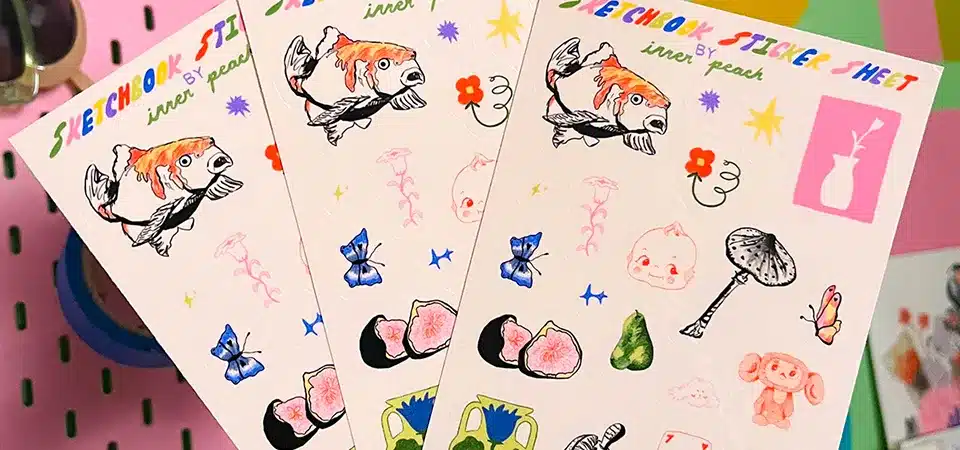
Making sticker packs at home is easy. You just need to prepare your designs on a print sheet, choose your material like sticker paper, print them out, cut them accurately, and finally, package them professionally. This guide covers three methods from beginner to pro.
I've spent years turning simple ideas into physical stickers that people love. I'm excited to share my secrets with you. Whether you're on a tight budget or ready to build a crafting empire, there's a perfect method waiting for you. This guide will walk you through everything: designing, printing, cutting, and packaging. Let's get started.
How do you prepare artwork for sticker printing?
Your printed stickers look blurry, or you're wasting a ton of paper. Poorly prepared artwork can ruin your final product before you even print. Don't let bad prep waste your time.
To prepare your artwork, first get your designs from your own art, photos, or online graphics. Then, arrange them all on a single 8.5"x11" canvas in an app like Canva or Procreate, leaving enough space between each design for easy cutting.

In my print shop, good file setup is everything. It's the difference between a professional product and a failed experiment. Getting this first step right saves so much time and material down the line. It's not complicated, but it is crucial.
Where to Get Your Designs
You don't have to be a professional artist to get great designs. Your phone is a great place to start! You can use your own photos or scan drawings from your kids to make truly personal stickers. If you want to design from scratch, an app like Procreate on the iPad is my personal favorite for drawing. For arranging designs you already have, Canva is free and very easy to use. For more advanced vector work, Adobe Illustrator is the industry standard. You can also find free-for-personal-use graphics online, but be very careful to check the license if you ever plan on selling them.
Setting Up Your Print Sheet
This is the pro trick for saving money. Instead of printing one sticker at a time, you "gang up" all your designs on one sheet. Open a new digital canvas in your design app and make it a standard paper size, like 8.5"x11". Make sure your document resolution is set to 300 DPI to ensure your prints are crisp and not blurry. Then, import and arrange your different designs, leaving a small white border around each one. Most importantly, leave at least 5mm of space between each sticker. This little gap is your best friend when it comes time to cut them out by hand.
What are the best ways to make stickers at home?
You want to make stickers, but all the options are overwhelming. You're not sure which method fits your budget or skill level. Picking the wrong one can be really frustrating.
There are three main methods. The "Quick & Frugal" uses photo paper but isn't adhesive. The "True Sticker" method uses real sticker paper for an authentic result. The "Pro Crafter" method uses a cutting machine like a Cricut for perfect cuts.

Choosing your method is like choosing your adventure. Each one has its own costs, benefits, and results. I started with the simplest method and gradually worked my way up as I got more serious. Let's look at all three so you can find the perfect starting point for your project.
Method 1: The Quick & Frugal (Photo Paper Method)
This is the absolute cheapest way to start. All you need is a basic inkjet printer, some glossy photo paper, and scissors. The photo paper gives your designs a vibrant, shiny finish that looks great.
- Pros: It has a very low startup cost and uses supplies you might already have. It’s perfect for one-off projects, party favors, or just testing out how your designs will look when printed.
- Cons: The biggest issue is that these are not actually stickers—they have no adhesive back. They also aren't waterproof, and you have to cut each one very carefully by hand.
Method 2: The True Sticker (Sticker Paper Method)
This is the most common and best method for most DIY projects. You just swap the photo paper for full-sheet adhesive sticker paper. This paper comes in different finishes, like matte, glossy, or even durable vinyl.
- Pros: This method creates real, adhesive stickers. The results are much more durable than photo paper, and you can choose a finish that fits your project.
- Cons: Real sticker paper costs more than regular paper. And just like the first method, you still have to hand-cut everything.
Method 3: The Pro Crafter (Cutting Machine Method)
This is for the serious hobbyist or small business owner. It involves using a digital cutting machine like a Cricut or a Silhouette. You create your designs and cut lines on a computer, print the sheet, and then the machine cuts them out for you perfectly.
- Pros: You get perfectly precise cuts every single time. It saves a huge amount of time, and the results look incredibly professional.
- Cons: The machine itself is a big investment, and there is a learning curve to using the software correctly. But if you plan to make a lot of stickers, it’s a total game-changer.
What paper should you use for making stickers?
You printed your stickers, but they smudged with one drop of water or peeled off immediately. The wrong paper choice can completely ruin all your hard design work and waste your money.
For non-adhesive tests, use glossy photo paper. For general crafting and planners, use matte sticker paper. For durable, waterproof stickers for things like water bottles, use glossy vinyl sticker paper, ideally with a laminate.

The material you print on is just as important as the design itself. In my professional shop, we know that the paper determines the sticker's look, feel, and durability. For home projects, choosing the right paper depends entirely on what you want to use the sticker for. A sticker for a private journal has very different needs than a sticker for a car bumper. This table breaks down the most common choices.
| Feature | Photo Paper | Matte Sticker Paper | Glossy Vinyl Sticker Paper |
|---|---|---|---|
| Adhesive | No | Yes | Yes |
| Waterproof | No | No | Yes (with laminate) |
| Finish | Glossy | Flat, writable | Vibrant, professional |
| Best For | Party favors, cheap tests | Planners, journals, crafts | High-quality packs, items on water bottles |
While the table gives a great overview, my personal advice is this: matte sticker paper is fantastic for anything you want to write on. I love using it for labels and planner stickers. But if you need a sticker to last, especially on something that gets handled a lot or might get wet, you have to go with vinyl. It's the same material we use for our professional orders, and its durability is unmatched.
How do you get a professional finish on homemade stickers?
Your stickers are printed, but they look homemade with jagged edges and are just loose in a pile. The final presentation can make or break the perceived quality of your pack.
For a professional finish, use sharp scissors and rotate the paper, not your hand, for smooth cuts. For packaging, use clear cellophane bags with a custom-printed backing card that includes your brand or name. This makes them look retail-ready.

The final steps—cutting and packaging—are what separate a fun craft from a product people would be willing to pay for. I've seen amazing designs fall flat because of messy cutting or sloppy presentation. Let's make sure that doesn't happen to you.
Cutting Techniques
If you're using scissors or a craft knife, the trick is to keep your cutting hand steady and use your other hand to slowly rotate the paper. This technique gives you much smoother curves than trying to steer the scissors around the design. For cutting machines, it's important to know the difference between a "die cut" and a "kiss cut." A die cut slices through both the sticker and the backing paper to create a totally separate sticker. A kiss cut only slices through the sticker layer, leaving the backing paper intact. This is how sticker sheets are made.
Professional Packaging Ideas
Don't just throw your stickers in a plastic bag. A little effort here goes a long way.
- Option 1: Backing Cards: This is my favorite method. Design a simple 4"x6" card with your logo or name. Print it on cardstock, fold it over the top of a clear bag containing your stickers, and staple it shut. It instantly looks like a product from a real store.
- Option 2: Cellophane Bags: Look for clear bags that have a self-adhesive strip on the flap. They give a super clean, sealed look that protects the stickers.
- Option 3: Glassine Envelopes: These semi-transparent paper envelopes are a great eco-friendly option. They have a stylish, delicate look that works well for artistic or wedding-themed sticker packs.
FAQs
How can I make my inkjet stickers waterproof?
Most standard inkjet ink is water-based, so it will run if it gets wet. The secret to waterproofing is to add a protective layer before you cut the stickers. You can use a clear acrylic spray sealer or, my preferred method, apply a sheet of self-adhesive clear laminate over your entire printed sticker sheet. It acts like a shield, making your stickers much more durable and waterproof.
What's the best printer for making stickers?
Honestly, the magic is in the paper and your settings, not the printer itself. Any modern inkjet printer from a brand like Canon or Epson can produce great-looking stickers. Just be sure to set your print quality to "High" or "Best" and select the correct paper type (like "Glossy Photo Paper") in your printer settings.
Can I sell homemade stickers?
Yes, you absolutely can! But you must be very careful about copyright. You can only sell stickers that feature your own original artwork. You cannot use characters, logos, or graphics that you don't own the rights to. Using someone else's art without permission is illegal and can get you into a lot of trouble.
Why aren't my Cricut cuts working correctly?
If your cutting machine is cutting in the wrong spot, the number one cause is calibration. Your machine needs to be told exactly where the blade is in relation to the printed marks on your paper. All cutting machine software has a built-in calibration process. Run it. It only takes a few minutes and solves the problem 99% of the time.
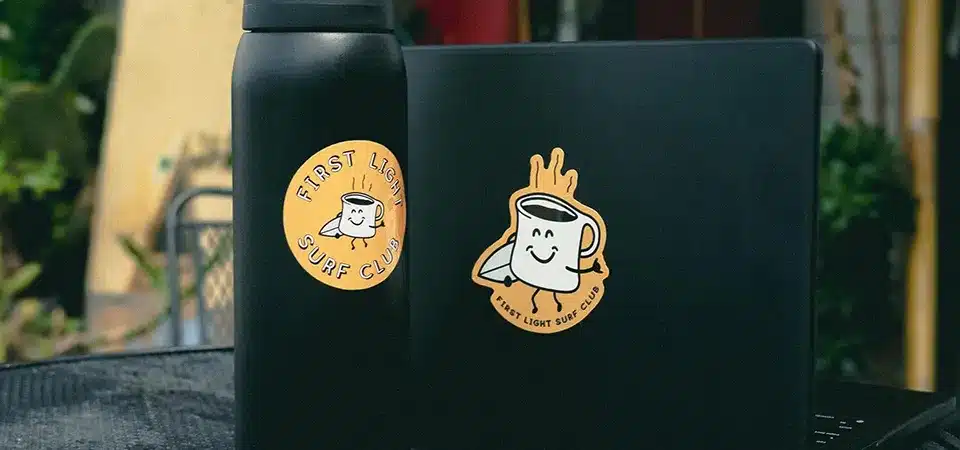
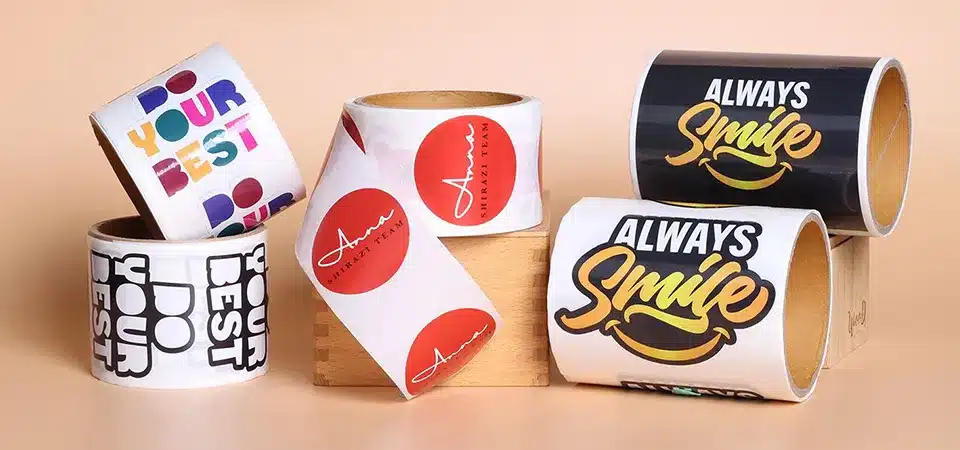
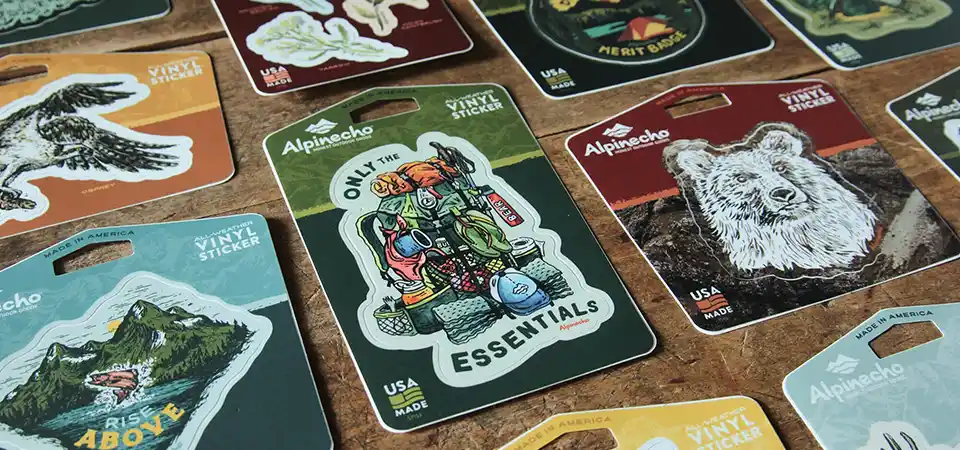
Honestly, making your own packs is a ton of fun for small batches and personal projects. But it can be very time-consuming if you need a lot of them. Love the idea of sticker packs but don't have the time? For high-quantity, waterproof, and perfectly die-cut sticker packs, let the pros handle it. See how our professional stickers are made!
Conclusion
Making sticker packs at home is a rewarding hobby. With the right design, materials, and cutting technique, you can create amazing, professional-looking packs for any project.