Skip to content
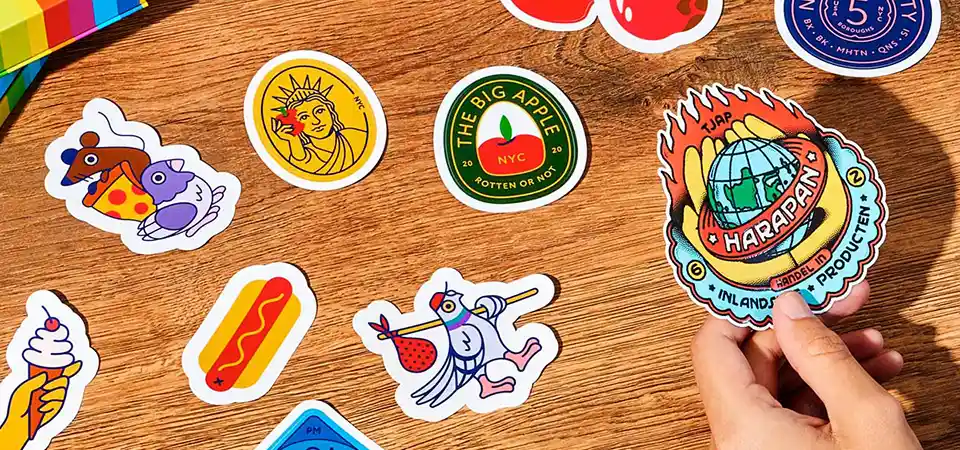
You have a great logo but it's stuck on boring square stickers. They don't grab attention, so your brand gets overlooked and your marketing money feels wasted.
To make die-cut stickers, you need a high-resolution design file, durable vinyl sticker material, a quality printer, and a cutting machine. The machine then cuts precisely around your design, through both the vinyl and the paper backing, creating a custom shape.
As a professional sticker printer, I handle these projects every day. The magic of a die-cut sticker is its shape. It looks clean, professional, and intentional. People value them more, which means they are more likely to use them. It's a simple change that makes a huge impact. Let's break down exactly how you can make them.
What are die-cut stickers?
You hear the term "die cut" but it sounds technical and expensive. You might be avoiding a great branding tool because you think it's too complicated for your needs.
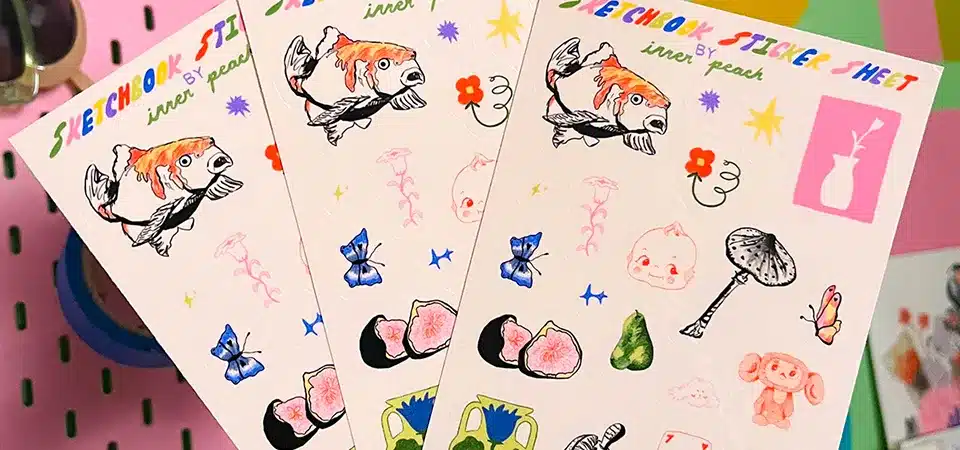
A die-cut sticker is cut to the exact shape of your design, through both the sticker material and its paper backing. This creates a standalone, custom-shaped sticker with no extra border, giving it a clean and professional look.

The name "die cut" actually comes from an old-school industrial process. We used to create a custom metal mold, called a "die," and use it to punch stickers out like a cookie-cutter. For huge orders, this method is still used. But today, technology makes it much easier. For most jobs, including the ones in my shop, we use digital cutting machines. These machines use a tiny, precise blade or a laser to follow a digital path around your design.
This means we can cut almost any shape you can imagine, no matter how intricate. The key thing to remember is that the cut goes all the way through the sticker and its backing paper. This is different from a "kiss cut" sticker, where the blade only cuts through the top vinyl layer, leaving the backing paper as a square or rectangle. The die-cut method gives you a final product that is just the shape of your logo, which looks incredibly professional.
What are the best design tips for die cut stickers?
A great sticker idea can be ruined by a poor design file. This leads to blurry prints, awkward cuts, and wasted money on stickers that nobody wants to use.
Use a high-resolution vector file for your design. Keep the shape bold and avoid tiny, fragile pieces. Most importantly, leave a small safety margin, or "bleed," around your art to ensure a clean cut without any white edges.

The quality of your final sticker starts with a quality design file. Here in my shop, we check every file before it goes to print, but knowing these tips will help you get the best results, whether you do it yourself or work with a pro.
Step 1: Create Your Design
The best file format for a sticker is a vector file. These are usually made in a program like Adobe Illustrator and saved as an AI, EPS, or SVG file. Vector graphics are made from mathematical lines, not pixels, so they can be scaled to any size without getting blurry. If you don't have a vector file, a high-resolution PNG with a transparent background is the next best thing. Just make sure it's at least 300 DPI (dots per inch) at the size you want to print.
It’s also important to think about the shape. Extremely thin lines or tiny, sharp points can be fragile and might tear easily. For example, I had a client with a logo of a starburst. The original design had very long, thin points. We worked together to thicken them up just a little. The design still looked great, but the final sticker was much more durable. A good rule of thumb is to keep your design bold and connected.
What are the steps to print and cut die cut stickers?
You have a perfect design, but turning it into a physical sticker seems like a huge jump. Using the wrong materials or tools at this stage can ruin all your hard work.
First, choose a durable material like vinyl. Then, print your design using a quality printer. To make it last, apply a protective laminate. Finally, use a cutting machine like a Cricut or a professional plotter to cut out the final shape.

This is the production phase, where your digital idea becomes a real object you can hold. Getting these steps right is critical for a professional result. As a business owner, I've perfected this process to ensure every sticker is perfect. Let's walk through it.
Step 2: Choose the Right Sticker Material
The material is the foundation of your sticker. You have two main choices.
Using Paper Stickers
Paper stickers are cheaper and work well for indoor, temporary uses. Think product labels for a dry good or name tags for an event. However, they are not durable. They can tear easily and will be ruined by a single drop of water.
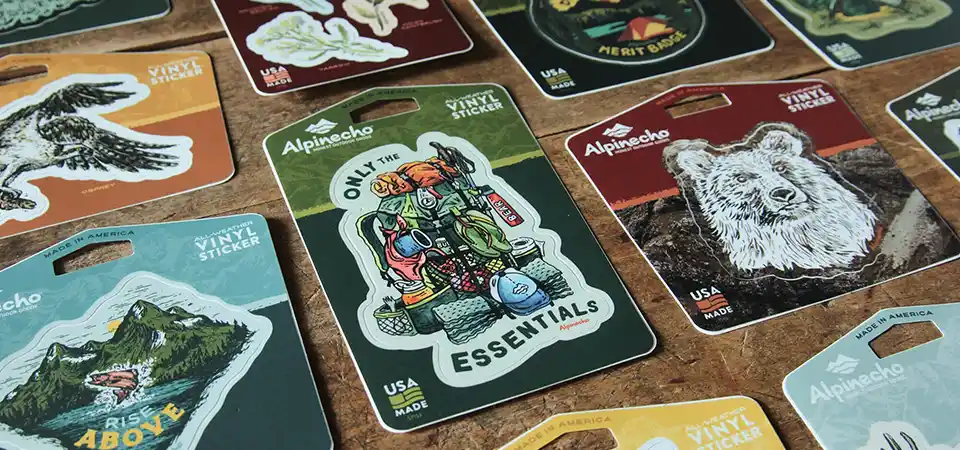
Using Vinyl Stickers
For almost any professional use, vinyl is the answer. This is what we use for 99% of the jobs in my shop. Vinyl is a durable plastic material that is inherently waterproof and tear-resistant. It comes in different finishes, like glossy for a vibrant pop or matte for a modern, elegant look. It's the right choice for stickers that need to last on laptops, cars, or water bottles.
Step 3: Use a High-Quality Printer
Your print quality determines how vibrant your colors look. A basic home office printer can work for a small DIY project, but the colors might look faded. For professional results, you need a high-quality photo inkjet printer or, for a business like mine, a commercial eco-solvent printer that produces rich, accurate colors that won't run.
Step 4: Laminating
This is a pro step that many DIYers skip, but it makes a huge difference. After printing, we apply a thin layer of clear laminate over the top of the sticker. This clear shield is crucial. It protects the printed ink from scratches, chemicals, and most importantly, UV rays from the sun. This is what keeps your sticker from fading for years and makes it truly weatherproof.
Step 5: Cutting
This is the final step that makes it a "die-cut. For hobbyists, machines like a Cricut or Silhouette are popular. You load your laminated sticker sheet, and the machine's software reads the cut lines in your file to precisely cut around your design. In my professional shop, we use large commercial plotters that are faster and can handle huge volumes, but the principle is exactly the same. The machine cuts through the vinyl and the backing paper, delivering a perfect, custom-shaped sticker.
Conclusion
A great design, durable vinyl material, and a precise cut are the secrets to creating amazing die-cut stickers that people will love and your brand can depend on.