Skip to content
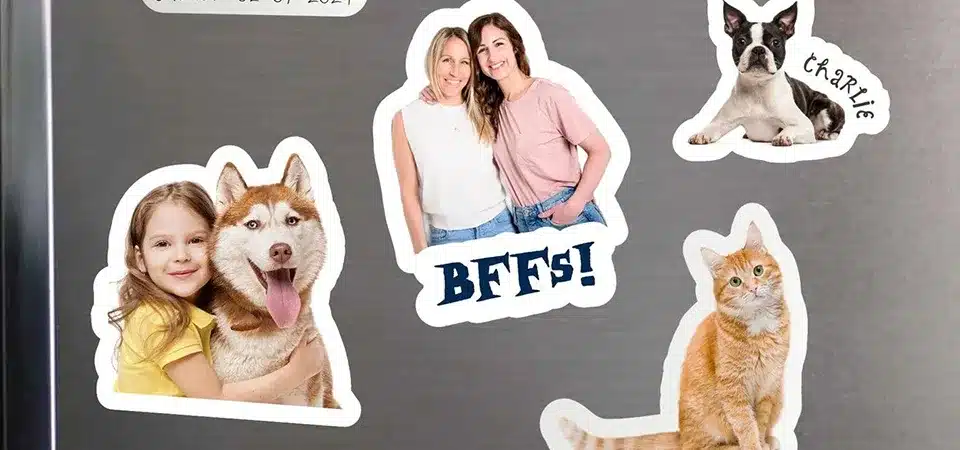
You want unique stickers from your photos, but DIY attempts look cheap and professional printers seem complex. You risk wasting money on stickers that don't look right.
To make great die cut photo stickers, start with a high-resolution photo. Use simple software to add a cut line around your subject, print on waterproof vinyl, and use a cutting machine for a precise, custom shape.
As someone who runs a sticker printing business, I know that turning a personal photo into a durable, beautifully cut sticker is one of the most satisfying things you can create. It’s more personal than a logo and tells a unique story. But people often worry they need to be a graphic designer to get it right. That’s not true at all. The process is straightforward once you know the key steps. It's all about preparing your image correctly and choosing the right materials. Let's break it down so you can get amazing results every time.
Prepare your image to create a great die cut sticker?
You have a favorite photo, but you're worried it will look blurry or messy when printed as a small sticker. A poor image choice can ruin the final product.
Choose a high-resolution photo with a clear, simple subject and good lighting. The subject should stand out from the background, which makes the die cut shape clean and easy to recognize.

The best sticker starts with the best photo. You can't fix a blurry or dark image at the printing stage. The first thing I look at in a client's file is the quality of the original picture. A great photo for a sticker has a few key things in common.
Key Photo Characteristics
First, it needs to be high-resolution. This doesn't mean you need a professional camera; modern smartphone photos are usually excellent. It just means the image should be clear, sharp, and not pixelated when you zoom in a little. The subject of your photo should be the hero. A portrait of a person, a pet, or a single favorite object works much better than a busy group shot or a wide landscape. You want something that will be instantly recognizable even when it's only a few inches wide.
Good lighting is also crucial. A photo taken in bright, natural light without harsh shadows will always look better. The contrast between your subject and the background is also important. If your black dog is sitting on a black rug in a dark room, it will be very difficult to create a clean cut line. I always advise clients to pick photos where the subject clearly pops from its surroundings.
| Good Photo for a Sticker | Bad Photo for a Sticker |
|---|---|
| Clear, sharp subject. | Blurry or low-resolution image. |
| Simple, uncluttered background. | Busy, chaotic background. |
| Bright, even lighting. | Dark, shadowy, or backlit. |
| Subject stands out. | Subject blends into the background. |
Do I have to create a bleed around my photo?
You're worried about complex terms like "bleeds" and "cut lines." Messing this up could mean your stickers arrive with ugly white edges or are cut into the wrong shape.
Yes, creating a bleed is a critical step. A bleed is a small border of your image that extends beyond the cut line. This ensures a perfect result without white edges, even with tiny shifts during cutting.

This is one of those professional secrets that makes a huge difference. Let me explain it simply. The cut line is the path the machine's blade will follow to cut out your sticker's shape. The bleed is a small safety margin of your image's color or background that you extend outside the cut line. Think of it as coloring outside the lines on purpose.
No cutting machine is perfect to the microscopic level on every single sticker. There can be a shift of less than a millimeter. If you don't have a bleed, that tiny shift could leave a sliver of unprinted white vinyl along the edge. The bleed guarantees that even if the cut is off by a hair, the blade will still land on your image's color, giving you a clean, professional edge-to-edge look.
For photo stickers, the most popular style I see is an offset cut, which creates a clean white border around the subject. In this case, the white border itself acts as a very forgiving bleed area, making the setup process even easier. I always recommend this style for people making their first photo stickers.
Which material is best for photo die cut stickers?
You printed your sticker on the wrong material, and after a week on a water bottle, it's a faded, peeling mess. Your beautiful photo and your money are wasted.
For photo stickers, waterproof vinyl is the best choice. It’s durable and protects the image quality. A glossy finish makes photo colors look vibrant and rich, just like a traditional photograph.

The material your sticker is made of determines its lifespan and how good it looks. For a photo, you want it to last and for the colors to be as beautiful as possible. That is why I always steer my clients toward vinyl.
Paper stickers are cheap, but they are not a good choice for photos. They aren't waterproof and can tear easily. Your precious memory could be ruined by a single drop of water. Vinyl, on the other hand, is a type of plastic. It's naturally waterproof and far more durable, so you can stick it on a laptop, water bottle, or car with confidence.
After you choose vinyl, you have to pick a finish.
- Glossy Vinyl: This is my top recommendation for photo stickers. The shiny surface makes colors look deeper and more saturated. It gives your sticker the look and feel of a high-quality photo print. The shine just makes the image pop.
- Matte Vinyl: This finish has no glare and gives a soft, modern, and sophisticated look. While it's very stylish, it can make colors appear slightly more muted than a glossy finish.
Almost all of our vinyl stickers also include a clear laminate, which provides an extra layer of protection against scratches and, most importantly, UV rays from the sun that can cause photos to fade over time.
How can I order a low quantity of photo stickers?
You only need a few photo stickers for a party, but most printers have a minimum order of 500. This is too many and far too expensive for a small personal project.
Find a printer that uses digital printing technology. This modern method allows for very low minimum order quantities (MOQs), often starting at just 50 stickers, making it affordable for personal use.

This is a common problem, and the solution is in the technology the printer uses. Old-school printing (offset) requires making big, expensive metal plates for each job, so it only makes sense for huge runs. But modern digital printing is different. It works more like a very advanced desktop printer, with no plates and very little setup cost.
This is exactly how my business operates. Digital printing gives us the flexibility to offer low MOQs. You don't need to order a thousand stickers when you only need a handful for your kid's birthday party favors. You can order a small batch of 50 to test them out.
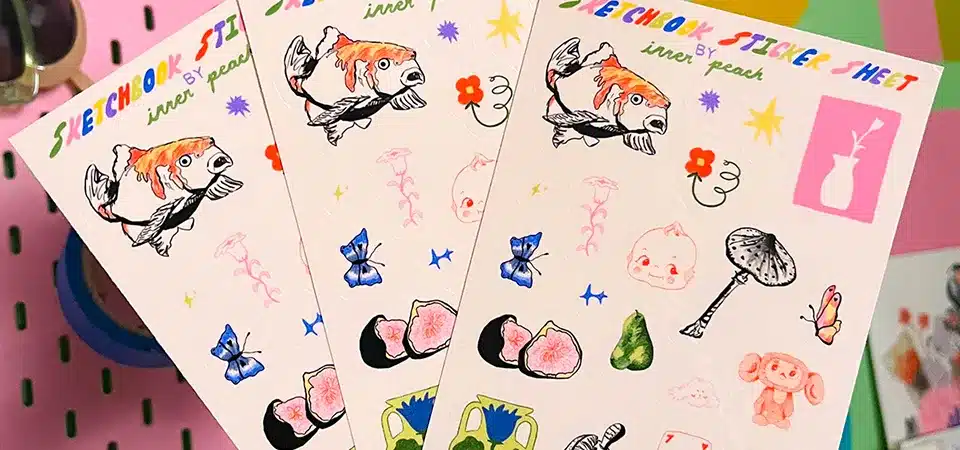
This is also perfect for creating variety. Let's say you have five great photos of your dog. Instead of committing to 1,000 of a single photo, you can order a small batch of each one. Another great trick is to order a sticker sheet. We can put several different photo designs onto a single sheet, which you still order in a low quantity. This gives you the ultimate variety for personal projects without breaking the bank.
Check your design proof?
You quickly hit "approve" without checking the proof. The stickers arrive, and the cut line is wrong or a detail is blurry. You're now stuck with hundreds of flawed stickers.
Always carefully check the digital proof your printer sends. This is your final chance to confirm the cut line placement, colors, and overall layout before printing begins. Only approve it when you're 100% satisfied.

A proof is a digital preview of exactly what your finished sticker will look like. It is the single most important checkpoint in the ordering process. It’s our way of showing you, "This is what we are about to print. Do you agree?" Rushing this step is the most common and costly mistake I see.
When you get your proof, take your time and look for three things:
- The Cut Line: This is usually shown as a colored line (we use magenta). Is it tracing your subject smoothly? Is it cutting off an ear or a foot? Make sure the shape is exactly what you want.
- The Bleed: Check that your image extends past the cut line on all sides. This ensures you won’t have any accidental white edges on the final product.
- Overall Quality: Does any part of the image look surprisingly blurry or pixelated? A proof is your last chance to catch a low-resolution file before it goes to print.
A client once sent me a photo of her daughter to make stickers for a birthday party. When I sent the proof, she noticed her messy living room was visible in the background. Seeing it with the cut line made her realize it didn't look great. We were able to work together to edit the background before printing. The proof saved the day!
How to use die cut photo stickers?
You got your perfect photo stickers, but you're not sure what to do with them. They sit in a box, a missed opportunity for sharing joy and making connections.
Use them to personalize everything! They're perfect for decorating gifts, sealing party favor bags, or adding a personal touch to thank you cards. They turn everyday items like laptops and water bottles into personal treasures.

Die cut photo stickers are special because they are so personal. They carry an emotional weight that a simple logo sticker doesn't have. Their uses are nearly limitless, but they are all about sharing a memory and making someone smile.
Here are some of the most popular ideas I've seen from my clients:
- Event Favors: Stickers of the happy couple for weddings, the birthday kid for parties, or the guest of honor at an anniversary. They are a perfect, personal takeaway.
- Gifts & Packaging: Instead of a simple tag, use a photo sticker on a wrapped gift. Small businesses I work with often include a photo sticker of themselves or their pet in orders to create a personal connection with customers.
- Memorials: A beautiful sticker of a beloved pet who has passed away can be a comforting thing to have on a journal or laptop.
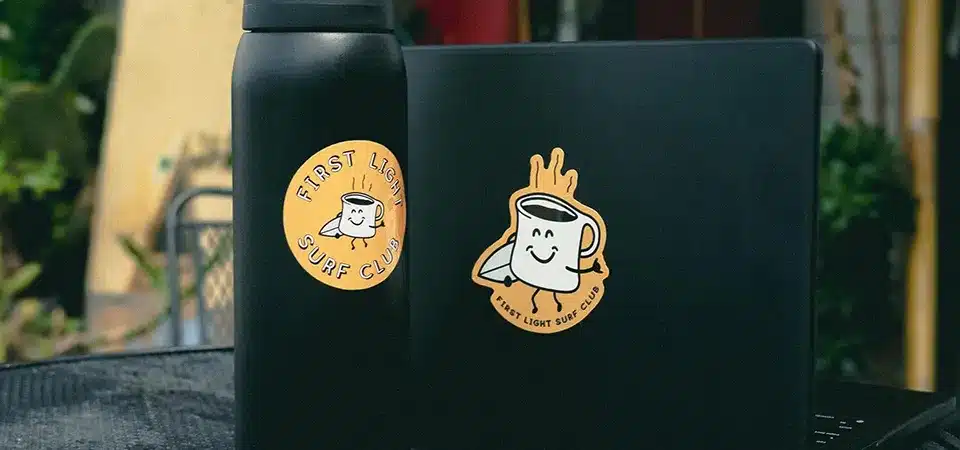
- Personalizing Your Gear: This is the classic use! Decorate your phone case, water bottle, planner, or laptop with photos of the people, pets, and places you love. It makes your items uniquely yours.
- Just for Fun: Hand them out to friends and family. A sticker of a funny face you made is guaranteed to make someone laugh.
Are you ready to give them a try?
Making photo stickers is a simple process that turns your favorite memories into durable, shareable art. With the right photo and material, you can create something truly special.
Conclusion
Making die cut photo stickers is simple: start with a great photo, add a cutline, print on vinyl, and always check your proof for perfect, personal results.