Your favorite sticker is peeling off the edge. It looks sad, collects dust, and you're worried it will fall off and be lost forever. But you don't have to throw it away.
To make a sticker sticky again, first clean the back of the sticker and the target surface with a cloth and rubbing alcohol. Then, apply a new adhesive like spray adhesive for a strong bond or use a repositionable glue stick for a less permanent fix.
As someone who runs a sticker printing business, I’ve seen this problem countless times. Customers come to me upset that a special sticker—from a vacation, a band, or their own brand—has lost its grip. The good news is that reviving a sticker is often easier than you think. The key is to understand why it failed in the first place and then choose the right tool to fix it. Let's walk through the exact steps and methods I recommend to give your favorite stickers a second life.
First, why do stickers stop being sticky?
Your sticker was so strong at first, but now it's just peeling away. It's frustrating when you don't know the reason it failed. Understanding the enemy is the first step to winning the battle.
Stickers lose their tack mainly because of surface contamination. Dust, oils from your fingers, and grime create a barrier between the adhesive and the surface. Moisture, heat, and time can also break down and dry out the glue itself.
Before you can fix the problem, you need to know what caused it. In my experience, it almost always comes down to one of these four culprits. Knowing which one you're dealing with will help you choose the best fix.
The Four Main Reasons for Sticker Failure
- Contamination (The #1 Cause): This is the big one. If you apply a sticker to a surface that isn't perfectly clean, it’s like trying to stick tape to sand. Dust, dirt, and especially the natural oils from your hands will get on the adhesive, instantly weakening its bond.
- Moisture: Water and humidity are enemies of most standard adhesives. If a sticker on a water bottle gets wet repeatedly, or if you live in a very humid climate, moisture can seep under the edges and slowly dissolve the glue, causing it to peel.
- Aged Adhesive: Glues are chemical compounds, and they don't last forever. Over several years, the adhesive on a sticker can simply dry out and become brittle. It loses its flexibility and tack, turning into a dusty, non-sticky film. This is common with older stickers you've had for years.
- A Difficult Surface: Some surfaces are just hard to stick to. Textured plastics, rough, unpainted wood, and fabrics don't give the adhesive enough flat area to grab onto. The sticker might hold for a little while but will eventually let go.
Before you try any of the fixes below, always start by cleaning both the back of the sticker and the surface you want to stick it to. Use a cloth lightly dampened with rubbing alcohol to wipe both. Let them air dry completely. This step alone can sometimes revive a slightly dusty sticker.
Method 1: Spray adhesive method
You have a sticker that needs a serious, permanent bond. Maybe it’s a bumper sticker or a decal on a toolbox. You need a fix that will hold up against weather and wear.
For a strong, waterproof bond, use a spray adhesive. Protect your surrounding area, then lightly spray an even coat onto the back of the sticker. Let it sit for a minute to become tacky, then press it firmly in place.
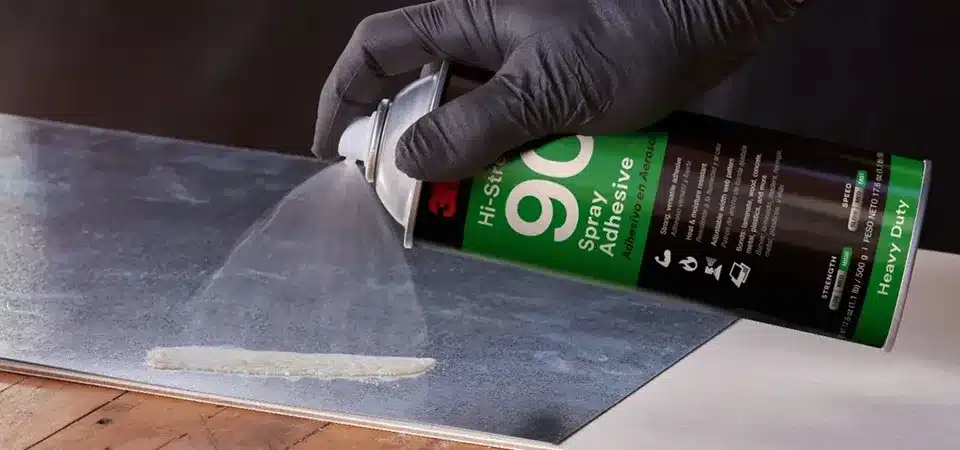
This is my go-to method for a truly permanent, professional-grade fix. Think of it as giving your sticker a brand-new, factory-strength adhesive layer. However, this method is powerful, so preparation is key to avoid making a mess.
Using Spray Adhesive Step-by-Step
- Work in a Ventilated Area: Spray adhesives have strong fumes. It's best to do this outside, in a garage with the door open, or at least with a window open and a fan running.
- Protect Your Surfaces: Lay down some newspaper or cardboard. This stuff is very sticky and you don't want it on your table. You should also put tape (masking tape works well) around the area where you plan to place the sticker to protect it from overspray.
- Apply the Spray: Place your sticker face down on the newspaper. Hold the can about 6-8 inches away and apply a very light, even coat to the back. Don't soak it. A quick "tssssst" is usually enough. Covering it completely but thinly is the goal.
- Wait for it to Get Tacky: This is the most important step. Don't press the sticker down immediately. Read the instructions on the can—most sprays need 30-60 seconds for the solvents to evaporate. The surface will go from wet to tacky.
- Press Firmly: Carefully place the sticker onto your clean surface and press down firmly. Start from the center and smooth outwards with your fingers or a credit card to push out any air bubbles.
This method works best for vinyl decals, bumper stickers, and any sticker that needs to withstand the outdoors. Avoid using it on delicate paper stickers, as the solvent can soak through and stain the front.
Method 2: Use heat to reactivate
Your sticker is old, and the original glue has become hard and dry. You don't want to add a new layer of glue; you just want to see if you can revive what's already there.
For stickers with dried-out adhesive, you can sometimes reactivate the glue using gentle heat. Use a hairdryer on a low setting to warm the sticker and the surface for 15-20 seconds. This can soften the old glue, allowing you to press it back down.
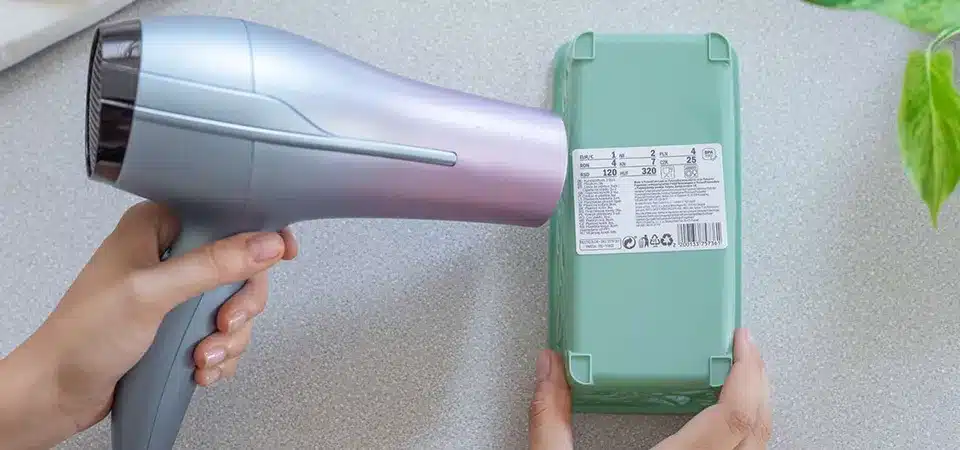
This technique is a bit of a long shot, but it's the least invasive method and is perfect for trying first, especially on large wall decals or delicate vintage stickers where you don't want to add new chemicals. It works on the principle that many adhesives soften when warmed.
When to Use Heat (and When Not To)
This method is best suited for vinyl or plastic-based stickers where the adhesive has hardened over time but hasn't completely crumbled into dust. Think of a wall decal that's peeling at the corners or a sticker on a laptop that's starting to lift. The warmth can make the vinyl more flexible and the old glue just tacky enough to re-adhere.
Here's how to do it safely:
- Use Low Heat: Set a hairdryer to its lowest heat and speed setting. You want to warm it, not cook it.
- Keep it Moving: Never hold the hairdryer in one spot. Keep it moving back and forth over the sticker, about 3-4 inches away from the surface.
- Test on the Surface First: If you're working on a sensitive surface like a painted wall or a plastic gadget, test the heat on an unseen spot first to make sure it doesn't cause any damage.
- Press and Hold: After about 20 seconds of warming, turn the hairdryer off. Use your fingers or a soft cloth to press the sticker firmly back into place. Hold it for about 30 seconds as it cools.
This won't work if the glue is completely gone or if the back of the sticker is covered in dirt. It’s a fix for age, not for contamination.
Method 3: Try rubber cement
Your sticker is for a craft project, like a scrapbook or a greeting card. It doesn’t need to be weatherproof, but you want a clean application without wrinkles.
Rubber cement is a great choice for paper stickers in craft projects. Brush a thin, even layer of rubber cement onto the back of the sticker and onto the target surface. Let both sides dry completely, then carefully press the sticker into place for a permanent bond.
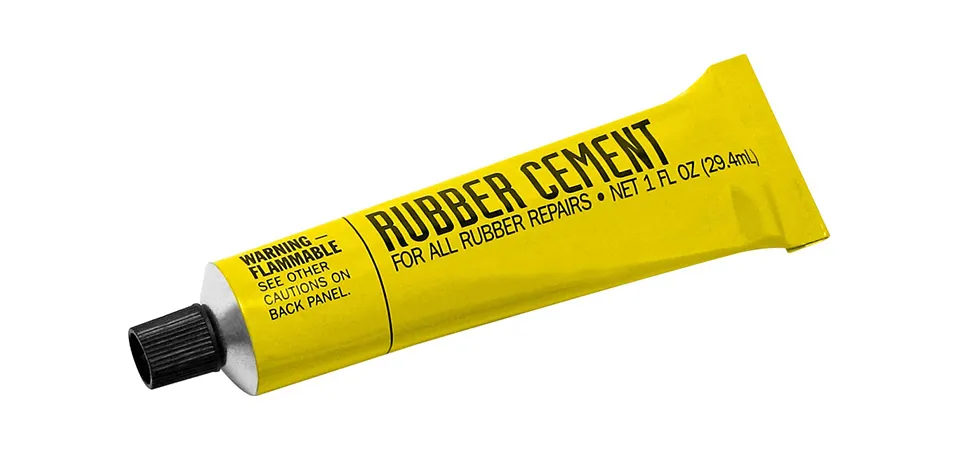
As a designer, I've used rubber cement for years to mount mockups. Its unique properties make it fantastic for paper goods. The main advantage is that it doesn't wrinkle paper the way many wet glues do. It also allows for two types of bonds: temporary and permanent.
Two Ways to Use Rubber Cement
- For a Repositionable Bond: If you think you might need to move the sticker later, apply a thin coat of rubber cement to the back of your sticker only. Let it dry for a minute, then place it. It will be tacky, but you can peel it off cleanly and move it. This is great for planning layouts.
- For a Permanent Bond: This is the trick that graphic designers use. Brush a thin layer on the back of the sticker, AND brush a thin layer on the spot where you want to stick it. Let BOTH surfaces dry to the touch (this takes a few minutes). Then, when you press the two coated surfaces together, they will form an instant, strong, permanent bond. Be warned: you only get one shot! Make sure your alignment is perfect before they touch.
Any excess rubber cement that squeezes out can be rubbed away cleanly with your finger or a special rubber cement eraser. This makes it ideal for scrapbooking, card making, and other paper crafts where a clean look is essential.
Method 4: Use double-sided clear tape
You need a fast, mess-free solution for a sticker that won't stay put. You don't have special glues, but you do have some office supplies in a drawer.
Double-sided tape is a quick and easy way to re-stick almost any sticker. For the best result, use a clear, thin double-sided tape. Cut small pieces and apply them to the back of the sticker, focusing on the peeling edges.
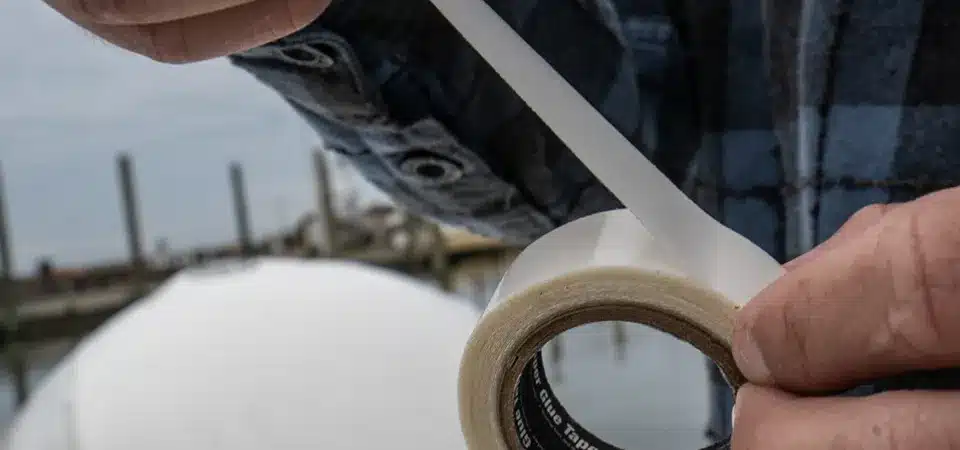
This is one of the simplest and most accessible fixes. Almost everyone has some form of double-sided tape at home. While it's not the most elegant solution, it is very effective for getting a sticker to lay flat again, especially on smooth surfaces like notebooks, folders, or plastic bins.
Choosing the Right Tape
Not all double-sided tapes are the same. For re-sticking a sticker, you'll want to choose the right kind to avoid a bulky, ugly result.
| Tape Type | Best Use Case | Downside |
|---|---|---|
| Thin Clear Tape | The best overall choice. It's nearly invisible and won't add much thickness to the sticker. Perfect for windows or any place the back might be seen. | Can be less strong than foam tape. |
| Foam Tape | Good for sticking to uneven or textured surfaces. The foam can compress and fill in gaps, creating a stronger bond. | Adds significant thickness. Your sticker will be raised off the surface. |
| Fabric or "T-Shirt" Tape | Designed for hemming clothes. It's very thin and strong but can be harder to find. | Can be expensive. |
To apply it, simply cut small pieces of tape and place them on the back of your sticker. For a peeling corner, a tiny triangle of tape is all you need. For a whole sticker, place a few pieces spaced out. Peel off the backing and press it down. It’s a fast, clean, and surprisingly durable fix for indoor use.
Method 5: Repositionable glue (e.g. E6000 Extreme Tack)
You love to rearrange your decorations. You want to re-stick a decal but know you’ll want to move it again later. You need a glue that stays tacky, not one that dries hard.
Repositionable glues like E6000 Extreme Tack or Aleene's Tack-It Over & Over are perfect for making any item a temporary sticker. Apply a thin layer of the glue to the back of your decal, let it dry completely until it's clear and tacky, and then it's ready to be used.
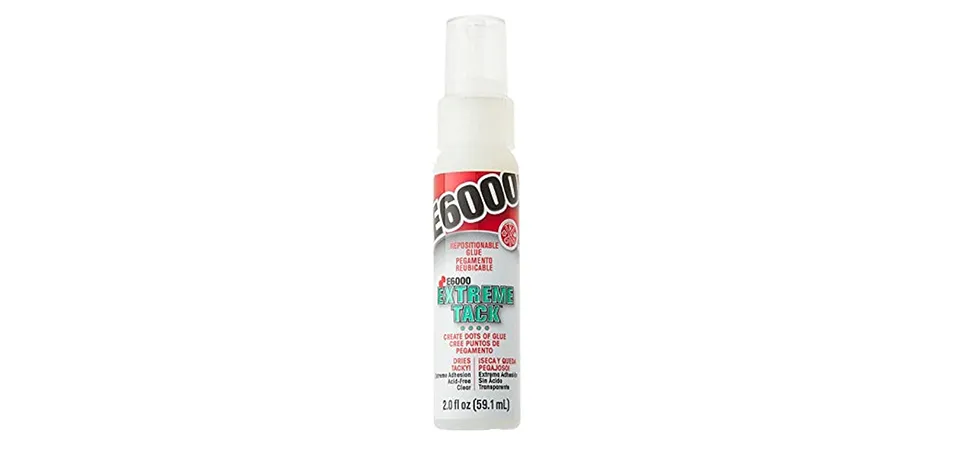
This is one of my favorite tricks to share with customers. These glues essentially let you create your own custom sticky note or repositionable decal out of anything. The glue never fully hardens; it cures into a perpetually tacky film, much like the back of a Post-it Note, but stronger.
How to Create a Tacky Surface
The process is simple but requires patience.
- Apply the Glue: Squeeze a small amount of the glue onto the back of your sticker or decal.
- Spread a Thin Layer: Use a small paintbrush or a piece of cardboard to spread the glue into a very thin, even layer. If you apply it too thickly, it can remain goopy. You want a translucent film.
- Let it Dry Completely: This is the crucial step. You must let the glue air dry for several hours, or even overnight. When it's ready, it will have turned from a milky white color to completely clear, and it will feel tacky to the touch but won't come off on your fingers.
Once dry, you can stick your item to a wall, a window, or a notebook. When you want to move it, just peel it off and stick it somewhere else. It's perfect for kids' room wall decals, seasonal decorations, or any situation where you want a non-permanent bond.
Method 6: Clear paper glue stick
You're in a pinch. You have a paper sticker peeling out of a child's sticker book or a simple label coming off a folder. You need the quickest, safest, most basic fix possible.
A clear paper glue stick can work for re-sticking light, paper-based stickers. Choose an acid-free, non-toxic glue stick. Apply a thin layer to the back of the sticker and press it down immediately. This is a temporary, indoor-only fix.
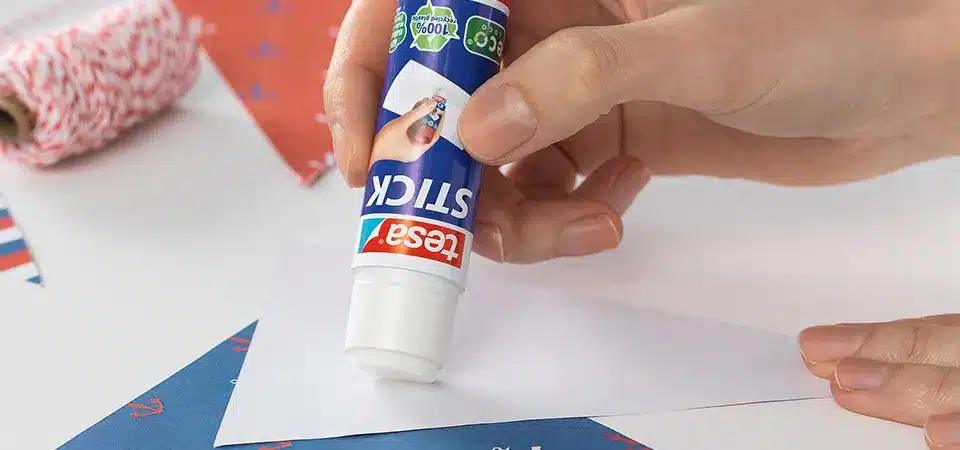
Let's be clear: this is not a heavy-duty solution. But for lightweight applications, it's often all you need. As a business owner who is also a parent, I’ve used a glue stick to fix my child’s stickers more times than I can count. It’s fast, safe, and gets the job done for simple paper-on-paper applications.
When a Glue Stick is Enough
A glue stick is the right tool for the job under these conditions:
- The sticker is made of paper. It will not work well on vinyl, plastic, or foil stickers.
- The sticker is for indoor use only. The glue is water-based and will dissolve if it gets wet.
- The surface is porous, like paper or cardboard. It won't hold well on smooth, non-porous surfaces like plastic or metal.
- The fix can be temporary. A glue stick bond will often weaken over time and may need to be reapplied.
The big advantage here is accessibility and safety. Most households have a glue stick, and they are non-toxic, making them perfect for letting kids fix their own sticker books. For a simple label on a manila folder or a picture in a scrapbook, a glue stick is often the simplest and best answer.
Method 7: Double-sided sticker paper or sticky dots
You have a sticker that has completely lost its adhesive back, or you want to turn a non-sticky item, like a printed photo, into a sticker. You want a clean, full-coverage solution.
Use double-sided sticker sheets or adhesive dots. For full coverage, apply the sticker paper to the back of your item and trim it to size. For smaller points of contact, simply apply a few sticky dots to the corners.
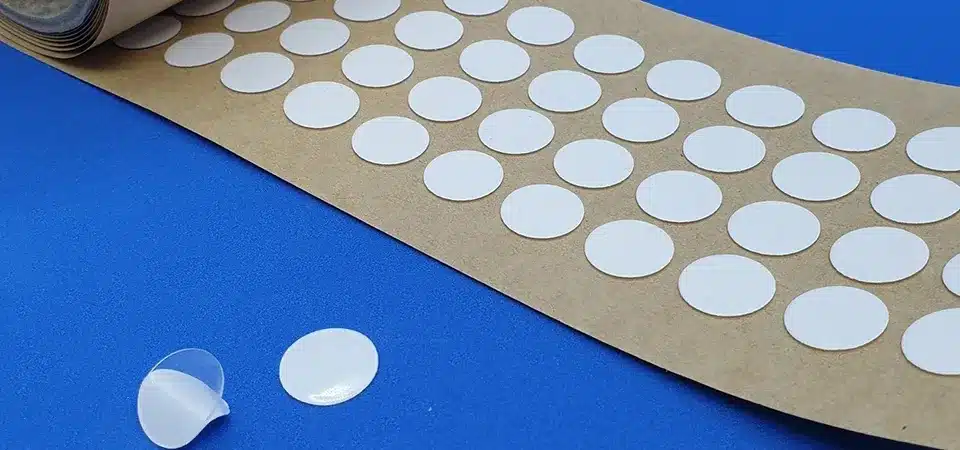
This is another method we use in the professional printing world for creating samples and mockups. It's essentially a sheet of paper or plastic that is coated with adhesive on both sides. It provides a clean, even layer of new adhesive across the entire back of your sticker.
Sticker Sheets vs. Sticky Dots
- Double-Sided Sticker Sheets (like Xyron): These are fantastic for turning an entire printout into a sticker. You can buy them in letter-sized sheets. You place your item on the sheet, press it down, peel it off, and the back is now a complete sticker. It's perfect for giving a favorite but non-sticky decal a complete adhesive makeover. This provides a very clean, professional result with edge-to-edge stickiness.
- Sticky Dots: These are small, clear dots of glue that come on a roll of backing paper. They are like a pre-made dot of adhesive. They are great for when you don't need full coverage. You can apply one to each corner of a sticker to hold it in place. They are very strong, clear, and mess-free. I recommend them for heavier cardstock stickers or for re-sticking items where only the corners are peeling up. They provide a very strong bond exactly where you need it.
Both of these options are available at most craft stores and are excellent for giving new life to old stickers or for your own crafting projects.
Method 8: Homemade sugar or flour paste (temporary option)
You are completely out of options. You have no glue, no tape, and no time to go to the store. You need a temporary fix right now using only common kitchen ingredients.
As a last resort, you can make a temporary paste from flour or sugar and water. Mix a thick paste, apply a thin layer to the back of a paper sticker, and stick it to a paper surface. This is a very temporary, indoor-only solution.
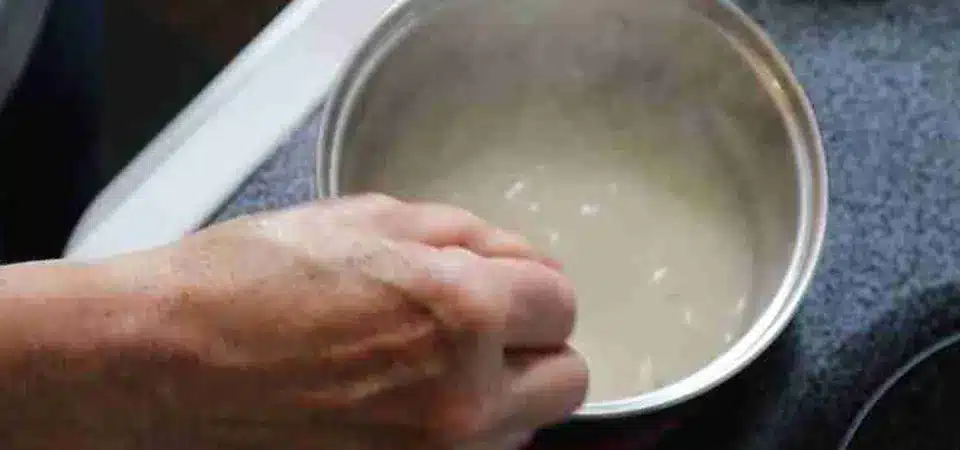
I'm including this for the sake of completeness, but think of this as the emergency option. This is the old-school way people would hang up posters before modern glues were common. It’s not elegant or durable, but it does work in a pinch for paper-on-paper applications.
How to Make a Simple Paste
- Flour Paste: Mix two tablespoons of all-purpose flour with one tablespoon of cold water in a small bowl. Stir until it forms a thick, smooth paste, like pancake batter.
- Sugar Paste: Mix two tablespoons of sugar with one tablespoon of water. This creates a very sticky syrup.
Apply a very thin layer to the back of your paper sticker and press it onto a paper surface like a wall or a piece of cardboard. The paste will dry and hold the sticker in place.
Important Caveats:
- Paper Only: This will only work on paper items. It will not work on vinyl or plastic.
- Indoor Only: This paste has zero water resistance. Any humidity will make it sticky again, and any water will dissolve it completely.
- Temporary: The bond will become brittle and fail over time.
- Attracts Pests: Be aware that a sugar or flour paste can attract insects or other pests over time.
This isn't a method I'd use for a cherished sticker, but if you just need to hang a drawing on a fridge for a day, it's a neat trick to know.
Conclusion
Reviving a peeling sticker is simple with the right technique. Always clean the surface first, then choose a method—from strong spray adhesives to simple glue sticks—that fits your sticker's needs.

