Skip to content
You want to customize your vehicle to promote your business or express your personality, but you are worried about damaging the paint or the sticker peeling off on the highway. It is confusing to distinguish between cheap paper labels and professional vehicle grade decals.
Yes, you can absolutely use die-cut stickers on your car, and when done right, they are one of the most professional-looking options for vehicle branding. As a printing expert, I recommend using high-grade vinyl with UV lamination and automotive-rated adhesive to ensure the sticker withstands rain, sun, and car washes for years.
In my years of printing vehicle graphics, I found that most people think "die-cut" simply refers to the shape. While the shape is important, the real secret to a car sticker that looks like custom paintwork lies in the material science. I want to explain exactly how to choose the right type so your car looks amazing, not messy.
What are die-cut stickers and why are they so popular?
You are tired of rectangular bumper stickers that look like cheap advertisements plastered on your chrome. You want your logo or design to look like it belongs on the vehicle, rather than just sitting on top of it.
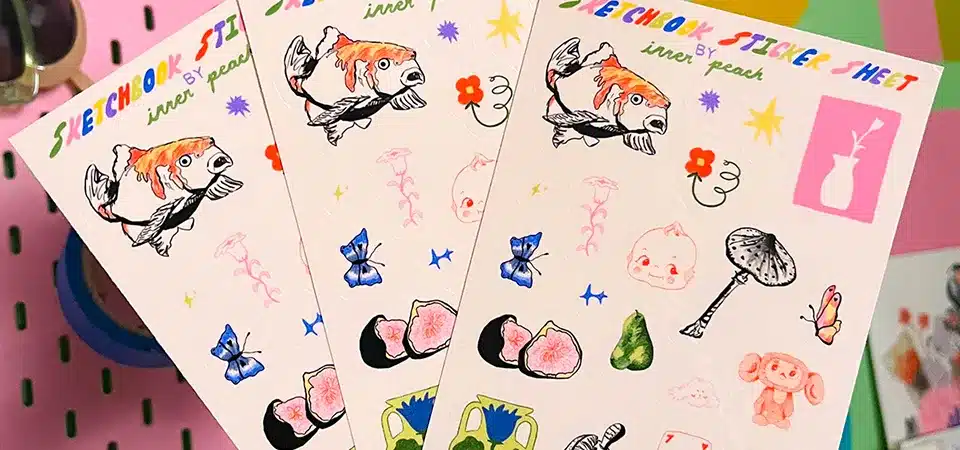
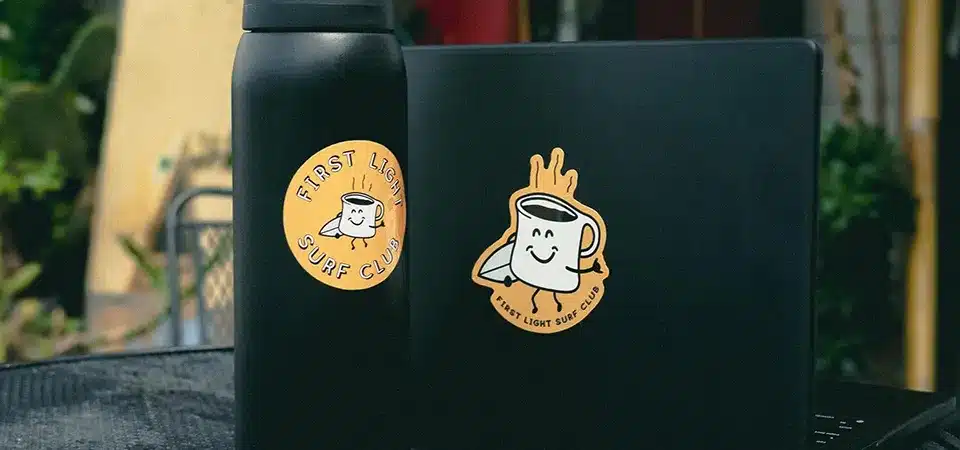
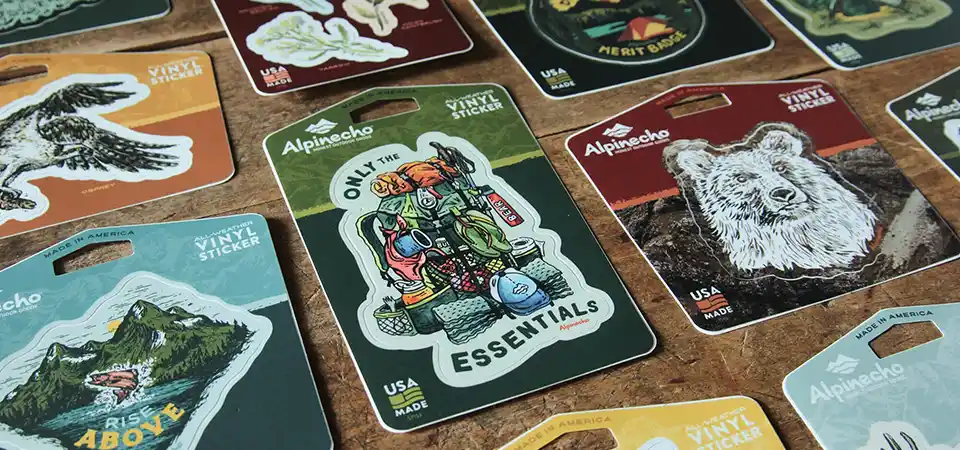
Die-cut stickers are cut to the exact shape of your design, eliminating the white or clear square background entirely. They are popular for cars because they blend seamlessly with the vehicle's bodywork or glass, creating a high-end appearance that standard square stickers cannot match.

The Custom Paint Look
The term "die-cut" means the cutting blade traces the exact contour of your artwork. In my factory, we use precision lasers or digital plotters to cut right up to the edge of the printed ink. When I hand a client a die-cut sticker, they see their logo and nothing else—no excess white border, no box, no waste.
This is critical for cars because cars are not white pieces of paper. They are painted, curved, and glossy. If you put a white square sticker on a black car, it breaks the visual flow and looks cheap. If you place a die-cut logo on that same black car, the car paint acts as the background. This creates an optical illusion that the design was painted directly onto the metal. It looks intentional and expensive. For businesses, this format suggests you really care about your brand image. For individuals, it keeps your car looking clean compared to the clutter of traditional bumper stickers.
| Feature | Die-Cut Sticker | Standard Bumper Sticker |
|---|---|---|
| Shape | Follows design contour | Square or Rectangle |
| Background | None (or small border) | Solid White/Colore Block |
| Aesthetic | "Painted-on" look | "Label" look |
| Flexibility | Fits curves better | Corners tend to peel |
What are the best materials for die cut car stickers?
You fear your sticker will fade to white, crack, or bubble in the sun after just one summer. Choosing the wrong vinyl type is the number one reason car stickers fail and leave a sticky mess behind.
The best materials for car stickers are high-performance cast or polished calendared vinyl paired with a UV-resistant laminate. You need a weather-proof material that handles temperature changes and road salts, along with a permanent adhesive that withstands high speeds without ruining the clear coat.

Vinyl and Lamination are not optional
I cannot stress this enough: never put a paper sticker on a car. It will disintegrate in the rain. For vehicles, we use specific grades of vinyl. There are two main types I work with: Calendared Vinyl and Cast Vinyl.
Calendared vinyl is thicker and great for flat surfaces like windows or drag-racing side panels. It is durable and cost-effective. Cast Vinyl is premium; it starts as a liquid and is cured into a thin sheet. This makes it incredibly soft and flexible. If you want to stick a decal over a curved bumper or a rivet, you must use Cast vinyl, or the sticker will pop off eventually.
But the vinyl is only half the battle. The real hero is the Lamination. This is a clear layer we press over the print. On a car, your sticker faces UV radiation, acid rain, road salt, bird droppings, and high-pressure car washes. Without lamination, the ink will fade in 6 months. With a good UV laminate, I tell my clients they can expect 3 to 7 years of vibrant color. The laminate also adds thickness, making the die-cut sticker easier to handle without stretching it during application.
| Component | Purpose | Recommendation |
|---|---|---|
| Base Material | The printable surface | 3-4 mil Calendared or 2 mil Cast Vinyl |
| Adhesive | Sticks to the car | Solvent-based Permanent Acrylic |
| Laminate | Protection | UV Gloss or Matte Overlaminate |
How do you find the right size for your car die cuts?
You design a beautiful sticker, but once it is on the rear window or bumper, nobody can read it from the car behind you. It is frustrating to waste money on branding that is invisible in traffic.
The right size depends on placement; small stickers (3-5 inches) work on corners or laptops, while vehicle branding needs to be 10-12 inches wide to be readable in traffic. You must balance the complexity of the design with the available space to ensure the die-cut shape remains distinct and legible.

Distance and Legibility
When I design for screens, I worry about pixels. When I design for cars, I worry about speed and distance. A sticker that looks huge in your hand looks tiny on an SUV. You have to consider the "20-foot rule." Can someone read your brand name from 20 feet away while moving at 40 miles per hour?
For a subtle personal decal—like a flag or a club logo—I recommend 3 to 5 inches. This fits nicely in the corner of a rear window without blocking visibility. For business branding (website, phone number, logo), you need to go big. I suggest a minimum width of 10 to 12 inches. The font acts differently on die-cuts too. Because there is no background box to offer contrast, your text needs to be bold. Thin, spindly letters in a die-cut format will peel off easily and are hard to read against the chaos of the road. Simple shapes last longer and read better. Complex shapes with tiny pointy bits will eventually lift up when you wash the car.
| Location | Recommended Size | Purpose |
|---|---|---|
| Rear Window Corner | 3" - 5" | Personal expression, Club logos |
| Bumper / Trunk | 4" - 8" | Slogans, Short text |
| Center Rear Window | 10" - 15" | Business URL, Major Branding |
| Side Door | 12" - 24" | Full Business Advertisement |
How do you apply die cut stickers to your car properly?
You are terrified of trapping bubbles or sticking the decal on crookedly, ruining your new purchase. A bad application looks terrible immediately and causes the sticker to fly off later.
To apply die cut stickers, clean the surface thoroughly with isopropyl alcohol to remove wax and grease. Peel the backing, position the sticker, and use a squeegee to apply firm pressure from the center outwards to eliminate air bubbles before removing the transfer tape slowly.

Surface Prep is Everything
The glue on your die-cut sticker is strong, but it cannot stick to wax or dirt. Cars are covered in road grime and protective waxes. If you stick a decal directly onto a waxed car, it is sticking to the wax, not the paint. It will fly off.
Here is the process I use in the shop:
- Wash and Dry: Clean the area with soap and water.
- Degrease: Wipe the spot with Rubbing Alcohol (Isopropyl). This strips the wax and oil. This is the most important step.
- Temperature Check: Do not apply stickers in freezing cold or scorching heat. The ideal range is 50°F to 80°F (10°C - 26°C).
- The Hinge Method: For larger die-cuts, use a piece of masking tape to tape the sticker to the car exactly where you want it. Lift the sticker up using the tape as a hinge, peel the backing paper off, and then slowly lower the sticker down while pressing with a squeegee (or a credit card wrapped in a cloth).
- Pressure: Rub it hard. The adhesive is pressure-activated. The more you rub, the better it holds.
- Wait: If your sticker has transfer tape (a top masking layer), wait 10 minutes before peeling it off. This lets the bond set.
| Step | Action | Why it matters |
|---|---|---|
| 1. Clean | Alcohol Wipe | Removes wax that prevents adhesion |
| 2. Peel | Remove Backing | Exposes the adhesive |
| 3. Stick | Squeegee center-out | Removes trapped air bubbles |
| 4. Finish | Remove Transfer Tape | reveals the final die-cut shape |
Conclusion
Die-cut stickers are perfect for cars if you choose high-quality cast or calendared vinyl with UV lamination; simply size them for visibility and apply them to a wax-free surface for a durable, professional finish.