You designed a perfect sticker, but it comes back from the printer with ugly white edges. This makes your brand look unprofessional and wastes your entire order.
Yes, you absolutely must include a bleed. It's an extra margin of artwork, usually 1/8 inch (3mm), that extends beyond your cut line. This ensures that even with tiny cutting misalignments, you won't get any unprinted white edges.
As a sticker printing expert, I can tell you that not including a bleed is one of the most common mistakes I see from new designers. It’s a small detail that makes a huge difference in production quality. Many people think the cutting machine is perfect, but in reality, there are tiny physical shifts that are unavoidable. The bleed is your insurance policy against these imperfections. I want to walk you through exactly what a bleed is, why it's so critical, and how to set it up correctly so your stickers come out perfect every time.
What is a bleed in design?
You've heard the term "bleed," but it just sounds like technical printer jargon. You're worried about setting it up wrong and ruining your design file before you even start.
A bleed is the part of your design that extends past the final trim edge, or cut line. It's usually 1/8 inch (3mm) of extra background or color that gets trimmed off, acting as a small safety margin for the cutting process.
The easiest way to understand a bleed is with an analogy. Imagine you're coloring in a shape in a coloring book. If you stop your marker exactly on the black line, any tiny slip of the scissors when cutting it out will leave a little white sliver. But if you color a little over the black lines, you can cut anywhere in that extra colored area and the edge will be perfect. That extra color you went over the lines with is the bleed. In sticker design, we create three main zones in a file to manage this.
| Design Zone | Purpose | What It Looks Like In Your File |
|---|---|---|
| Safe Zone | Keeps important elements from being cut off. | An inner margin (usually 3mm inside the cut line). |
| Cut Line | The exact line the blade will follow. | A vector stroke that defines the sticker's final shape. |
| Bleed Area | The safety margin that gets trimmed away. | Your background artwork extending 3mm past the cut line. |
Why do die-cut stickers need a bleed so badly?
You think your digital design is perfect, so why add extra work? You might be tempted to skip the bleed to save time, but you are risking your whole order.
Die-cut stickers need a bleed because cutting machines have a small, physical tolerance for error, usually around 0.5mm to 1mm. The bleed ensures that if the blade shifts slightly, it still cuts through color, not a white, unprinted area.
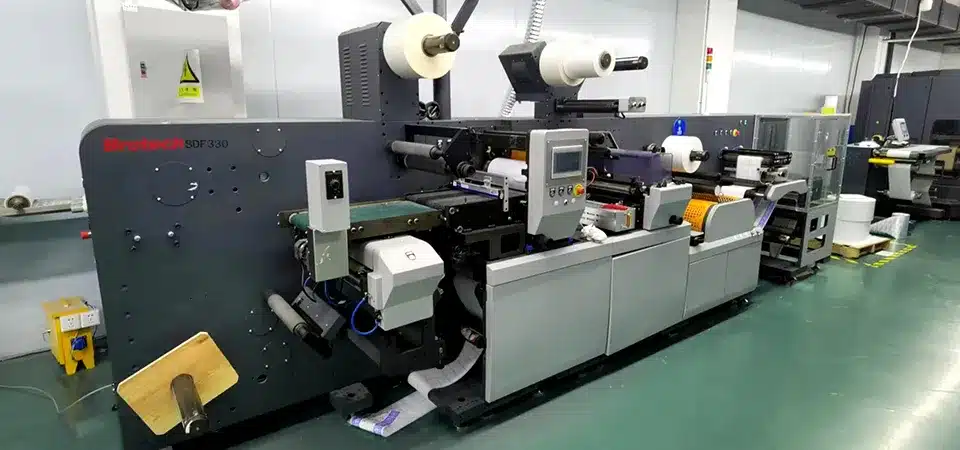
In my factory, I watch our die-cutting machines work all day. They are incredibly precise, but they are still physical machines moving blades at high speeds across sheets of vinyl. There is always a tiny, microscopic variance in where the blade lands on each individual sticker. We're talking about the width of a human hair. Without a bleed, that tiny shift means the difference between a perfect sticker and one with a glaring white sliver down the side. It’s this mechanical reality that makes a bleed non-negotiable for professional quality. The bleed isn't designed to forgive big mistakes; it's there to absorb the tiny, unavoidable imperfections of a high-speed mechanical process. It’s the ultimate quality insurance for your final product.
How do you add a bleed to your die-cut sticker designs?
You're ready to add a bleed, but design software like Adobe Illustrator can be confusing. You're afraid of messing up layers or exporting the file incorrectly for your printer.
To add a bleed, simply extend your background color or image 1/8 inch (3mm) past your defined cut line. Also, keep all important text and logos inside a "safe zone," which is 1/8 inch inside the cut line. Your cut line must be a vector path.
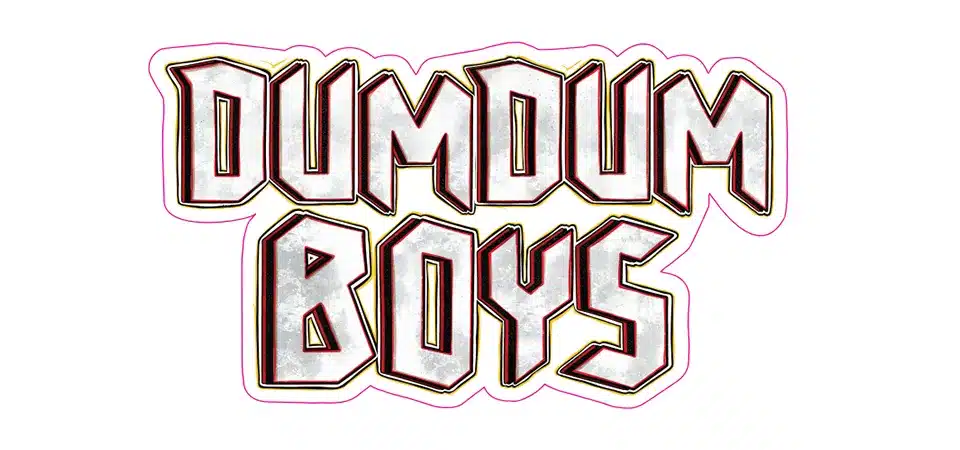
Setting up your file correctly from the start makes this process easy. In my business, we ask clients to provide files with clear layers. Here’s a simple, step-by-step process I recommend to all designers:
- Set Up Your Document: When you create your file, make your artboard larger than the final sticker. If you want a 3x3 inch sticker, make your artboard 3.25x3.25 inches to accommodate the bleed.
- Create Your Layers: I always use at least two key layers: one named "Artwork" and one named "CutLine."
- Design the Artwork: Place all your colors, text, and images on the "Artwork" layer. Make sure the background color or any art that touches the edge extends all the way out to the edge of the larger artboard.
- Create the Cut Line: On the "CutLine" layer, use the pen tool to create a vector stroke that perfectly outlines your desired final shape. I tell my clients to make this a unique spot color and name it something like "CutContour" so our software automatically recognizes it. Make sure this line is a stroke, not a fill.
- Check Your Safe Zone: As a final check, imagine a line about 3mm inside your cut line. Ensure no critical text or parts of your logo cross over this imaginary line.
What do I need to make die-cut stickers correctly?
You want to make stickers, but you're not sure what files or design elements you need. Getting this wrong means your printer will reject your file, causing frustrating delays.
To design a die-cut sticker correctly, you need four key things: vector artwork for quality, a separate vector cut line to define the shape, a bleed extending beyond the cut line, and a safe zone for all your important elements.

Getting your sticker file print-ready means thinking like a printer. We need clear, unambiguous instructions for our machines. When a file has these four elements, we can produce your stickers quickly and perfectly. Here’s why each one is so important:
- Vector Artwork: Files like AI, SVG, or EPS are made of math equations, not pixels. This means we can scale your design to any size without it getting blurry or pixelated. A sharp print starts with a vector file.
- A Vector Cut Line: This is the most critical instruction you give us. It's a single, clean line that tells the cutting machine's blade exactly what path to follow. It must be a vector stroke, not a filled shape.
- The Bleed: As we've covered, this is your safety net. Any color or background image that is meant to go to the very edge of your sticker must extend 3mm beyond the cut line.
- The Safe Zone: Just as the bleed protects the outside edge, the safe zone protects the important content on the inside. Keeping text and logos 3mm away from the cut line ensures they won't get accidentally clipped by the blade if there is a tiny shift.
What will my bleed look like in the design?
You know you need a bleed, but what should go in it? You don't want the wrong color or a weird, stretched part of your image showing up on your sticker's edge.
Your bleed should be a seamless, natural continuation of the artwork at the edge of your sticker. If your sticker has a solid background, extend that color. If it has a pattern, the pattern should continue into the bleed area.

The bleed area is meant to be cut off, so you should never put new or important information there. Its only job is to mirror the artwork at the intended edge. How you do this depends on your design style.
Background color
This is the most common and simple scenario. If you are designing a sticker that is a blue circle, your artwork should be a slightly larger blue circle. The cut line will define the final 3-inch circle, and the extra 3mm of blue outside that line is your bleed. It ensures the physical edge of your sticker is pure, solid blue, with no risk of a white sliver.
Material color
This applies to designs that don't have a printed background, like a logo sticker on clear, holographic, or glitter material. Here, the material itself is the background. If your artwork doesn't touch the edge, you don't need a bleed. However, if any part of your printed design touches the cut line, that specific part must be extended. For example, if you have a black letter 'S' and the cut line perfectly follows its shape, the black ink for the 'S' needs to extend 3mm beyond the cut line to prevent a thin, unprinted sliver of the material from showing at the edge.
What is the difference between a bleed and a cut line?
You see "bleed" and "cut line" in your printer's template, but they seem like they are in the same place. Mixing them up can result in a sticker that is cut completely wrong.
The cut line is the exact path the blade will follow to create the sticker's final shape. The bleed is the extra artwork that extends beyond the cut line to act as a safety margin. The bleed gets trimmed off and discarded.
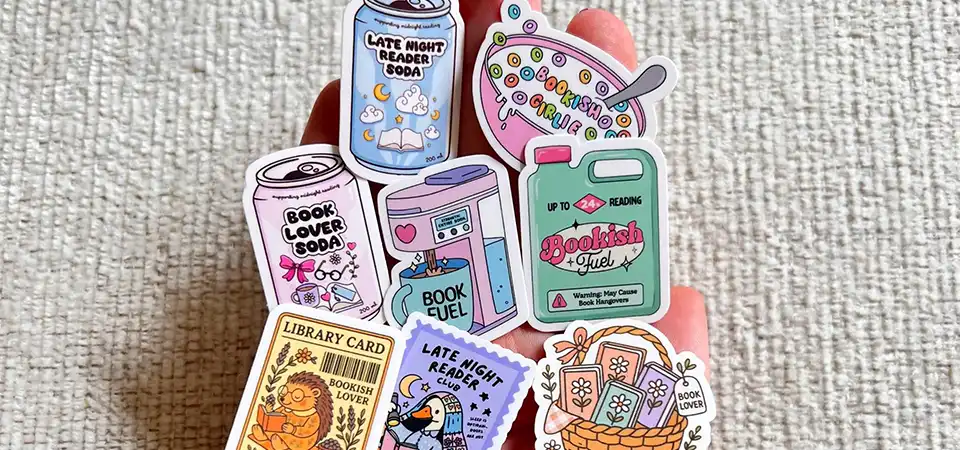
This is a critical distinction. The cut line is an instruction, while the bleed is part of the art. I once received a file where a designer put a beautiful, thin black border on the cut line itself. But because of the 0.5mm machine tolerance, the final stickers had an inconsistent border—it was thick on one side and completely missing on the other. This is why we tell designers that the cut line is a guide for the machine, not a visible part of your design. The bleed is your insurance for a perfect edge.
| Feature | Cut Line | Bleed |
|---|---|---|
| Purpose | To guide the cutting machine's blade. | To prevent white edges from cutting errors. |
| What It Is | A single vector line (a stroke). | An area of color or artwork. |
| Location | Defines the sticker's final, intended edge. | Extends 3mm beyond the final edge. |
| Final Product | It becomes the physical edge; it is not printed. | It is completely cut off and thrown away. |
Conclusion
Including a bleed is a small but essential step for professional die-cut stickers. It prevents white edges and ensures a clean cut, making your brand look its best.

