You want to give your boat some personality, but you're worried. Any sticker you put on will face harsh sun, saltwater, and constant moisture, and a cheap one will just peel and fade.
To create a unique custom boat sticker, you must use marine-grade, UV-resistant vinyl. Your design should be bold and readable from a distance, and you must carefully clean the surface before applying it for a durable, bubble-free finish.
As a sticker expert, I know that a boat sticker isn't just a sticker; it's a declaration. It's the name you proudly chose, the home port you love, or a graphic that shows off your personality on the water. But it has to survive one of the toughest environments imaginable. I've seen too many people use the wrong materials and end up with a peeling, faded mess after just one season. The secret is combining personal style with professional-grade materials and a little bit of patience during application. Let's go through the steps to make sure your sticker looks great and lasts for years.
Should you define your purpose first?
You want a sticker for your boat, but you're not sure where to start. Is it a name? A cool fish graphic? A registration number? Without a clear goal, your design could miss the mark.
Yes, first define your sticker's purpose. Decide if it's for identification (boat name, registration), decoration (graphics, logos), or information (warnings). This purpose will guide your design, size, and material choices.
Before we even think about design or materials, I always ask my clients one simple question: "What job does this sticker need to do?" The answer changes everything. A boat sticker usually falls into one of three categories, and each has its own set of rules.
-
Identification: This includes your boat's name and registration numbers. Registration numbers are the most critical. They have legal requirements for size, font, and placement that you must follow. For your boat's name, you have more creative freedom, but the primary goal is still for it to be identified from the dock or another boat. Readability is key.
-
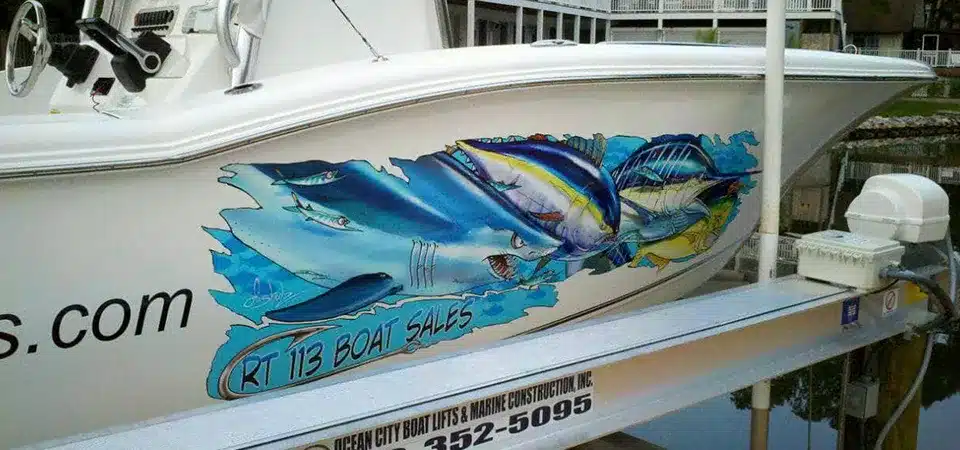
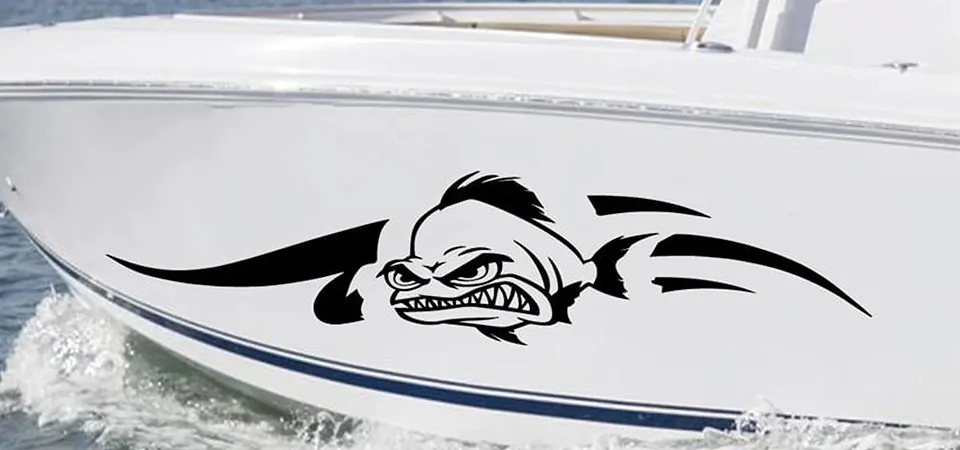
Decoration: This is all about personality. It's the fun stuff—a custom fishing logo, a graphic of a marlin, or the emblem of your yacht club. Here, the design is everything. It should reflect your style and look good against the hull of your boat. This is your chance to make your boat truly one-of-a-kind.
-
Information: These are the functional stickers. Think "No Shoes," "Life Vest Storage," or labels for fuel and waste. For these stickers, clarity is the only thing that matters. They need to be simple, direct, and easy to read at a glance.
| Sticker Purpose | Key Consideration | Example |
|---|---|---|
| Identification | Readability and legal requirements. | Boat Name, Registration Numbers |
| Decoration | Style and personal expression. | Fishing Graphics, Custom Logos |
| Information | Clarity and function. | Safety Warnings, System Labels |
Does design matter more than you think?
You have an idea for a cool design, but you're worried it won't look professional. You fear it will be hard to read from a distance or just look like a blurry smudge on the water.
Yes, design is critical. A great boat sticker uses bold, simple fonts, high-contrast colors, and is sized appropriately for the viewing distance. It must be instantly clear and readable against the boat's hull.

A boat is a moving object, often seen from far away. A design that looks great on your computer screen can completely fail on the water. When I help clients with boat stickers, I stress four design principles above all else.
Readability Over Everything
I once saw a beautiful boat with a name in a fancy, cursive font. From 20 feet away, it was just an unreadable scribble. For boat names and registration numbers, choose a bold, clean font. Simple, classic block letters are popular for a reason—they work.
Contrast is Your Friend
Your sticker's colors need to fight for attention against your boat's hull. If you have a white boat, use dark-colored letters like black, navy blue, or a deep red. If you have a dark-colored hull, use white, silver, or bright yellow. The goal is to create a strong visual pop so the design doesn't blend in.
Keep It Simple
Complex drawings with fine details or lots of colors can look messy from a distance. The sun and water reflections can obscure small elements. Bold lines and simple, powerful shapes make a much bigger impact. Think about a classic fishing logo—it’s usually a simple silhouette, not a detailed photograph.
Size Matters
Measure the space on your boat and consider the viewing distance. A sticker on the stern needs to be much larger than one on the console. A great trick is to print your design on paper, cut it out, and tape it to your boat. Step back 50 feet and see if you can still read it. This simple test saves a lot of regret.
Should you stick to marine-grade materials?
You found some cheap vinyl online and you're tempted to save a few dollars. But you have a sinking feeling it will peel, crack, and fade before the season is even over.
Absolutely. You must use high-performance, marine-grade vinyl. It is specifically engineered to be waterproof, UV-resistant, and durable enough to handle constant exposure to sun, salt, and water.
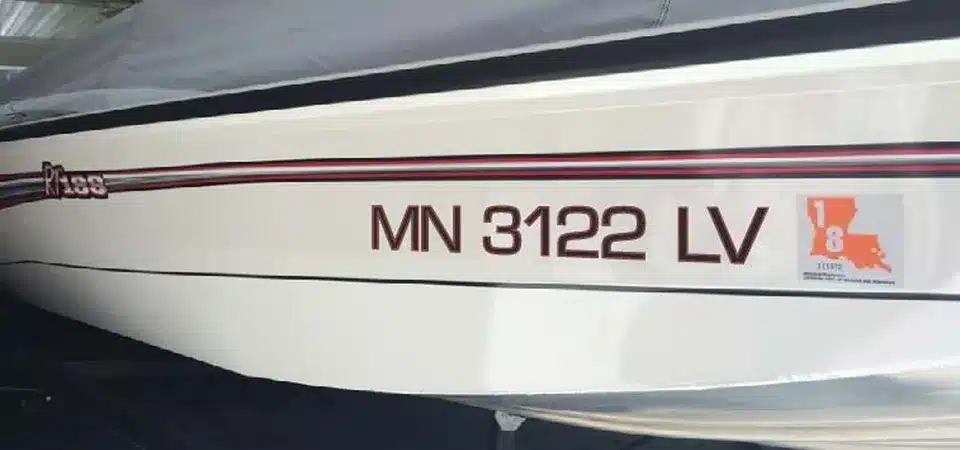
This is the most important rule, and I cannot stress it enough. Do not use craft vinyl or standard sign vinyl on a boat. It will fail. Marine environments are incredibly destructive to adhesives and colors. When a client orders boat stickers from my shop, we only use materials designed for this exact purpose.
Marine-grade vinyl is a premium cast vinyl, which is different from the cheaper calendered vinyl. Here’s what makes it special:
- Waterproof Adhesive: The glue on the back is incredibly strong and formulated to bond permanently to gelcoat and marine paint. It won't let go when it gets wet, and it resists saltwater, which can destroy lesser adhesives.
- UV Protection: The sun is a sticker's worst enemy. It fades colors and makes vinyl brittle. All our marine-grade stickers are covered with a clear laminate that acts like a powerful sunscreen. It contains UV blockers that protect the printed colors underneath, keeping them vibrant for years, not months.
- Durability: This material is built to be tough. It resists scratches from ropes and fenders, and it can even handle occasional splashes of fuel or oil without deteriorating. It’s a flexible material that expands and contracts with the hull's temperature changes, preventing it from cracking. Using anything less is simply a waste of money because you’ll be replacing it in a year.
Which printing method should you choose?
You see different options like "die-cut" and "printed vinyl," but you're not sure what they mean. Choosing the wrong type could result in a sticker that looks completely different from what you imagined.
Choose die-cut vinyl for solid-color letters and simple shapes like boat names. Choose full-color printed vinyl for complex logos, graphics with gradients, or photo-quality images.
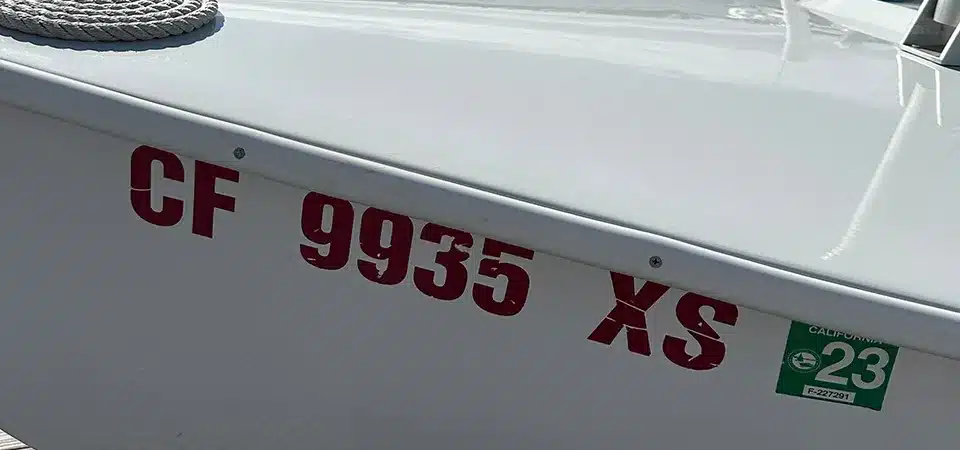
The right printing method depends entirely on your design. Both methods use the same high-quality marine-grade vinyl, but they create a different look.
Die-Cut Vinyl
This is the classic, traditional method for boat names and registration numbers. We start with a solid sheet of colored vinyl. A machine with a tiny blade then cuts your letters or shapes out of this sheet. We peel away all the excess vinyl, leaving just your design. There is no background—the "background" is your boat's hull. The finished product is covered with transfer tape, which holds all the letters perfectly in place so you can apply them in one piece. This method is perfect for a clean, painted-on look.
Full-Color Printed Vinyl
If your design has multiple colors, gradients, or is a complex logo, this is the method for you. We use a large-format printer to print your design directly onto white marine-grade vinyl. After printing, the sticker is laminated for UV protection. Then, the same cutting machine cuts the outline of your design. This gives you a single, full-color sticker in any shape you want. This is the only way to reproduce a photograph or a logo with detailed color transitions.
| Method | Best For | Look & Feel |
|---|---|---|
| Die-Cut Vinyl | Boat Names, Registration Numbers, Simple Logos | Solid colors, no background, looks painted on. |
| Printed Vinyl | Complex Logos, Photos, Multi-Color Graphics | Full color, single piece, can have any shape. |
How do you prepare the surface and apply the sticker?
Your beautiful new sticker has arrived, but you're nervous about putting it on. You're afraid you'll get it crooked, trap a bunch of bubbles underneath, or have it start peeling off right away.
Proper application is everything. Meticulously clean the surface with isopropyl alcohol, use masking tape to create a "hinge" for perfect positioning, and apply pressure with a squeegee from the center outwards.
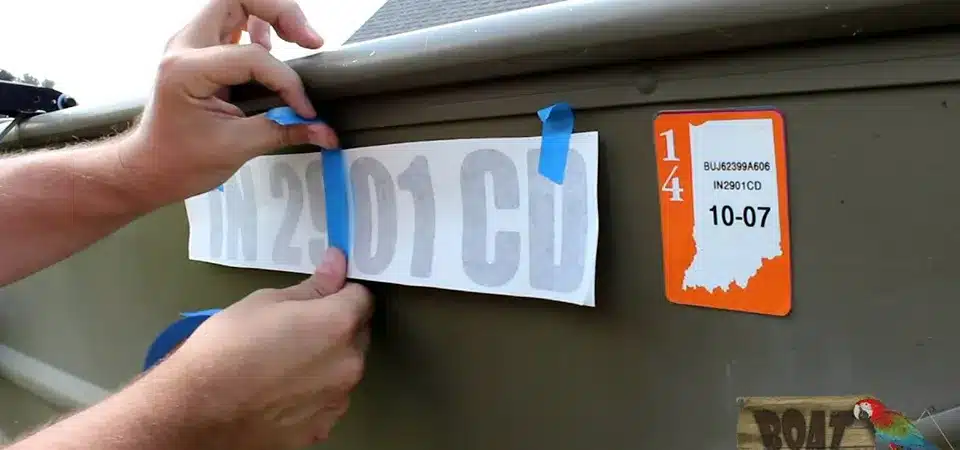
A professional-grade sticker can still fail if it's applied incorrectly. Taking your time here will ensure your sticker lasts for its full lifespan. As a printer, it hurts me to see a great sticker ruined by a rushed application. Follow these steps carefully.
- Clean, Clean, Clean: This is the most important step. Wash the area with soap and water to remove dirt. Dry it completely. Then, wipe the entire area down with isopropyl (rubbing) alcohol on a clean, lint-free cloth. This removes any wax, polish, or oils that will prevent the adhesive from sticking. The surface must be perfectly clean.
- Position with a Hinge: Don't just peel and stick! Place your sticker on the hull and measure to get it exactly where you want it. Once it's perfect, place a long piece of masking tape over the top half of the sticker, securing it to the boat. This creates a hinge.
- Apply from the Hinge: Flip the sticker up on its hinge. Carefully peel the paper backing off, exposing the sticky side. While holding the bottom of the sticker away from the boat, use a squeegee or a credit card to slowly and firmly press the sticker onto the hull, starting from just under the tape hinge and working your way down.
- Squeegee Firmly: Once the sticker is on, go over the entire surface again with the squeegee. Push from the center outwards in all directions to force out any trapped air bubbles.
- Remove Transfer Tape: If you have die-cut letters, the final step is to remove the top layer of transfer tape. Peel it back very slowly, at a sharp 180-degree angle, folding it back on itself. If a letter tries to lift, press it back down with the squeegee and try again.
How can you maintain your stickers?
Your new sticker looks fantastic, but you want to keep it that way for years. You're worried that washing the boat, docking, or general wear and tear will quickly ruin it.
Maintain your stickers by washing them gently with mild soap and water using a soft cloth. Crucially, you must avoid abrasive brushes, harsh chemical cleaners, and high-pressure washers, especially near the sticker's edges.
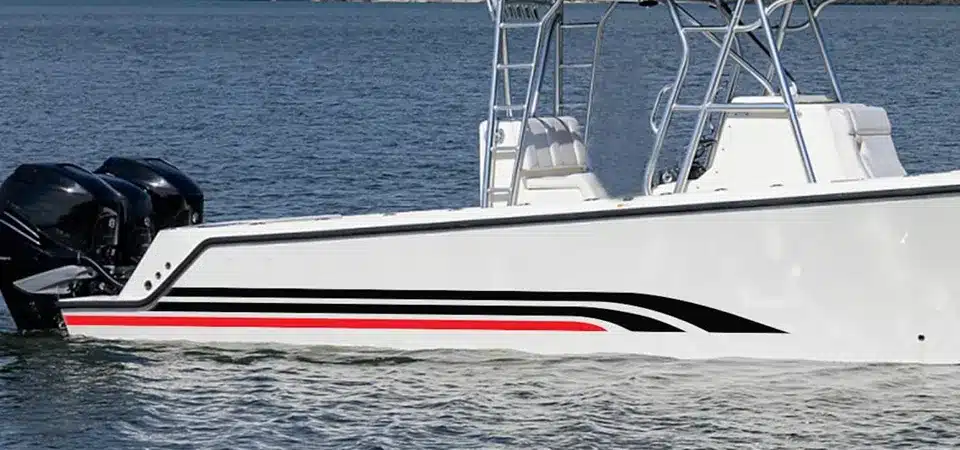
A high-quality marine sticker is incredibly tough, but it's not indestructible. A little bit of care will go a long way in maximizing its lifespan, which can be 7 years or even longer. The maintenance rules are simple and are mostly about what not to do.
When you're washing your boat, treat the sticker area gently. Use the same mild boat soap you use on the rest of the hull with a soft sponge or microfiber cloth. It's perfectly fine to wash over it.
The real damage comes from aggressive cleaning methods. Here’s what to avoid:
- High-Pressure Washers: Never aim a pressure washer directly at your sticker. The intense jet of water can get under the edge of the vinyl and lift it right off the hull. If you use a pressure washer, keep the nozzle far away from the sticker.
- Harsh Chemicals: Avoid any cleaners that contain solvents, acetone, or other harsh chemicals. These can eat away at the vinyl and the protective laminate, causing the colors to fade and the material to become brittle. Stick to pH-neutral soap.
- Abrasive Tools: Do not use a stiff-bristle deck brush or an abrasive polishing compound on your sticker. These will scratch and dull the surface, ruining the look.
Basically, treat your sticker like you treat the fine paint on a car. A little gentle care is all it needs to keep looking great season after season.
What are some things to avoid?
You're almost ready to go, but you want to make sure you don't make a common, costly mistake. One small error in judgment can waste both your time and money.
Avoid using low-resolution images that will print blurry. Do not choose cheap, non-marine vinyl. Never apply a sticker to a dirty, waxy, or hot surface, and never, ever rush the application process.

Over the years, I've seen all the mistakes that can be made. Learning from them can save you a huge headache. Here is my definitive checklist of what not to do when creating and applying your boat stickers.
Pitfalls to Avoid
| Category | What to Avoid | Why It's a Problem |
|---|---|---|
| Design | Low-resolution files (e.g., small images from a website). | The print will be blurry and pixelated, looking very unprofessional. |
| Design | Overly complex fonts or tiny text. | It will be impossible to read from a distance, defeating the purpose. |
| Materials | Craft vinyl, sign vinyl, or anything not labeled "marine-grade." | It will fade, crack, and peel within a single season, wasting your money. |
| Application | Applying to a dirty or waxy surface. | The adhesive will stick to the dirt, not the boat, and it will fail quickly. |
| Application | Applying in direct, hot sunlight or on a very cold day. | Hot surfaces can pre-activate the glue, causing bubbles. Cold surfaces prevent the glue from curing properly. |
| Application | Rushing or not using the "hinge method." | This is the number one cause of crooked placement and large, trapped air bubbles. |
| Maintenance | Using a pressure washer on the sticker's edge. | This will lift the edge and force water underneath, causing the sticker to peel off. |
Avoiding these simple traps is half the battle. Be patient, use the right materials, and you will get a result you can be proud of.
Ready to Make Your Own Custom Boat Stickers?
Creating a custom boat sticker is about blending your unique style with durable, professional materials. By planning your design and applying it with care, you can add a lasting personal touch to your vessel.

