Skip to content
You want to create slick, professional-looking stickers, but your DIY attempts look cheap and homemade. The ink smears, the background isn't truly clear, and you're just wasting expensive materials.
To make clear vinyl stickers, print your design on an inkjet-compatible clear vinyl sheet using high-quality settings. For durability, apply a clear laminate over the print. Then, cut your stickers out using a cutting machine like a Cricut or by hand with a craft knife.
In my sticker printing business, clear vinyl stickers are one of the most popular products we make. They have a high-end, "no-label" look that makes a design pop. It looks like the art is printed directly onto the product. While they seem tricky, the process is something you can definitely master at home. With the right materials and a few pro tips I've learned over the years, you can get that clean, professional finish every time. Let's get started.
What Exactly Are Clear Printable Vinyl Stickers?
You've heard the term "clear vinyl" but don't really know how it's different from regular white sticker paper. This confusion can stop you from picking the right material for your project.
Clear printable vinyl stickers are decals printed on a transparent plastic sheet. Unlike opaque stickers that have a white background, a clear sticker's background is invisible. This makes your artwork appear to float on whatever surface you apply it to.

Think of it as a creating a floating design. The magic is that the sticker itself disappears, leaving only your art. At my shop, we use this material for everything from elegant product labels on glass jars to minimalist logos on laptops. It's important to remember a key detail: standard home inkjet printers don't print white ink. Any part of your design that is white will simply be transparent on the final sticker. This is crucial for planning your design, as the color of the surface you stick it on will show through.
The material itself is a thin, flexible film with an adhesive back, specifically coated to accept ink from a home printer. It's different from the solid-color vinyl you might use for cutting letters, as this type is designed to be printed on first.
What Are the Pros and Uses of Clear Vinyl Stickers?
You're not sure if clear stickers are the right choice for your project. You don't want to invest in the materials only to find they aren't a good fit for your needs.
Clear vinyl stickers give a seamless, "no-label" look that is incredibly versatile. They are waterproof and durable when laminated, making them perfect for product labels, window decals, and custom gifts where you want the surface to show through.

The biggest advantage of clear stickers is their professional appearance. The invisible borders make your design look integrated and clean, not just stuck on. This is why so many small businesses use them for branding.
| Advantage | Why It Matters |
|---|---|
| "No-Label" Look | Makes your artwork look like it's printed directly on the glass, plastic, or metal. |
| Versatility | Works beautifully on any light-colored or transparent surface. |
| Waterproof & Durable | When laminated, they can withstand water, oil, and scratches. |
Common Applications:
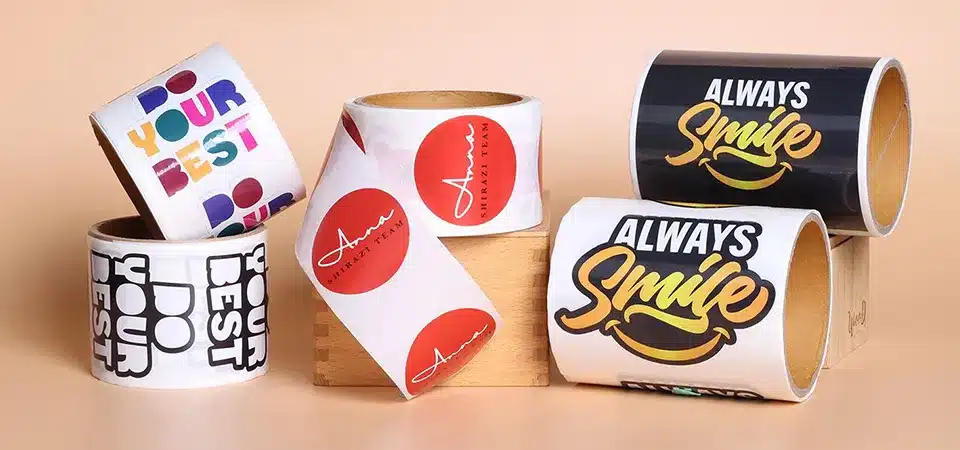
- Product Packaging: Labels for jars, bottles, boxes, and bags.
- Window Decals: For cars, storefronts, or home decor.
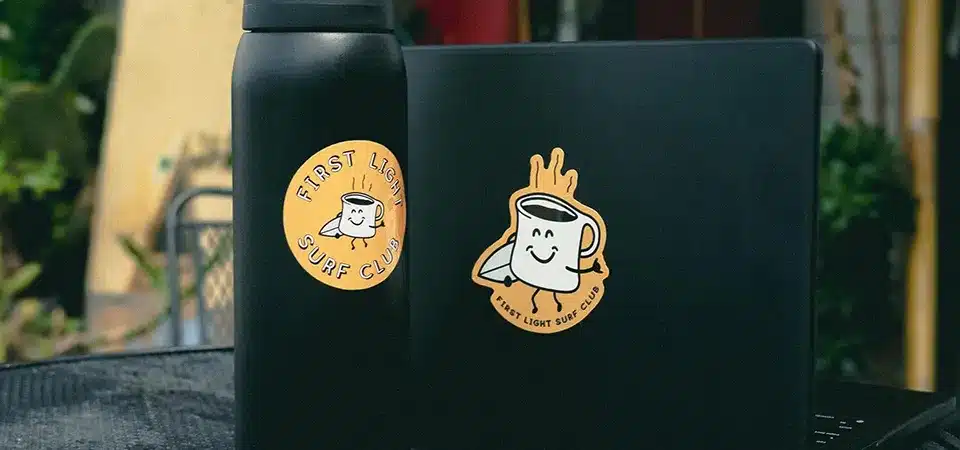
- Custom Gifts: Personalizing water bottles, phone cases, and laptops.
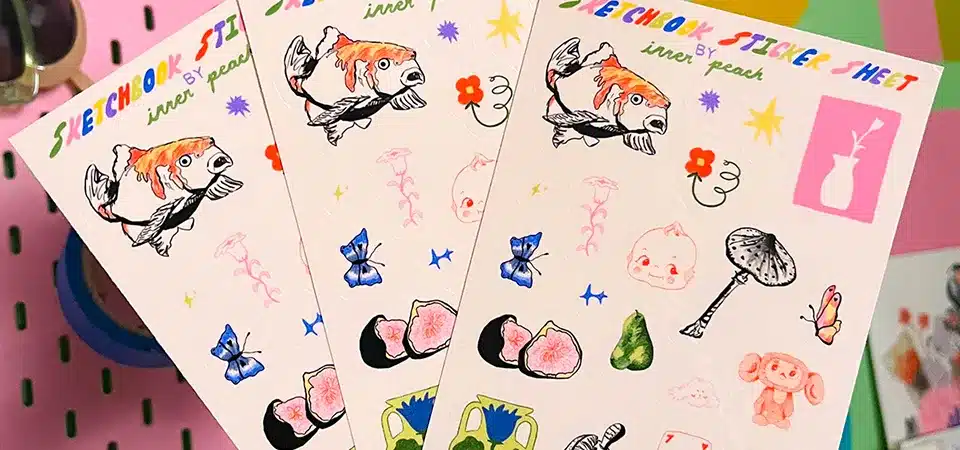
- Planner & Craft Stickers: Creating unique, transparent decorations for journals.
A quick note on color: since home printers don't use white ink, your colors will appear most vibrant on a white or light-colored background. If you need a vibrant design on a dark surface, you need a "white underbase," which is a layer of white ink printed under the colors. This is a feature of professional printers, but there's a DIY workaround: you can reverse-print your design on clear vinyl and then apply a sheet of white adhesive vinyl to the back before cutting.
What Supplies Do You Need to Make Clear Stickers?
You are ready to get started, but the long list of potential supplies is overwhelming. Buying the wrong gear is an expensive and frustrating mistake you want to avoid.
You will need clear printable vinyl for your specific printer (inkjet or laser), an inkjet printer, design software, and a cutting tool. Optional but highly recommended items include a self-adhesive laminating sheet for durability and a squeegee for smooth application.

Getting your setup right is half the battle. The most critical rule I tell everyone is this: make sure your printable vinyl matches your printer type. Using inkjet vinyl in a laser printer (or vice versa) will result in a melted mess or a smudgy print that never dries.
Essential Checklist:
- Clear Printable Vinyl: For inkjet printers (most common for home use). Brands like Royal Elements, Cricut, or Zicoto work well.
- Inkjet Printer: Most standard home printers will work.
- Design Software: Free options like Canva or paid software like Adobe Photoshop work.
- Cutting Tool: A cutting machine like a Cricut or Silhouette gives the cleanest results, but scissors or an X-Acto knife also work for simple shapes.
- Lamination Sheet (Optional): A self-adhesive or "cold" laminate sheet is a must for durable, waterproof stickers.
- Application Tools: A squeegee or even a credit card helps apply laminate and the final sticker smoothly.
| Setup Type | Pros | Cons |
|---|---|---|
| Budget | Low cost, easy to start. | Limited to simple shapes, less durable. |
| Pro | Precise cuts, complex shapes, durable. | Higher initial investment in a machine. |
How Should You Design Artwork for Clear Stickers?
Your designs look amazing on your computer, but they print out looking washed-out or fuzzy. This is a common problem that wastes expensive vinyl and ink.
For best results, use bold, high-contrast colors and save your final design as a high-resolution PNG file with a transparent background. Avoid very thin lines or tiny text, as they can get lost or print poorly on a transparent material.

Your design is the heart of your sticker, and a few simple rules will make a huge difference in the final print quality. Remember, any white in your design will be clear.
- Be Bold: Saturated, vibrant colors show up much better on clear vinyl than pastels or subtle shades.
- Think Contrast: Your design needs to stand out against the surface it will be placed on. A dark design will all but disappear on a dark water bottle.
- Use High Resolution: Always design and export your file at 300 DPI (dots per inch). This ensures your image is sharp and not pixelated.
- File Type is Key: You must save your design as a .PNG file. This file type supports a transparent background. A .JPG file will automatically add a white background, which you do not want.
- Remove the Background: In your design software (like Canva or Photoshop), make sure you delete or hide the background layer so you see that checkerboard pattern. That pattern indicates transparency.
What’s the Best Way to Print on Clear Vinyl?
Your ink keeps smearing or your prints look faint and uneven. A bad print job is frustrating and can ruin an entire sheet of expensive vinyl.
Use an inkjet printer and select a high-quality print setting like "Glossy Photo Paper." Let the ink dry completely before touching or cutting it. This can take anywhere from 15 minutes to several hours, depending on your ink and environment.

Printing is where many people run into trouble, but it's easy once you know the secrets. The vinyl's glossy surface doesn't absorb ink like regular paper does, so you have to give it time.
- Check Your Ink: For inkjet printers, pigment-based inks offer better water and UV resistance than standard dye-based inks. However, either will work, especially if you plan to laminate.
- Adjust Printer Settings: Do not use plain paper settings. Go into your printer's settings and choose a media type like "Glossy Photo Paper," "Other Photo Paper," or a similar high-quality option. This tells the printer to use more ink and apply it more precisely.
- Feed One Sheet at a Time: Clear vinyl is slick and sometimes thicker than paper. Feeding one sheet at a time helps prevent jams.
- LET IT DRY! This is the most important step. Don't touch the printed surface right away. I recommend waiting at least an hour, but for the absolute best results (especially before laminating), let it sit for up to 24 hours to fully cure.
How Do You Cut Clear Stickers Perfectly?
Your cutting machine can't read the registration marks on the shiny vinyl sheet, resulting in crooked, wasted cuts. This is one of the most common and frustrating problems with clear sticker making.
To prevent cutting errors, place pieces of matte tape over the black registration marks printed by your machine. This gives the sensor a non-reflective surface to read. Use a "Kiss Cut" setting for sticker sheets or a "Die Cut" setting for individual stickers.

This matte tape trick is a game-changer. I've saved countless sheets of vinyl this way. The machine's optical sensor uses a light to find the black box, but the glare from the glossy vinyl interferes with it. Matte tape totally solves this.
Cutting with a Machine (Cricut/Silhouette)
- Print Then Cut: Set up your file in the machine's software (like Cricut Design Space) and print it with registration marks.
- Apply Matte Tape: Carefully place matte Scotch tape over each corner's black box. Don't cover any of your designs.
- Choose the Right Setting: Do a test cut first! You'll likely need a custom material setting. If you've laminated your sheet, you'll need a deeper cut. A setting like "Heavy Cardstock" or using a "more pressure" option often works.
- Kiss Cut vs. Die Cut: A kiss cut slices through the vinyl and laminate but leaves the paper backing intact – perfect for sticker sheets. A die cut slices through all layers to create individual stickers.
Should You Laminate Your Clear Stickers?
Your finished stickers look amazing, but they scratch easily and the ink runs the second they get wet. Your hard work is ruined with just a little bit of wear and tear.
Yes, laminating is an optional step that I highly recommend. Applying a clear, self-adhesive laminate sheet makes your stickers waterproof, scratch-resistant, and protects them from UV fading. It's the secret to making truly durable, professional-quality stickers.

Laminating is what takes your stickers from a fun craft to a commercial-quality product. It's an extra step, but it's worth it every time.
How to Apply Laminate for Bubble-Free Results
- Make sure your printed sheet is completely dry.
- Cut a piece of cold laminate slightly larger than your sticker sheet.
- Peel back a small strip (about an inch) of the laminate's backing paper along one of the short edges.
- Carefully align that sticky edge with the edge of your printed vinyl sheet and press it down.
- Use a squeegee or credit card to slowly press the laminate down while you simultaneously pull the backing paper out from underneath. Work from the center outwards to push out any air bubbles. A slow, steady motion is key.
FAQs
You're running into issues like cloudy prints, cutting errors, or poor visibility on dark surfaces. These problems are frustrating and can make you want to give up on your project.
For cloudy prints, ensure the ink is fully cured. For cutting errors on a Cricut, use matte tape over the registration marks. To make stickers waterproof, you must laminate them. Stickers will appear faded on dark backgrounds without a professional white ink layer.

I get asked these questions all the time. Let's tackle the most common issues head-on.
Are clear vinyl stickers waterproof?
Not on their own. The inkjet ink will run when it gets wet. To make them waterproof and even dishwasher-safe, you must apply a clear laminate over them before cutting.
Why do my prints look cloudy or smeared?
This is almost always because the ink isn't fully dry before being touched or laminated. Let the sheet sit for several hours, or even overnight, before handling it.
Can I use them outdoors?
Yes, but only if they are laminated. The laminate provides both waterproofing and essential UV protection to prevent the sun from fading the ink.
How long do they last?
Unlaminated indoor stickers might last a year. A properly laminated sticker can last for 3-5 years, even outdoors, depending on the conditions.
Can I apply them over dark or colored backgrounds?
You can, but the colors will look dark and translucent. Since there is no white ink, the color of the surface shows through and mixes with your printed colors. For bright colors on a dark background, you need stickers printed with a white ink underlayer from a professional service.
What Can You Make and Where Do You Get Supplies?
You've mastered the technique, but now you need some fresh project ideas. You're looking for inspiration and trusted places to buy materials or order finished stickers.
Use your new skills to create custom jar labels, unique window decals, small business packaging, and personalized laptop or phone skins. You can buy materials from brands like Royal Elements or Cricut online, or order custom-printed stickers if you want to skip the DIY.

Now for the fun part! Here are just a few ideas to get you started:
- Kitchen & Pantry: Elegant labels for spice jars, oil bottles, and storage containers.
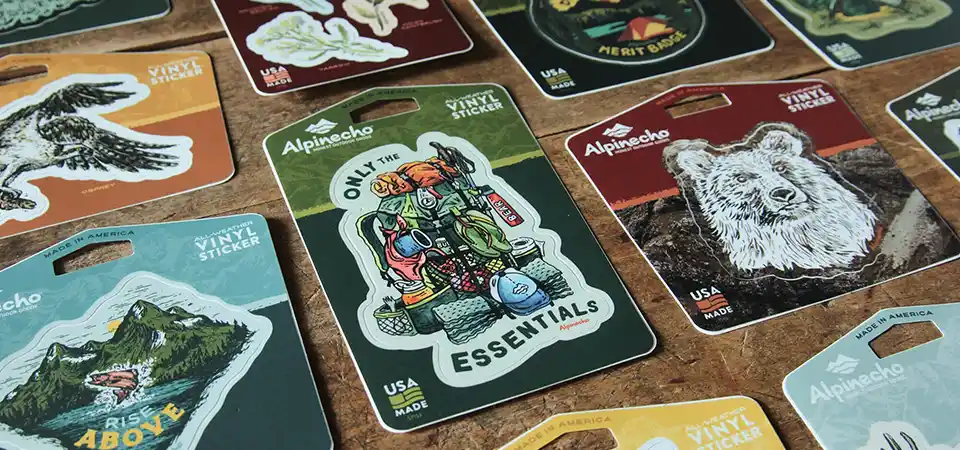
- Small Business: Add your logo to product boxes, bags, and mailers for a professional touch.
- Tech Personalization: Custom skins for laptops, phones, and tablets.
- Home Decor: Seasonal decals for windows or minimalist designs for mirrors.
Where to Buy Materials:
You can find clear printable vinyl and laminate sheets on Amazon, in craft stores like Michaels, or directly from brands like Cricut and Royal Elements.
Where to Get Custom Prints (The Easy Way):
If you love the look but don't want to invest the time in making them yourself, you can always order from a professional printing service. In my business, we handle everything from printing with a white ink layer to precision cutting, so you get a perfect product every time. If you're interested, you can check out our services at Sticker Printing China.
Conclusion
Making clear vinyl stickers at home is a rewarding process. By using the right materials, perfecting your print settings, and adding a protective laminate, you can create durable, professional-quality stickers for any project.